
Caulking around a toilet can be an intimidating task for homeowners, but it’s important to know when and how to do it.
Knowing the basics of caulking is essential in order to ensure that your bathroom remains safe from water damage and other potential issues. So should you caulk around a toilet?
The answer depends on several factors, such as the type of materials used, age of installation, condition of existing sealant or grout, etc.
In this blog post, we’ll discuss all these points so you can make an informed decision about whether or not you should caulk around your own toilet.
We’ll also look at how best to apply caulk correctly and troubleshoot common problems with applying it properly.
Preparing to Caulk Around a Toilet

PiNut Piyanut/Shutterstock
Caulking around a toilet is an important part of maintaining the integrity of your bathroom.
Proper preparation is key to ensuring that the caulk adheres correctly and lasts for years. Here are some tips on how to prepare before you start caulking around a toilet.
Gather the Necessary Supplies
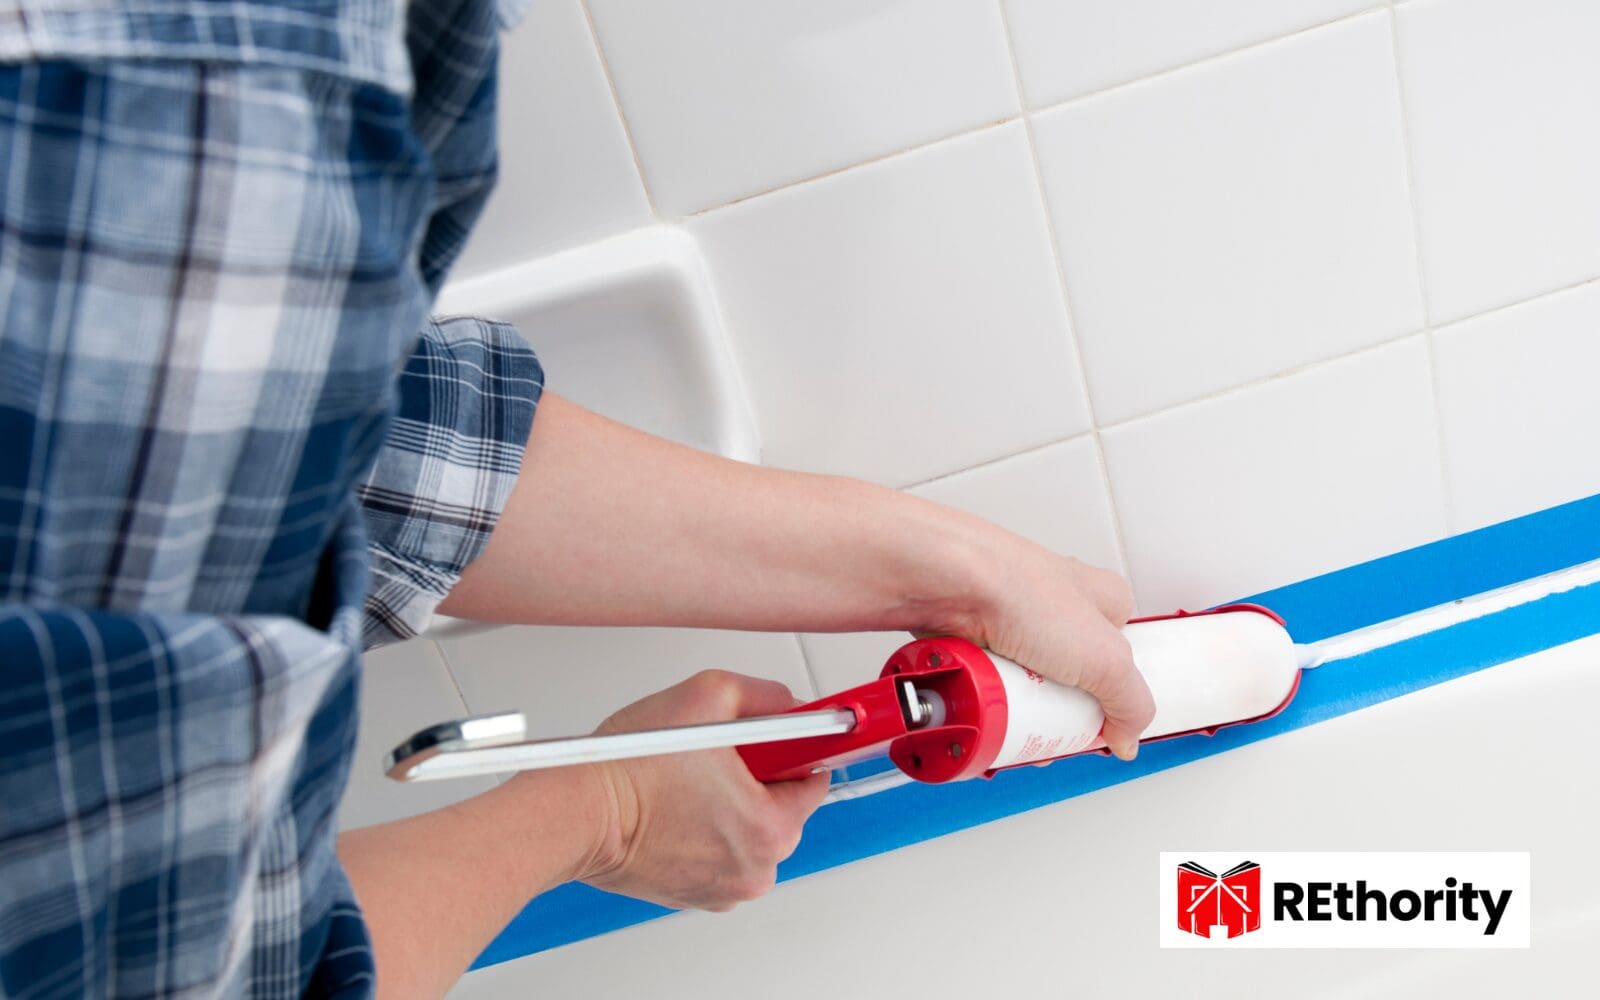
Before starting any project, it’s important to make sure you have all the necessary supplies on hand.
For this job, you will need caulk specifically designed for bathrooms (silicone or acrylic latex), a caulking gun, masking tape, and rags or sponges for smoothing out the caulk after application.
Clean the Area Thoroughly
Once you have gathered all your supplies, it’s time to clean up the area where you plan to apply caulk around your toilet.
Use an all-purpose cleaner or rubbing alcohol to remove dirt and debris from surfaces that could interfere with the proper adhesion of your new sealant layer.
Make sure that everything is dry before proceeding with applying caulk around your toilet bowl rim and baseboard edges in order for them to properly adhere together without any gaps between them once they have completely cured over time.
Additionally
Read through instructions carefully before beginning application, as each type of caulk may require different steps prior to use.
This may include cutting off the tip at an angle depending on the size of the tube opening hole needed in order to achieve the desired bead width when squeezing out material onto the surface being sealed off against water intrusion into wall cavity behind tile work, etc.
Be sure to check the expiration date if applicable so as not to compromise quality results by using expired products, which can lead to failure down the road due to a lack of flexibility or strength needed to maintain seal over time under normal usage conditions.
Preparing the area around your toilet is an important step before applying caulk. With the right supplies and a little bit of elbow grease, you can make sure that your caulk job will be successful. Now let’s move on to the next step: applying caulk around a toilet.
Applying Caulk Around a Toilet

lightwavemedia/Shutterstock
It’s also relatively easy to do, as long as you have the right tools and materials.
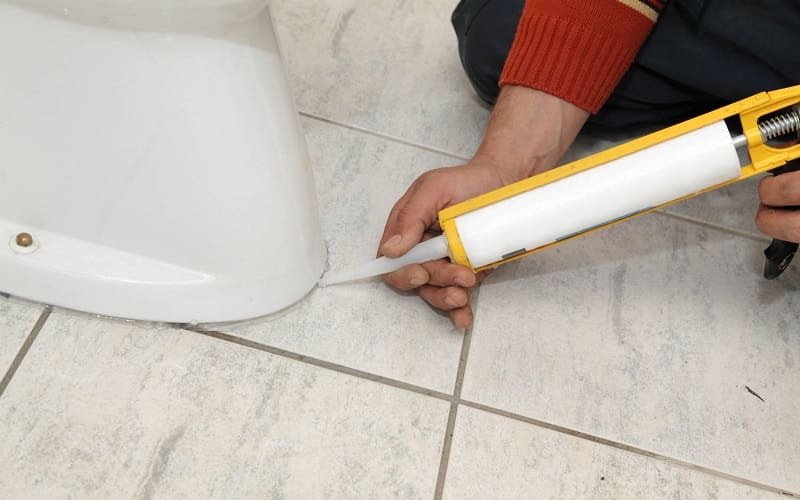
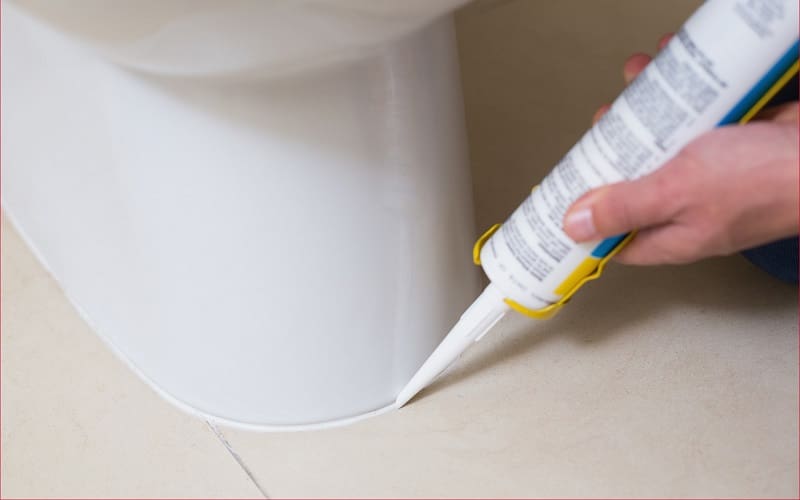
Cut the Tip of the Tube at an Angle
The first step is to cut the tip of the tube at an angle so that it will fit into tight spaces more easily.
You can use a utility knife or scissors for this task, but make sure you are cutting away from yourself when doing so.
This will help ensure that you don’t accidentally cut yourself while cutting through the caulk tube material.
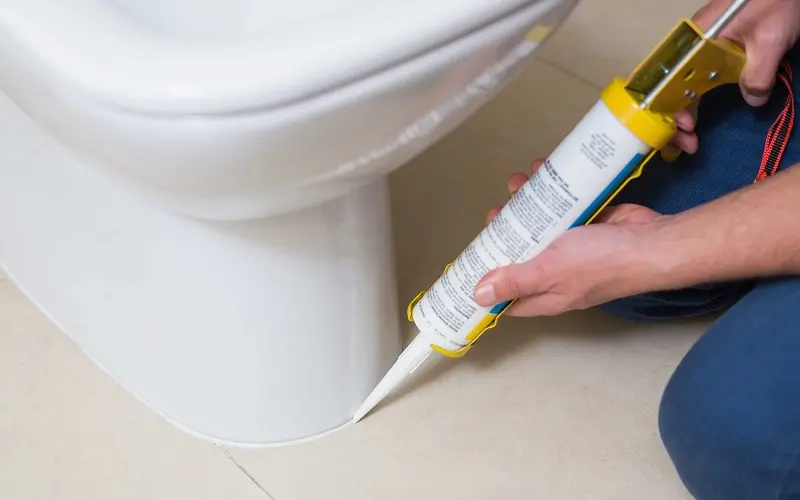
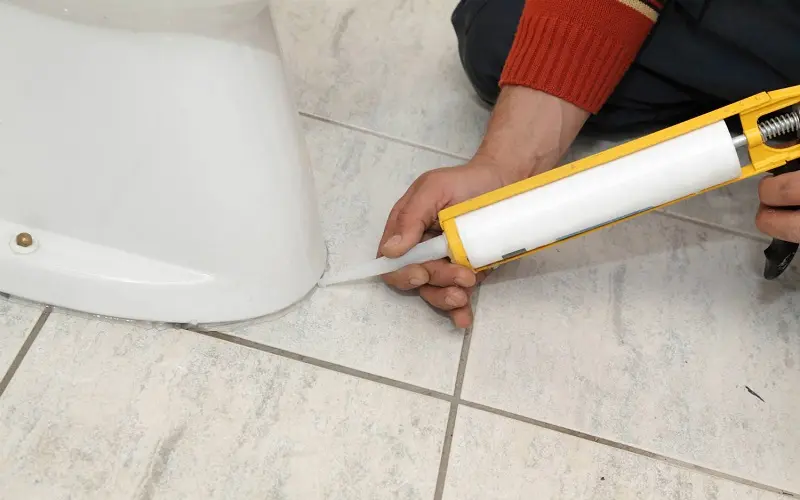
Apply Even Pressure When Squeezing Out the Caulk
Once you’ve cut off the tip of your caulk tube, it’s time to apply even pressure when squeezing out your caulk onto whatever surface needs caulking—in this case, around your toilet base where it meets with other surfaces such as tile or flooring material.
Make sure not to overfill any gaps with too much caulk; instead, just fill them enough so that they’re sealed without leaving excess behind, which could lead to mold growth later on down the line if left unchecked for too long.
Additionally
After applying even pressure when squeezing out your caulk onto whatever surface needs caulking, use a damp rag or sponge to smooth out any rough edges and create an even finish all around your toilet base area.
Allow adequate time for the drying and setting of said caulk material completely throughout its entire application process from start to finish (this should take anywhere between 24-48 hours).
Additionally, inspect for any leaks or gaps in coverage during this period and reapply as needed until everything looks good.
Finally, clean up any excess or spilled caulk immediately after completing these steps; otherwise, it may harden on contact with air or moisture, making removal difficult afterward if left unattended too long.
Finishing Touches After Applying Caulk Around a Toilet
Once you have applied caulk around a toilet, it is important to allow adequate time for the material to dry and set.
Depending on the type of caulk used, this could take anywhere from several hours up to 24 hours. During this time, it is best not to use the toilet or expose it to water as this can interfere with the drying process.
Inspecting for any leaks or gaps in coverage after allowing adequate time for drying and setting is essential. If there are any areas that need more caulking, reapply additional material as needed until all gaps are filled and sealed properly.
It may be necessary to use a putty knife or other tool when applying the extra caulk in order to ensure an even application across the entire surface area of your toilet.
Finally, clean up any excess or spilled caulk immediately before it has a chance to harden and become difficult (or impossible) to remove later on.
A damp rag or sponge should suffice when wiping away any stray bits of material that may have gotten onto surrounding surfaces during application. Once everything has been cleaned up properly, you are done!
Your newly-caulked toilet will now be ready for regular use once again without fear of leaks or moisture damage occurring over time due to poor sealing techniques being employed initially.
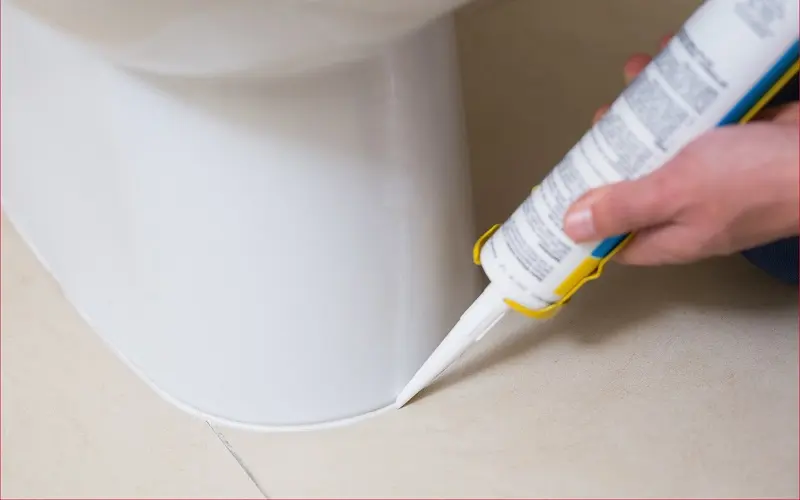
Benefits of Applying Caulk Around a Toilet
sima/Shutterstock
Applying caulk around a toilet offers several benefits to homeowners. Caulk is an essential tool for keeping water damage at bay and creating a neat, professional look in the bathroom.
Prevents Water Damage from Leaks and Seepage
One of the primary benefits of applying caulk around a toilet is that it prevents water damage from leaks and seepage.
Without proper caulking, water can easily escape through small cracks or gaps in the seal between your toilet bowl and flooring, leading to costly repairs down the line.
By properly caulking your toilet, you can ensure that no moisture escapes into surrounding areas where it could cause further damage.
Creates an Airtight Seal to Keep Odors Contained
Another benefit of applying caulk around a toilet is that it creates an airtight seal which helps keep odors contained within the bathroom area rather than spreading throughout your home or office space.
This not only keeps unpleasant smells out of other rooms but also ensures good indoor air quality by preventing any airborne particles from escaping into other parts of your house or building as well as trapping dust mites inside where they belong!
Finally, one last benefit of applying caulk around a toilet is that it enhances the appearance by creating a neat, professional look in the bathroom area without having to do any major renovations or remodeling projects such as replacing tile grout lines or installing new fixtures like toilets or sinks which can be quite expensive endeavors.
Applying caulk correctly will give you clean lines with no visible gaps between surfaces making for an overall more polished aesthetic in this often overlooked part of our homes.
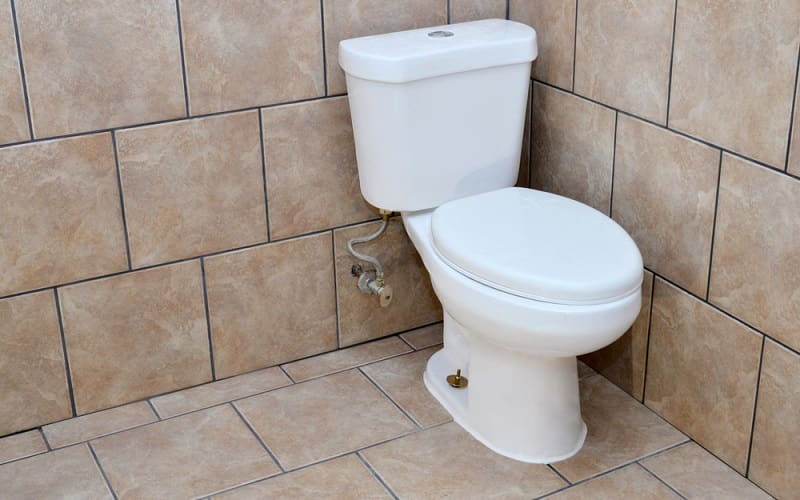
Troubleshooting Common Issues When Applying Caulk Around a Toilet
lightwavemedia/Shutterstock
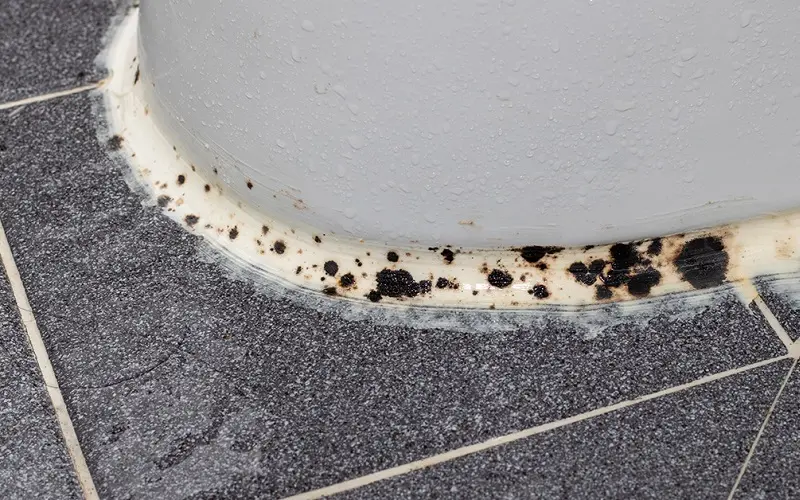
Troubleshooting common issues when applying caulk around a toilet can be tricky. It is important to identify any poor quality or old/dried-out caulking material before beginning the job.
Poor quality caulk will not provide an effective seal and may need to be replaced with fresh material for best results. Old, dried-out caulk should also be removed and replaced as it will not adhere properly to the surface of the toilet.
Uneven application or bubbling of the material can occur if too much pressure is applied while squeezing out the caulk from its tube.
Applying even pressure while squeezing out the caulk helps ensure that it goes on smoothly and evenly without creating air bubbles or other imperfections in its finish.
If uneven application does occur, use a damp rag or sponge to smooth it out before allowing adequate time for drying and setting of the caulk.
Removing excess or unwanted material after application can be done using a razor blade scraper tool designed specifically for this purpose.
The scraper should only be used once all excess has been allowed sufficient time to dry completely; otherwise, smearing may occur which could damage both surfaces being sealed by the caulking process.
Once all excess has been scraped away, inspect for any leaks or gaps in coverage and reapply as needed until desired results are achieved before cleaning up any remaining residue with a damp cloth.
FAQs

Clarke Colin/Shutterstock
Conclusion
It helps to prevent water damage and keep the area looking neat and tidy. When done correctly, it can also help to reduce energy costs by preventing air leaks.
While it may seem like a daunting task, with the right preparation and tools, anyone can caulk around their toilet successfully. So if you’re wondering “Should you caulk around a toilet,” the answer is yes!
With just a few simple steps, you’ll be able to enjoy all of the benefits that come from properly caulked toilets for years to come.