
Are you wondering why mold might be growing in your shower?
Here, we’ll talk about how to get rid of mold in shower caulk and what you can do to prevent it from coming back.
Read our step-by-step guide below.
Mold in Shower Caulking: A Summary
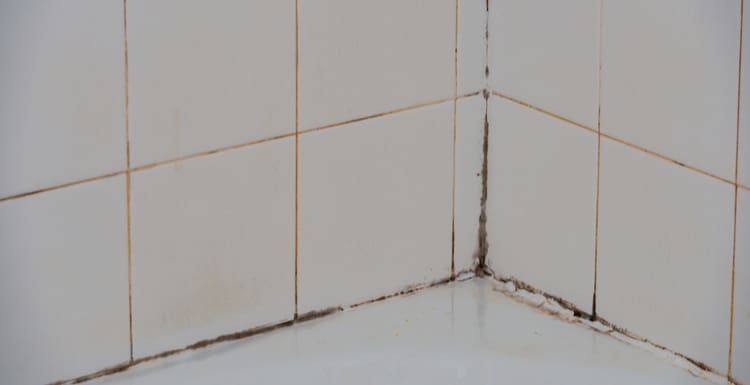
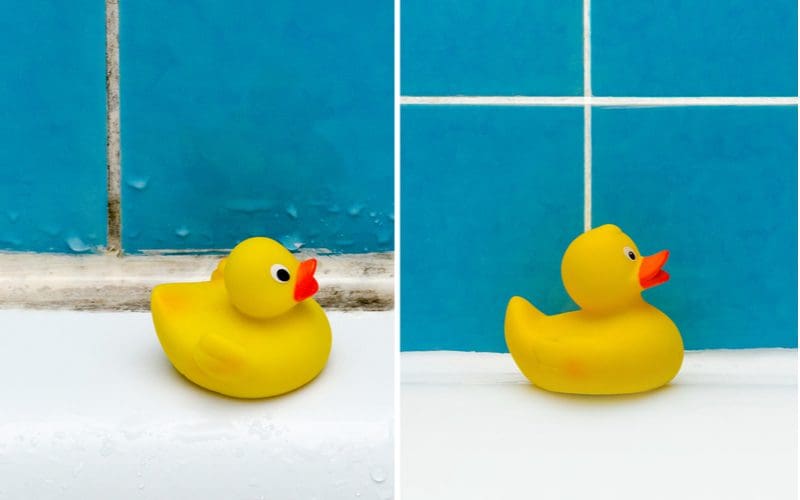
Mold thrives in a warm, damp environment such as your shower.
Black or pink mold isn’t an uncommon sight when it comes to shower caulking, but fortunately, there are steps that you can take to remove any growth and prevent future flare-ups:
- Protect yourself and your bathroom
- Apply a powerful cleaning solution
- Keep your bathroom clean and dry
Find out more below about how to deal with mold in your shower caulk with the following comprehensive guide.
How to Get Rid of Mold in Shower Caulk

RaspberryStudio/Shutterstock
Most homeowners have had to handle mold in their shower caulk at some point, as it’s a common issue in even the cleanest houses.
Fortunately, it’s easy to remove mold from your shower caulk in just a few easy steps.
Step One: Suit Up
Some molds can pose a health risk if inhaled, leading to coughing, wheezing, and more severe breathing difficulties.
It may also cause a reaction if it gets in the eyes or makes contact with skin. You should always wear protective gear when handling mold to keep yourself safe.
You should wear long pants and sleeves to protect your arms and legs, as well as goggles or safety glasses for eye protection.
Disposable gloves or easy-to-clean rubber gloves should also cover your hands. Finally, you should always protect your mouth and nose with a proper mask such as a NIOSH-approved N-95 filtering facepiece respirator.
Step Two: Prepare the Area
Even if you’re wearing all of the proper protective gear, you still don’t want mold spores free-floating in your bathroom as you clean.
They could settle in other areas and begin to grow, or they could make their way into the rest of the house and irritate other inhabitants.
Always make sure that the area in which you’re working is well-ventilated. Open any nearby windows that you can and keep the bathroom door propped open to promote healthy airflow. If you have a ventilation system installed, make sure it’s turned on as you work.
You may even want to set up some fans to help encourage mold spores to leave the room.
Ventilation not only protects you from any aerosolized mold but also from cleaning fumes stemming from chemical products containing ammonia, bleach, or hydrogen peroxide.
These compounds create fumes that can burn and potentially damage respiratory tissue, mucus membranes, and even skin in concentrated doses.
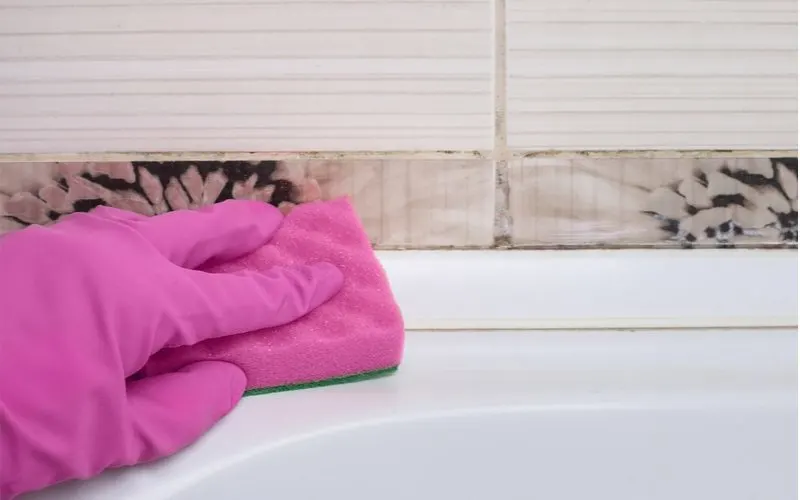
Step Three: Apply a Cleaning Solution
Once you’re prepared and ready, you can start cleaning mold from your shower caulk.
This step may require a bit of elbow grease, especially for more stubborn mold varieties such as black mold.
There are a variety of products that will effectively kill both growing mold and new spores:
- Ammonia
- Bleach
- Hydrogen Peroxide
- Vinegar
- Baking Soda
- Borax
You should spray solutions of ammonia, hydrogen peroxide, and vinegar on moldy areas and allow them to sit for the best results.
You can also scrub the solution using a sponge or cotton balls when using bleach. Baking soda and borax slurries work best when applied with a brush or spare toothbrush.
Step Four: Replace Caulk If Necessary
If mold is growing behind your shower caulk, you may need to remove and replace it.
Replacing caulk can also help stop recurring or persistent mold infestations in the bathroom. With the right tools on hand, it’s fairly easy to replace caulk by yourself.
First, you should soften the existing caulk using a specialized removal gel. Apply the gel as per the instructions and allow it to sit. Once the caulk is soft enough, use a utility knife to scrape it away from the tiles.
Thoroughly clean the area before applying a new layer of caulk to your shower. Using a caulking gun and waterproof, bathroom-friendly caulk, apply the fresh caulk and allow it to dry as per the instructions.
Avoid using your shower until the caulk has been set completely.
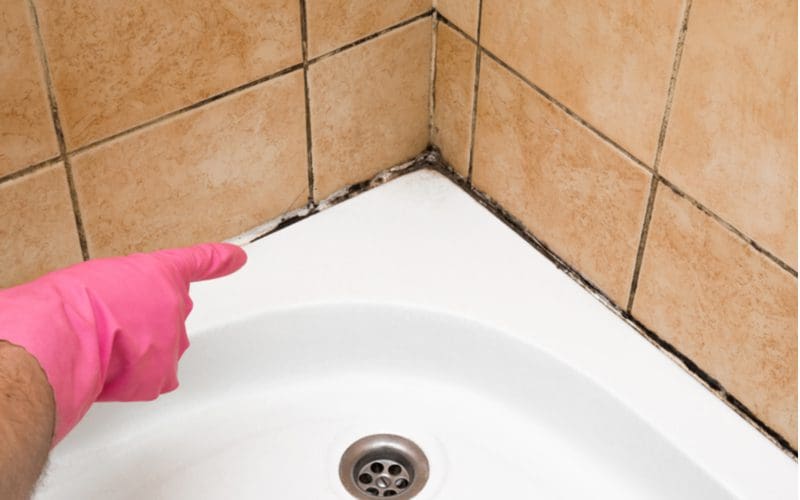
Things to Consider
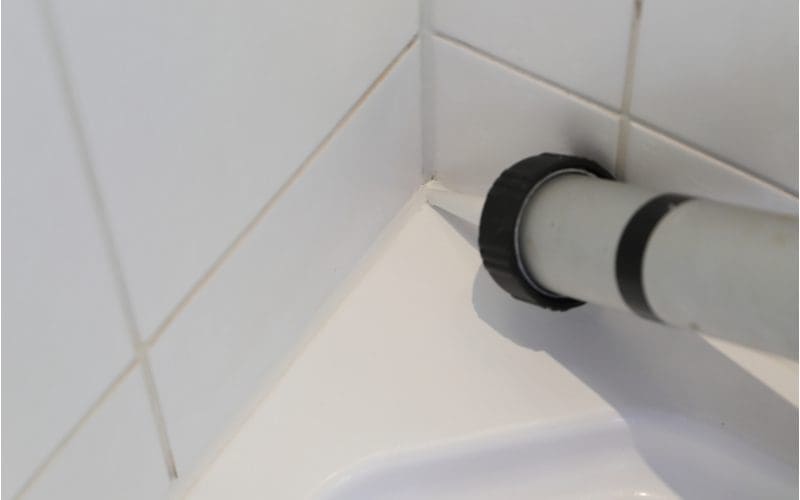
Mahc/Shutterstock
When dealing with mold in your shower caulk, there are some important safety considerations to keep in mind:
- Some molds are toxic, so always wear protection when dealing with a new infestation.
- It’s best to nip mold problems in the bud, as growth can quickly spread behind caulking and shower tiles.
- Silicone caulking is more waterproof and flexible than other styles, making it a mold-resistant choice.
- Always keep your bathroom well-ventilated with a fan or open window to prevent mold growth, especially after a shower.
- If you see mold in shower caulking, there’s a chance more is growing in less visible areas, such as behind cabinets or under the sink, and needs removal.
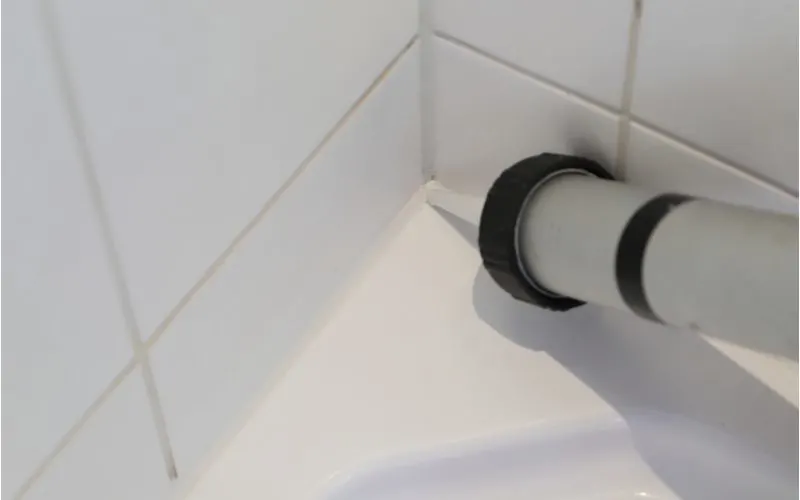
Frequently Asked Questions

Nadisja/Shutterstock
If you find mold in your shower caulk, you may have additional concerns about how to handle it. Here are some of the most common situations you may encounter:
When to Call a Pro

Fotoduets/Shutterstock
While small mold problems can be easy to tackle by yourself, a large or well-established mold infestation can be a challenge to remove using DIY methods.
It can even be dangerous to try and remove mold by yourself, especially if you’re not familiar with proper safety precautions.
Mold spores can cause allergy and asthma symptoms in sensitive individuals, including severe reactions such as shortness of breath and anaphylaxis. When cleaning mold, it’s easy to kick spores up in the air, thereby aerosolizing them.
Without proper respiratory, skin, and eye protection, you may risk giving yourself or others in your home a reaction.
A mold removal professional can get rid of mold growing on your shower caulking without creating an air quality issue for your household.
Hiring an experienced expert also means that you won’t have to handle potentially dangerous chemicals like bleach or ammonia.
If you’re concerned about safely removing mold from your shower caulking, or if your current DIY solutions don’t seem to be working, it may be best to call in a pro.
So, How Do You Fix Mold In Shower Caulk?
Your shower provides the perfect environment for mold spores, which is why mold in shower caulk is a common complaint among homeowners.
Fortunately, there are plenty of DIY solutions that you can try to help you remove any mold that may pose a threat to you and your family.
It may be best to call in a mold removal professional for a safe and effective solution for severe infestations.