
Grout is an important part of any tiling job.
It provides a sealant between the tiles and helps protect them from moisture, dirt, and other damage.
But what happens when your grout starts to wear out or discolor?
Can you just add more on top of it?
The answer is yes, but there are some things to consider before taking this route.
In this blog post, we’ll explore whether you can indeed grout over existing grout as well as how best to go about doing so successfully. We’ll also provide some tips for making sure that your re-grouting project goes off without a hitch!
So if you’re wondering, “Can you grout over the grout?” Read on for answers!
What is Grout?

Vladeep/Shutterstock
Grout is a cement-based material used to fill in the gaps between tiles and other surfaces.
It is usually made of sand, water, and cement but can also contain additives such as colorants or polymers for improved performance.
Grout provides an aesthetically pleasing finish to tiled surfaces while also providing protection from moisture damage and cracking.
Definition of Grout
Grout is a type of mortar that has been modified with additional ingredients to make it more suitable for use in filling the spaces between tiles or stones on floors, walls, countertops, showers, tubs, and other areas where tile installation takes place.
The most common types are epoxy grouts, which are waterproof and provide superior adhesion; acrylic grouts, which are easier to apply but not as durable; urethane grouts, which have excellent stain resistance; and silicone grouts, which offer superior flexibility.
Types of Grout

wabeno/Shutterstock
There are several different types of grout available, depending on your needs.
Epoxy grouts are highly resistant to stains and moisture, making them ideal for wet areas like bathrooms or kitchens where there may be frequent exposure to water or spills.
Acrylic grouts offer good adhesion properties but lack durability compared to epoxy varieties, so they should only be used in dryer locations such as living rooms or bedrooms.
Urethane grouts provide excellent stain resistance, making them great for high-traffic areas like hallways or entryways, while silicone-based products offer superior flexibility, allowing them to move with the substrate without cracking over time.
Benefits of Grouting
The benefits of using grout include creating a smooth surface that looks attractive when properly installed, along with providing protection against moisture damage due to its ability to seal out water from entering into cracks between tiles or stones if applied correctly.
Additionally, it helps prevent dirt buildup by forming an impenetrable barrier around each individual tile, thus keeping debris from seeping through any small crevices created during the installation process.
This results in easy maintenance over time, requiring minimal effort when cleaning up after spills occur inside your home environment, ensuring safety at all times within your property boundaries.
Grout is a key component in many home improvement projects, as it helps to seal and strengthen the bond between tiles. Knowing whether or not you can grout over existing grout is important before beginning any re-grouting project.
Can You Grout Over Existing Grout?

Khorzhevska/Shutterstock
Grouting is an important part of any tiling project, and it can be a tricky process.
One question that often comes up is whether you can grout over existing grout. The answer to this question depends on the condition of your existing grout and how much preparation work you’re willing to do.
Advantages of Doing So
Grouting over existing grout has some advantages, such as saving time and money.
It also eliminates the need for removing old grout, which can be a messy job if not done properly.
Additionally, re-grouting may help restore discolored or cracked areas in your tilework without having to replace tiles entirely.
Disadvantages of Doing So
On the other hand, there are several disadvantages associated with re-grouting existing material.
For one thing, if the original installation was done poorly or incorrectly, it will likely remain that way after regrouting since all you’re doing is covering up mistakes instead of fixing them correctly from the start.
Additionally, re-grouted surfaces tend to look less uniform than those where new grout was used throughout due to differences in coloration between old and new materials as well as possible inconsistencies in texture when applying fresh material over already cured mortar beds.
Verdict
Dmitry Melnikov/Shutterstock
If you decide that re-grouting is right for your project, then there are certain steps you should take before beginning work on it.
These include cleaning out any dirt or debris from between tiles using a vacuum cleaner, ensuring all loose pieces have been removed, testing for water absorption by spraying water onto each tile surface, sealing off any cracks with caulk prior to applying new grout, and making sure that no soap residue remains on either side of joints before filling them with fresh material (this could cause staining).
It is important to use high-quality products specifically designed for use in wet environments like bathrooms or kitchens when selecting both sealants and mortars, so they last longer against moisture exposure.
Re-grouting over existing grout can be a cost-effective and time-saving option for homeowners, but it requires careful preparation to ensure the best results.
With that in mind, let’s look at how to go about re-grouting your tiles.
How to Re-Grout Over Existing Grout?

Dmitry Melnikov/Shutterstock
Re-grouting over existing grout is a great way to give your tiled surfaces a fresh, new look. It’s an easy and cost-effective DIY project that can be completed in just a few hours.
Before you get started, it’s important to gather the necessary materials and tools for the job. This includes grout, grout sealer, sponges, rags or towels, safety glasses or goggles, gloves, and a respirator mask if needed.
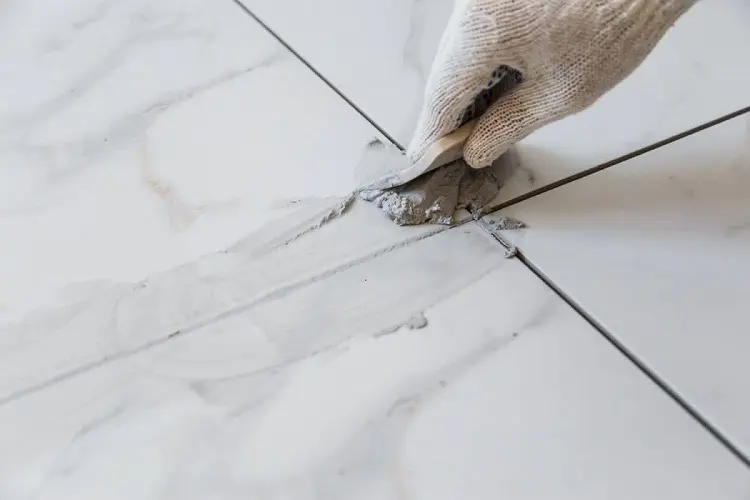
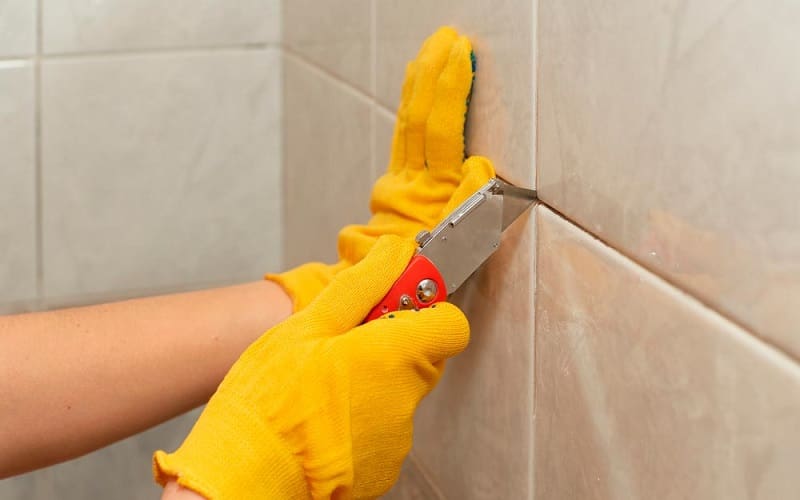
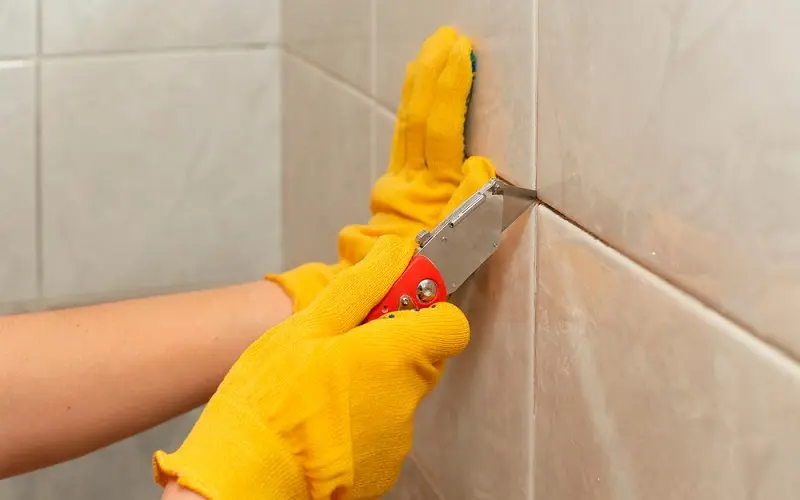
Once you have all of your supplies ready to go, it’s time to remove the old grout from between the tiles.
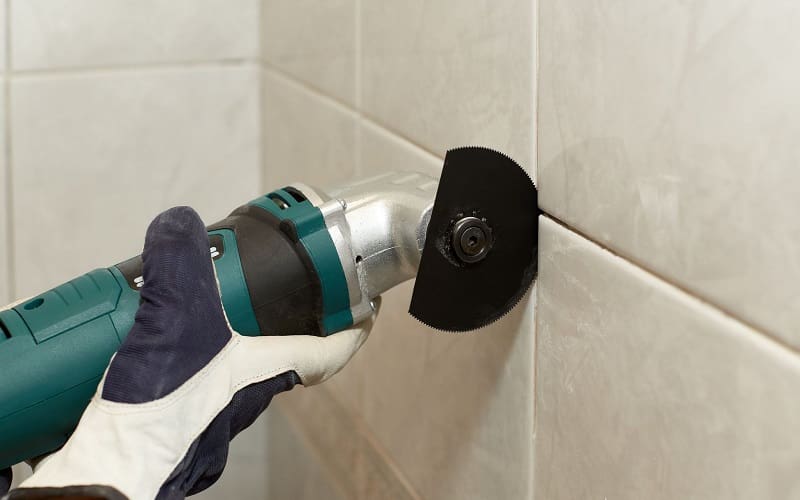
You can use either a manual tool such as an oscillating multi-tool with a carbide blade attachment or an electric power tool like an angle grinder with a diamond wheel attachment for this step.
Be sure to wear protective eyewear when using any type of power tool on tile surfaces, as small pieces may fly off during operation. Once all of the old grout has been removed, make sure to clean up any dust residue left behind before applying the new material.
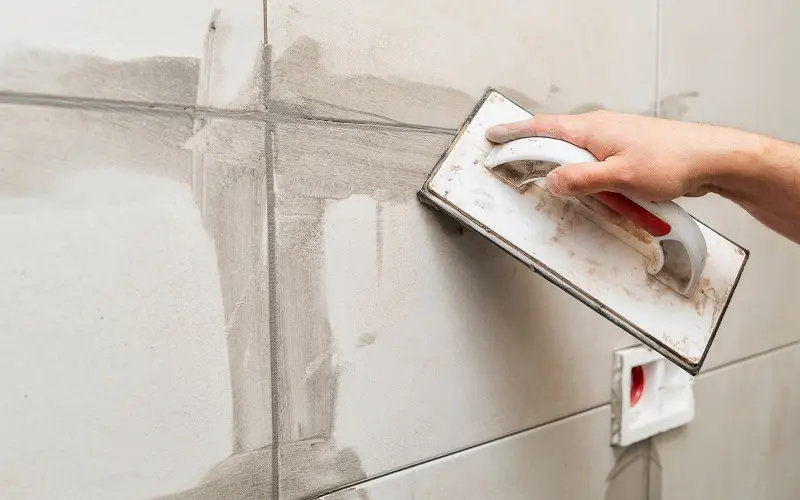
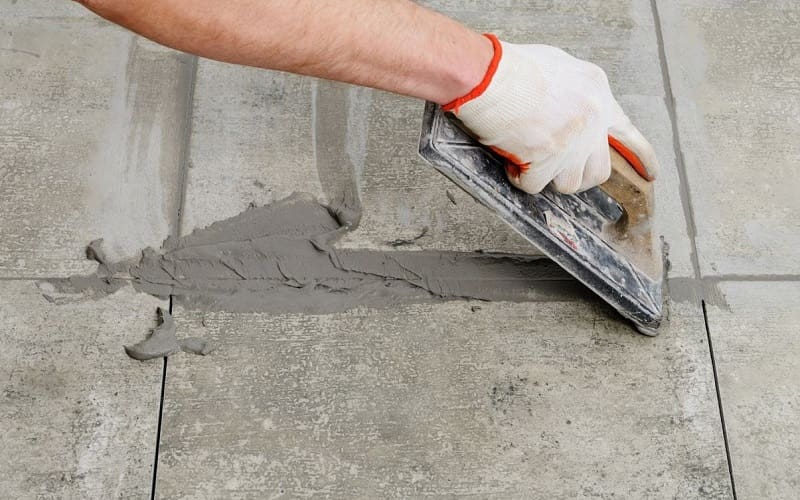
Now that your surface is prepped, it’s time to apply new grout!
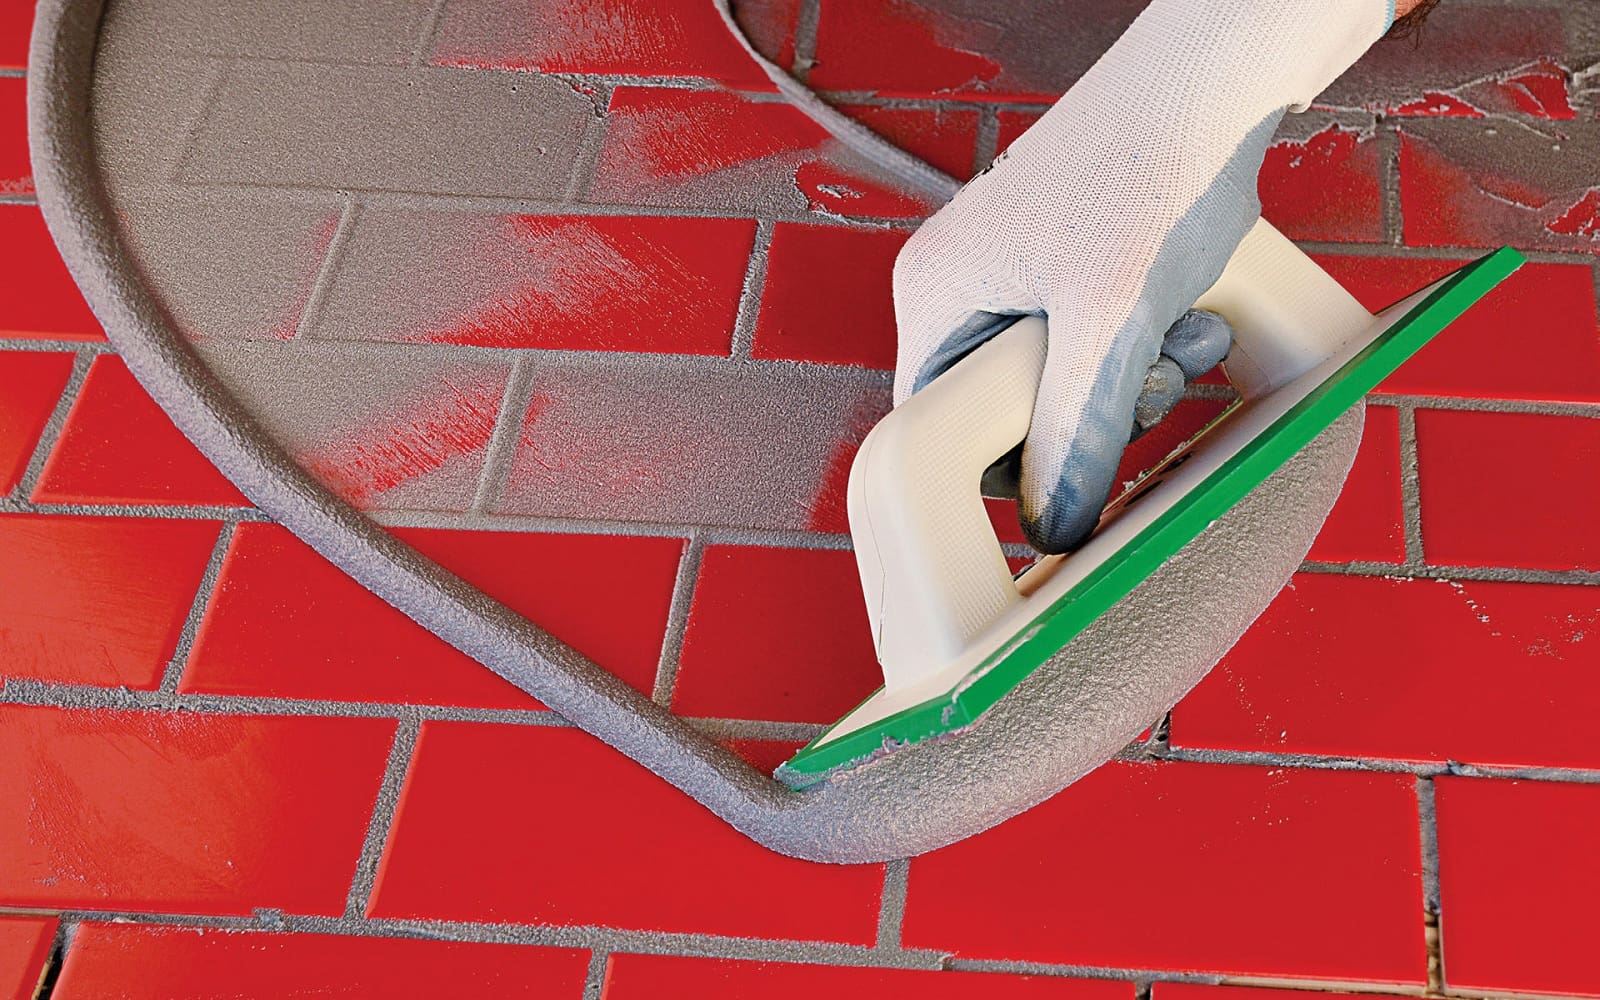
Start by mixing up enough product according to manufacturer instructions so that you don’t run out mid-project, then spread it evenly across the joints between tiles using either a rubber float or trowel, depending on what type of product you are using (check manufacturer instructions).
Make sure not to leave excess material behind, as this will need extra work later on when cleaning up after drying has taken place. Also, avoid pressing too hard into joints, which could cause damage below surface level.
Allow newly applied material plenty of time to dry completely before proceeding further; usually 24 hours should do, but check manufacturer instructions for exact details here too!
That’s all there is to it—re-grouting existing tile surfaces doesn’t have to be a complicated process at all. With the right materials and tools, you can easily give your tiled surfaces a fresh, new look in just a few hours.
Re-grouting over existing grout can be a challenging project, but following the steps outlined in this article and using quality materials will help you achieve professional results. Now let’s look at some tips to ensure successful re-grouting.
Tips for Re-Grouting Over Existing Grout Successfully

DUO Studio/Shutterstock
However, it’s important to take certain steps in order to ensure that you get the best results possible. Here are some tips for successfully re-grouting over existing grout:
Choose the Right Type of Grout for Your Project: When selecting a type of grout, consider factors such as color, texture, and water resistance.
For example, if you’re looking for a more durable option with greater water resistance, an epoxy or urethane grout may be your best choice.
On the other hand, if you want something that looks more natural and has fewer maintenance requirements, then sanded or unsanded cementitious grouts may be better suited for your project.
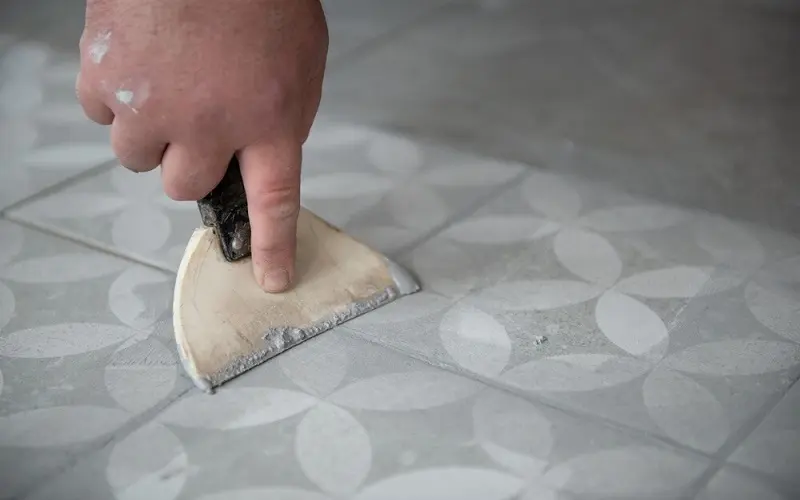
Use Quality Tools and Materials for Best Results: Using quality tools and materials will help ensure that your re-grouting job lasts longer and looks better than using inferior products.
Investing in high-quality sponges, scrapers, and sealants can make all the difference when it comes to achieving professional results.
Additionally, make sure that any new tiles or accessories used during installation meet industry standards so they don’t fail prematurely due to poor craftsmanship or substandard materials.
It is essential that you follow manufacturer instructions carefully when applying new grout over existing material, as this will help prevent problems down the line such as cracking or discoloration due to improper application techniques or incorrect product selection or usage ratios.
Pay special attention to drying times specified by manufacturers since these can vary greatly depending on environmental conditions like humidity levels, etc., which could affect how well your newly applied grout adheres properly once dry.
Therefore, it is important to adhere strictly to the instructions provided in order for your re-grouting job to be successful.
FAQs

RJ22/Shutterstock
Conclusion
However, before you begin, make sure that you understand what is involved in the process and have all the necessary tools on hand.
With proper preparation and care, re-grouting over existing grout can be a successful project that will leave your tiles looking as good as new.
So if you’re wondering, “Can you grout over grout?” the answer is yes—with some preparation and know-how!
Stop guessing and start learning with our comprehensive content. Get started today!