
Are you looking for a way to update your living space or bathroom?
But you probably need to figure out where to start. Finishing interior corners with tile can be a complicated process. But with the right tools and knowledge, you can achieve a professional result.
It’s a simple task that you can do in one day. You must have the proper materials available. But it’s more than just the materials that you need to have. You need to know the proper technique to achieve a professional result.
This blog article will provide a detailed guide to tiling interior corners. Besides, we will tell you about the necessary tools and materials. Our step-by-step instructions for tiling from start to finish will help you!
So, if this is your first renovation experience or you just need a refresher course on tile installation techniques, read on and get ready for great results!
Materials and Tools You Need

1469851079/Shutterstock
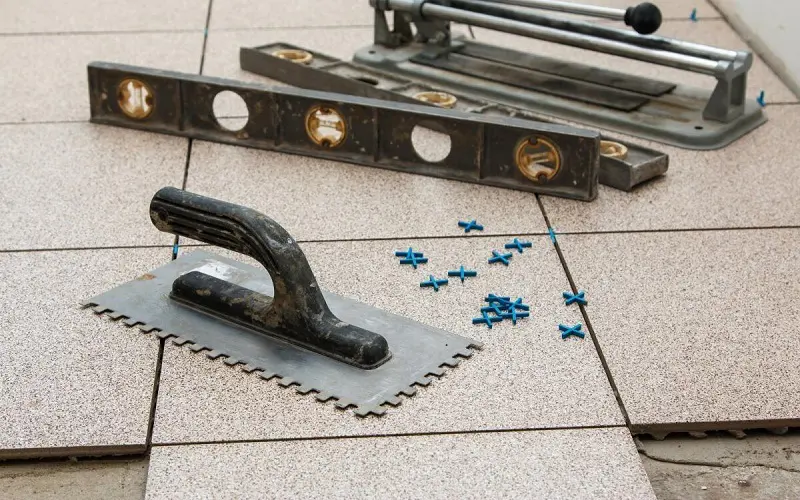
When it comes to tiling interior corners, there are several materials and tools that you should always have on hand. These include:
- Tile adhesive
- Notched trowel
- Grout
- Sponges
- Grout sealer
- Sponge float
- Rubber grout float
You are ready to begin tiling when you have all of these materials and tools. But you should also consider a few other things before you start.
Tiling Inside Corners: Quick Guide
The best way to tile an inside corner is to do it last. Work from the middle of the wall outward to keep your cut tiles in the corners.
Then you’ll measure the remaining gaps, cut pieces of tile to fit them, and install them.
- Start your tiles from the middle of the wall at the bottom.
- Measure the gap from the edge of the last full tile to the corner.
- Mark a tile with your measurement, subtracting about 1/4” for your spacing so it fits.
- Cut a tile to fill the corner gap.
- Apply the tile using your adhesive or mortar mix.
- Don’t grout the corner. Use a waterproof caulk product instead.
These are the basic rules needed to tile an inside corner. With the right preparation, you can achieve a professional result.
How to Tile Inside Corners in 5 Easy Steps
Tile an inside corner in five simple steps. It is not difficult if you have suitable materials and tools.
You just need to follow our easy-to-do steps for a successful tile installation.
Only then can you have incredible results. So let’s look at the steps you need to take for tiling inside corners:
1. Lay Out Your Tiles and Think Ahead
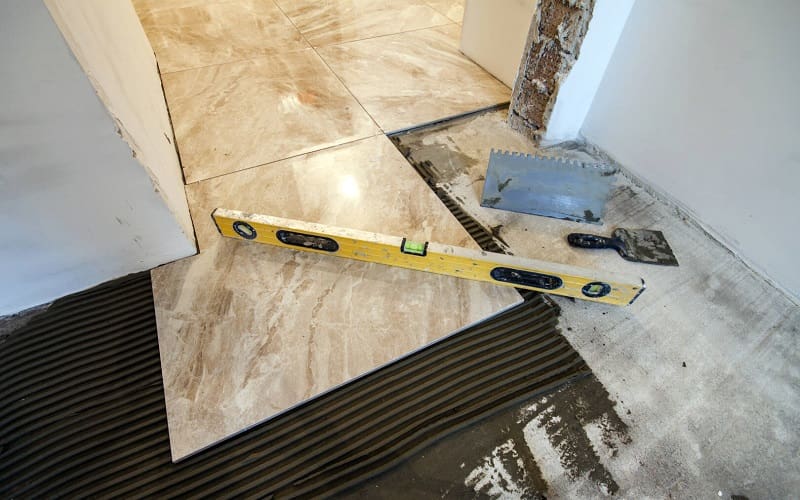

Bilanol/Shutterstock
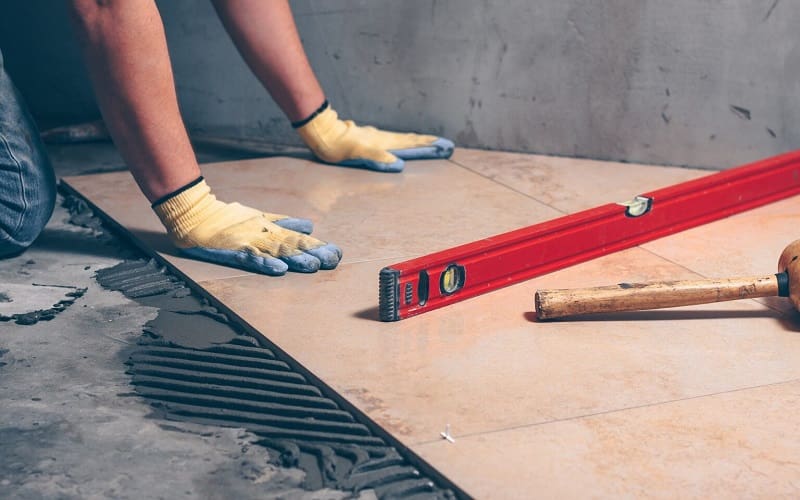
When you start tiling a wall, it’s always best to start from the middle and the bottom.
This way, most of the walls will show whole tiles across the wall space. The only cuts will be in the corners, and the tiles will all line up neatly.
Build each row on top of the previous one. A row is also called a course. Then, when you can’t fit another whole tile into the corner at each end of a course, you will have a gap to fill with a cut tile.
Using a level to maintain a consistent height, run your first course of tiles along the bottom of the wall. When a whole tile doesn’t fit between the last tile and the wall, leave a gap for now.
Set your next course of tiles on top of the first, again starting from near the middle.
For aesthetics, some designs require staggering the start of each course so that the gaps offset like a brick wall.
Or, you can lay tiles out in a perfectly aligned grid. It’s up to you. Whatever finished look you’re going for, you should use spacers to maintain the gaps between tiles and always make sure that each course is level.
Once you have laid out all your courses from the floor to the ceiling, you can begin to work on tiling the inside corners of the wall, and it shouldn’t be too hard.
It doesn’t matter what kind of tile you’re using or whether you’re using glue or a mortar mix to affix them to the wall. The next step is measuring the corner gaps.
2. Measure the Corner Gaps
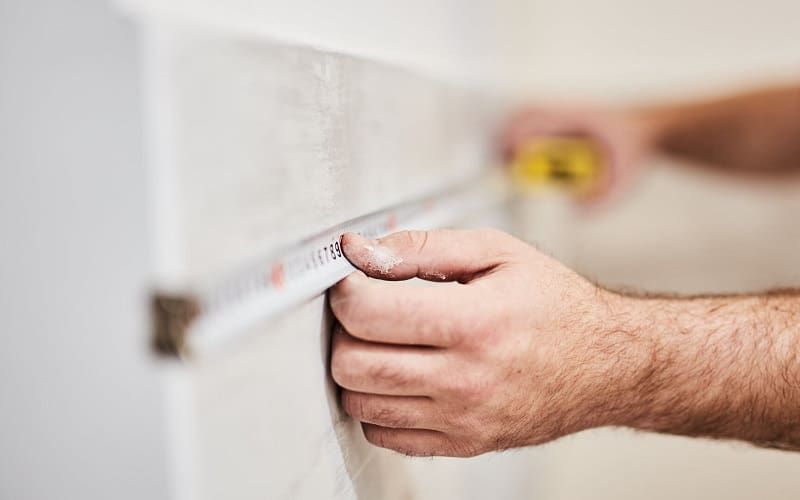

AstroStar/Shutterstock
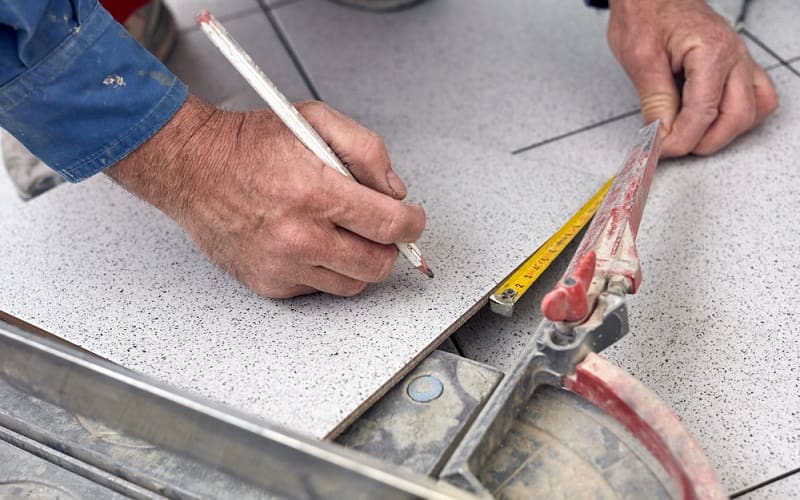
To do so, use a tape measure and measure from the wall to the very edge of your last tile in the first course. Now, subtract about a quarter-inch to account for the gaps between the tiles in your layout.
This will ensure that there’s enough space to squeeze your cut tile into the row at the corner. Alternatively, you could take a tile and hold it up to the wall to run a pencil line to mark it. Using a tape measure is better, as it’s more accurate.
Now that you know the width you need to fill the corner gap, you have to transfer the measurement you recorded to a piece of tile so you can cut it. Even if you’re working with fairly small tiles, it’s a good idea to measure in a few places.
For instance, if your tiles are six by six inches and you need to cut a two-inch piece, don’t just mark two inches once. Instead, lay the tile on its face and mark two inches at three spots down the back.
Take a straight edge and draw a line with a pencil from edge to edge and through all three of your marks. Always mark your tiles on the back so you don’t mar the surface. By measuring three spots and then drawing that straight line, you’ll ensure that your cut will be accurate.
The old expression is “measure twice, cut once.” Precisely marking your tiles will pay off in the long run, so measure three times for accuracy. It might be tempting to measure the next row’s corner gap. But finish the bottom course before you go to the next.
3. Cut the Tile

True Touch Lifestyle/Shutterstock
Cutting tile is usually pretty simple, but since there are different types, the process varies a bit. If you’re using a vinyl tile product, you can cut it with a utility knife.
You can also use a very sharp utility knife to score the back of a lightweight porcelain tile and then break it with your hands. For heavier marble tiles, you’ll want to use a tile saw.
Tile saws usually have a hose attachment, so you can make your cuts wet. The addition of water to the cutting process cuts down on the amount of dust created. Alternatively, you can use a dry tile saw or even a rotary grinding tool with a cutting disc fitted.
For the best results, a tile saw is the best way to go anytime you’re working with ceramic or natural stone tiles.
Since most tile saws use a water hose attachment to help keep the dust from flying around, you should use it outside or in a completely sealed room. You may also want to wear a properly fitted respirator so you don’t inhale any stone dust.
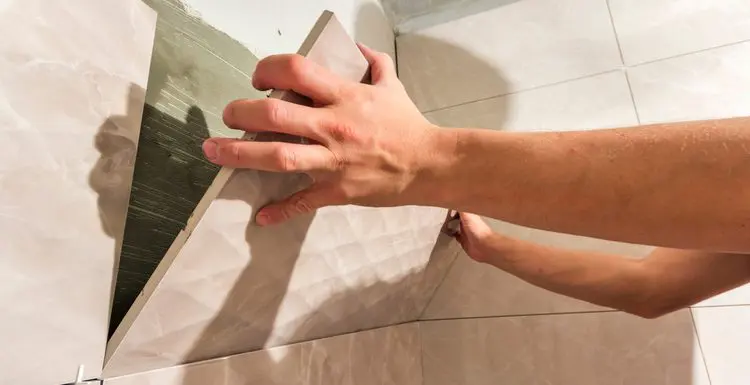
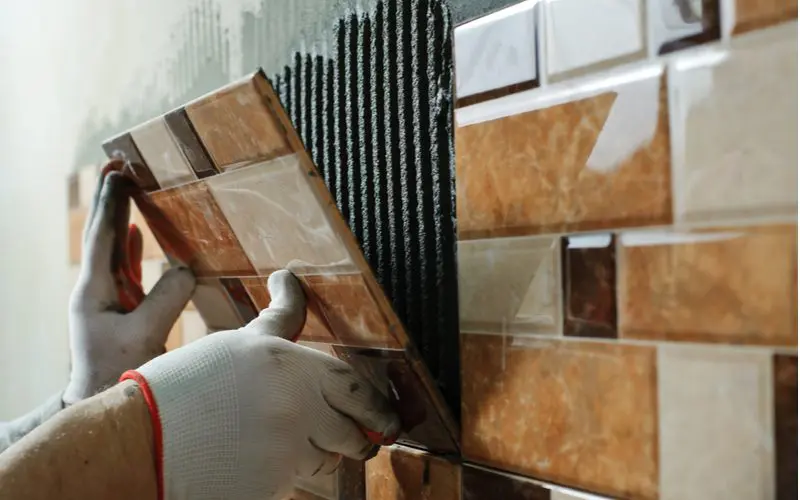
4. Affix the Tiles to the Inside Corners

VanoVasaio/Shutterstock
Now, with your cut piece of tile in hand, go back to your wall. Apply your thin-set mortar or adhesive to the back of the tile and squeeze it into the gap, ensuring it is level and properly spaced from the last full tile.
Put your cut edge on the wall side and the uncut edge toward the last full tile.
5. Add the Finishing Touches
NIKCOA/Shutterstock
Once your wall is complete, move on to the next one, if necessary. When your corners are done, you can grout the wall.
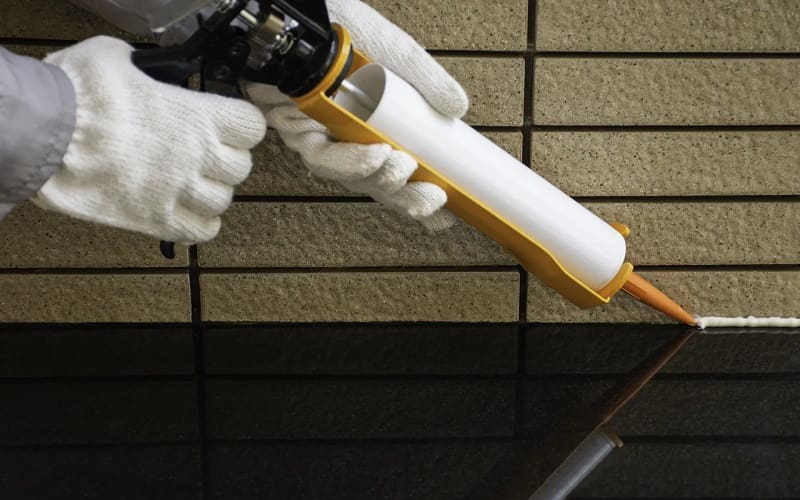
But don’t apply grout in your corners. Instead, use a flexible and waterproof silicone caulk.
The corners are subject to a lot of stress as the walls flex, and they are prone to accumulating water. So, using a waterproof and flexible product to caulk the corner seams is best.
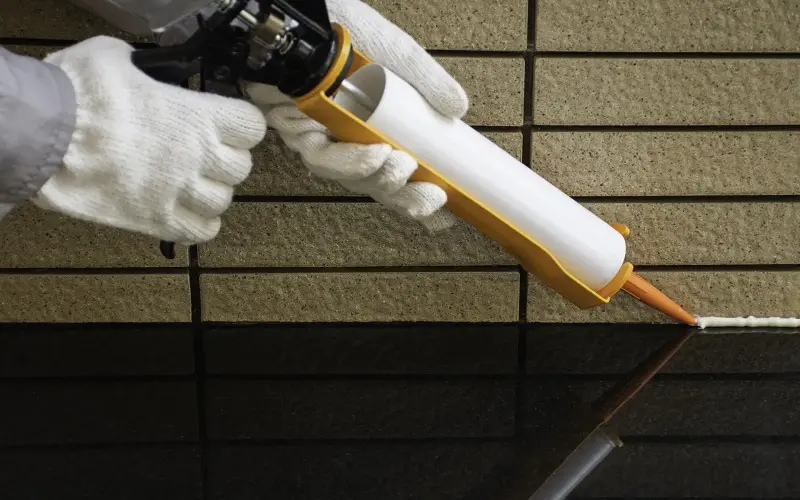
Plus, it’s also really easy to cut out the caulk and start over if you mess up or decide to change the color. Here’s a quick tip for using caulk. When you’ve laid your bead, let it set up for a few seconds.
Then moisten it with a spray of isopropyl alcohol. Spray some of the alcohol on the tip of your finger as well. Then, run your fingertip down the bead of caulk, slowly from the top all the way to the bottom.
This will help push the caulk into the gap and leave a smooth finish on the surface. That smoothness will let any water splashed on the tiles run down the surface easily and provide a finished look to your tiling project.
Considerations When Tiling Inside Corners

Duo Studio/Shutterstock
- Work course by course, making measurements and then cutting as you go. This gives you the opportunity to address any mistakes, rather than compounding them by measuring and adding tiles on top of them.
- Always follow the manufacturer’s instructions for affixing the tiles to the wall. Use construction adhesive or mortar mix as indicated.
- Having a partner to help mark and cut the tiles makes things much easier.
- Cut natural stone tiles outside, as they make a huge amount of dust when cut.
- It’s up to you if you work course by course, wall by wall, or everything else, and then the corner tiles.
- Consider using a chalk line to mark a level line on the wall for each course.
- Consider using a laser level to perfectly align all your work without having to pause and use a handheld level.
- Make sure anyone cutting tiles on your job site wears the proper safety equipment required by OSHA.
Tiling Inside Corners FAQs
Tiling an inside corner is pretty straightforward, but here are some common questions and answers.
Bottom Line
The bottom line for tiling corners is that it’s pretty easy to lay tile, but kind of hard to lay tile that looks good when you’re done.
Having a helper to help with measuring and cutting makes things much easier, as does having all the right tools and safety gear.
But if you start in the middle and work your way outward, measure for your cuts carefully, and apply the tile properly, you’ll have a new tile wall that looks great in no time.
Don’t forget to grout the gaps and then caulk the corners.