
Wondering how to tarp a roof? You’re in the right place.
Completing this simple task will save you a lot of money and help you avoid water damage in your home.
Everyone should know how to do it. Read on to learn more.

We partnered with Networx to help you find local roofing companies. Click to below to get a FREE quote.
How to Tarp a Roof With Damage


Maybe a storm came through and destroyed or weakened parts of your roof. Or maybe you’ve discovered leaks in your roof.
Either way, it must be covered to prevent additional water and debris from entering the damaged parts of your roof.
Contractors use a large, waterproof tarp to protect the roof. Professionals typically charge between $200 and $500 to cover your roof with a tarp. But you can do it yourself with a little preparation and focus.
After all, you need to ensure it’s covered until permanent repairs can be made. By learning how to tarp a roof, you’ll save big money. Plus, it’s really easy. Just follow the steps below.
Choose the Right Tarp
Choose a high-quality tarp that is large enough to cover the damaged area and overhang. Heavy-duty woven poly tarps are the most commonly used tools for the job. Double-layered tarps work well, too.
Look for tarps large enough to cover your area. These are typically 12’x16′ or 20’x30′ in size. Decide what length and width of the tarp you will need. The goal is to cover the area with as few tarps as possible.
More tarps mean more edges and more chances for water to sneak in. The tarp needs to be placed directly over the peak and the part of your roof that is damaged.
There should be plenty of overlap on all sides. This is easy when the damage or leaking area is obvious, but it can be harder for smaller areas.
Find the Leak or Damage
There are a few ways you can determine the location of a leak:
- Check your attic: You may be able to see where water is making its way through your roof by checking your attic closely and looking for dripping water.
- Hire a professional: A roof or home inspector can take photos of your roof and home using FLIR cameras. These cameras use infrared light to spot temperature differences. This allows them to easily pinpoint leaks and areas where water is collecting.
- Closely inspect the roof: If you’re tarping the roof yourself, climb up and closely inspect the surface of the roof to find problem areas. Not all roof issues will be obvious from the top of the roof, but you’ll get a better sense of what you’re working with this way.
If you already know exactly where the damage or leaks are, your job is that much easier.
If you find it impossible to pinpoint where the damage is, it’s better to be on the safe side and cover more of your roof than you think you need to.
Remember to allow for plenty of overlap on the peak to prevent water from entering the damaged area.
Installing a Tarp on a Roof
With the storm damage located (or at the very least, covered), it’s time to secure the roof tarp. Here is a list of the things you’ll need:
- Heavy-duty woven poly or double-layered tarp(s)
- Screws (3.5″)
- Cap nails
- Hammer
- Wood planks (Five 2x4s)
- Screw gun
- Utility knife
- Ladder
- Gloves
- Safety goggles
1. Stabilize Your Ladder
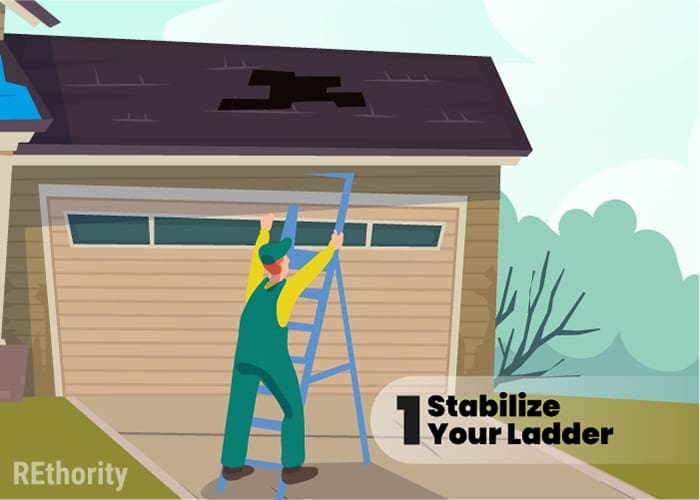
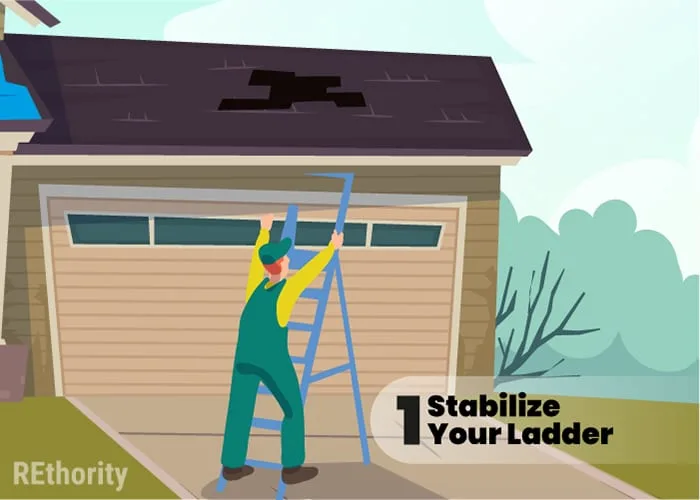
Securely place the ladder against the house and make sure it won’t slip.
It’s best to have someone on the ground at all times, should the ladder fall or feel unstable.
Bring your tools and supplies up to the roof. Put your gloves and safety goggles on!
2. Unroll and Position the Tarp

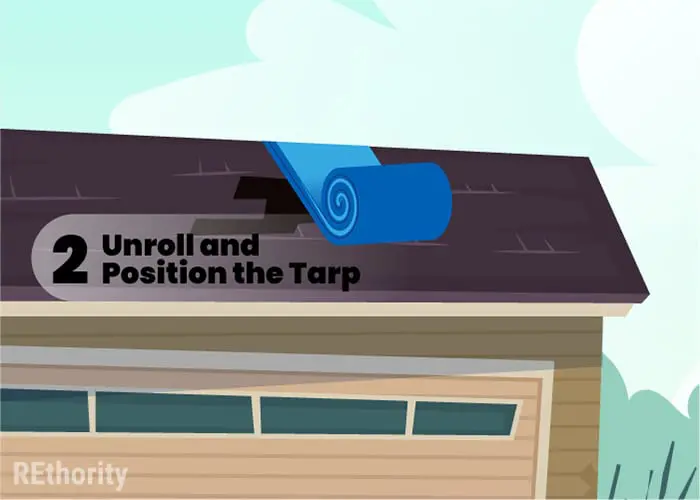
Begin to unroll the tarp over the damaged area.
Ensure that plenty of tarp (at least 3–4 feet) extends out to cover the roof peak and hang over the eaves.
3. Make Anchor Boards
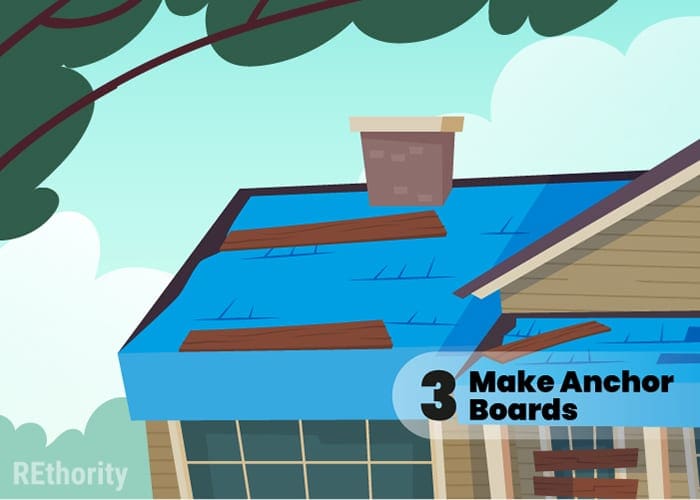

You’ll need to make an anchor board where the tarp will be “anchored” to the roof using a wooden 2×4.
Attach the part of the tarp nearest the peak (the top) to a 2×4 with a few cap nails.
Once it’s held with cap nails, wrap the tarp around the board by “rolling” the board toward the rest of the tarp.
4. Secure Anchor Boards

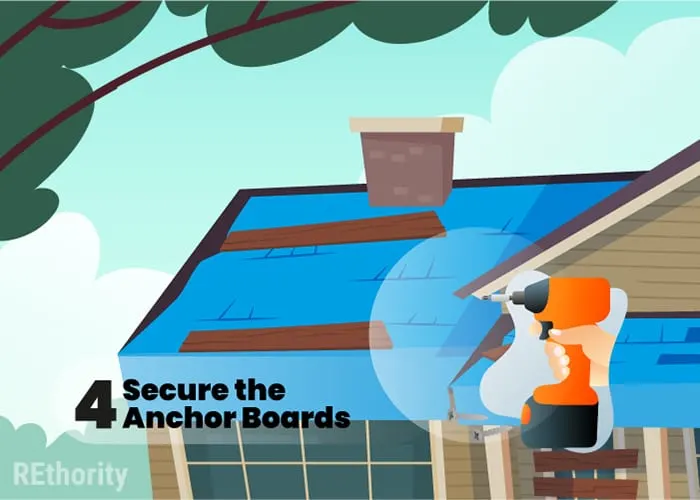
Now, use the screw gun to secure the board to the soffit or roof deck on the peak side opposite the damaged side.
Screw another 2×4 on top of this one to keep your tarp from tearing and ripping.
Repeat this process for the bottom end of the tarp, opposite the roof peak.
5. Secure the Sides
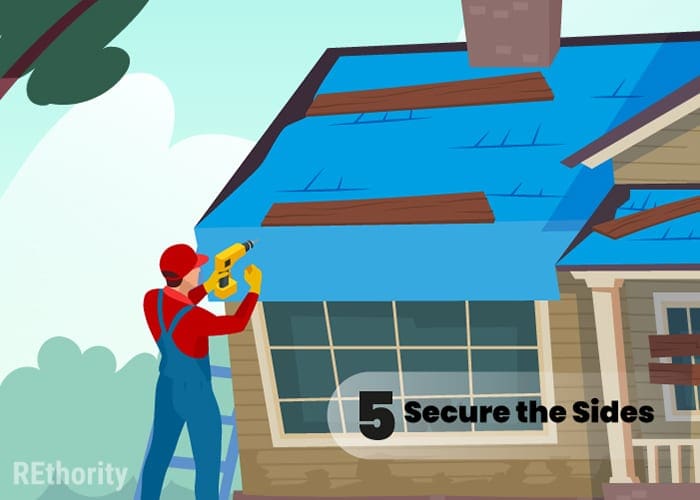

Once both ends are anchored with boards, you’ll screw 2x4s to the sides of the tarp. Begin close to the peak to keep water out, and put the tarp as close to the roof as possible.
Screw directly into the rafters if you want to ensure you don’t create any new leaks. If you don’t want to screw the tarp to the home, there are alternatives.
You can use sandbags to secure the tarp instead, but they won’t be as stable and watertight as anchor boards and screws and may not withstand high winds, hail, or rain.
If there is excess at either end, you can simply trim it off with your utility knife or create another anchor board and attach it under an eave.
Other Roof Tarp Options
Of course, our friends at Home Depot have alternative options. UTARPit is a wonderful product that helps avoid the above steps.
Simply peel, stick, and you’re done! Though prudent, owners will also tack down the ends. I personally wouldn’t trust only the adhesive.
To buy this kit, simply click the button below. Home Depot offers free ship-to-store options. Or, if you buy enough products, they’ll ship to your home for free.
If you live in an area with hurricanes or tornadoes, you should have one of these products in storage in the unlikely event that you’ll need it.
We partnered with Networx to help you find local roofing companies. Click to below to get a FREE quote.
Should You Know How to Tarp a Roof?
Absolutely! Knowing how to tarp a roof is a great way to avoid rejected claims and roof damage. While it isn’t a solution for the long term, it’ll at least help.
What it will do is stop a roof leak from getting worse, prevent additional storm damage, and ensure you don’t lose the chance to have your insurance company cover the roof damage.
Keep safety at the forefront of your mind when attempting any home repairs, especially high up on your roof.
If you feel unsafe or overwhelmed by the task, call a roofing company to take care of it and ensure the job is properly done.