Ever been halfway through building something only to have a screw give out? It’s no fun.
Fortunately, we’ve made a complete guide to show you how to remove a stripped screw. Read on to learn all you need to know.

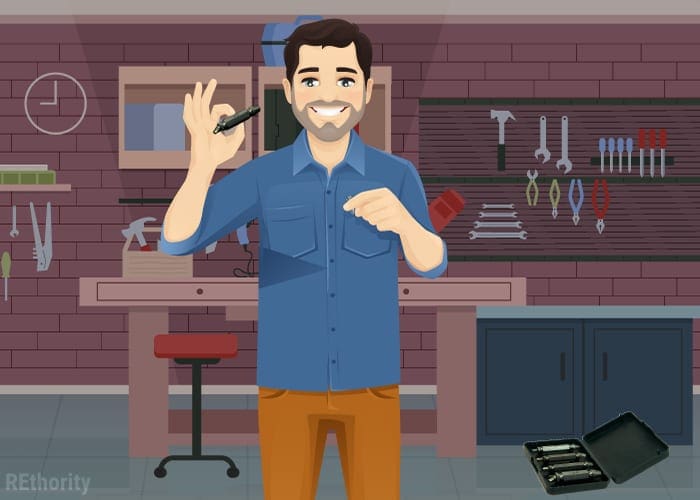
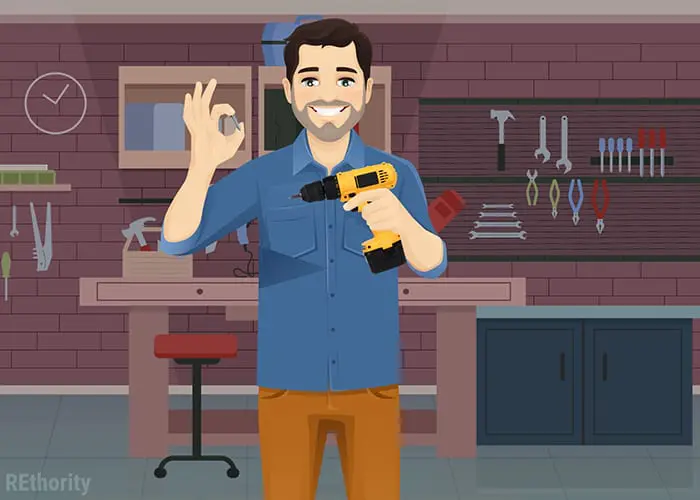
Wondering How to Remove a Stripped Screw?


Stripped-out screws are frustrating, no matter how skilled you are with tools. They happen when a screwdriver or drill bit creates too much friction or is angled incorrectly in a screw head.
The result? The drive, or indentations in the head that accommodate a screwdriver or drill bit, gets bored away or damaged so much that your bit can’t catch it enough to turn it.
It brings any project to a screeching halt. But you can get right back on track by knowing a few methods to use to get the stripped screw out of there.
There are special extractor kits you can buy for this exact purpose (and we’ll show you how to use them below), but where’s the fun in that?
We’ll show you how to remove a stripped screw with everything from special kits to unexpected household items like a rubber band or steel wool. Check out eight ways to do it with tools and objects you might already have on hand.
8 Ways to Remove a Stripped Screw
A screw head that’s stripped doesn’t stand a chance against these effective methods. Here are a few ways you can remove one fast.
1. Grab a Rubber Band

You probably have a rubber band lying around the house or garage somewhere. If you do, grab it and use it to get the screw out. This is by far one of the easiest methods.
It’s most effective when the screw head is not entirely stripped. It works because the rubber gives your screwdriver the grip it needs to hang onto the screw and allow it to turn with the leverage your screwdriver creates.
Just like a hard-to-open jar can be opened with the help of a rubber jar opener, a hard-to-remove screw can be turned with the help of a rubber band.
- Lay the rubber band (the wider, the better) over the head of the stripped-out screw.
- Line your screwdriver up with where the indentations should be under the rubber band.
- Press down firmly, but not with too much force. And try to turn the screw counterclockwise slowly. Clockwise rotation drives screws in, while counterclockwise rotation pulls them out. (righty tighty, lefty loosey)
- Turn the screw slowly to avoid damaging the rubber band.
- When the screw head is out enough to reach it easily, you can finish the job with locking pliers or even turning it by hand.
2. Try Steel Wool


A rubber band would be the first choice because it’s so grippy, but if you don’t have one, you can always try steel wool instead. It might “bite” into the screw enough to help you get it out.
It’s the same principle as the rubber band: the steel wool is something to fill the bored-out space in the screw head and grip the screw. The screw will come out if you can get enough leverage in the absence of the indentations on the head.
- Grab your steel wool and place it on top of the screw head.
- Line your screwdriver up with the center of the head, where the indentations are.
- Firmly press the screwdriver into the steel wool and slowly turn it counterclockwise.
- When the screw head is poking out enough for you to get better access to it, you can finish removing it by hand or with locking pliers.
3. Use Locking Pliers to Remove It

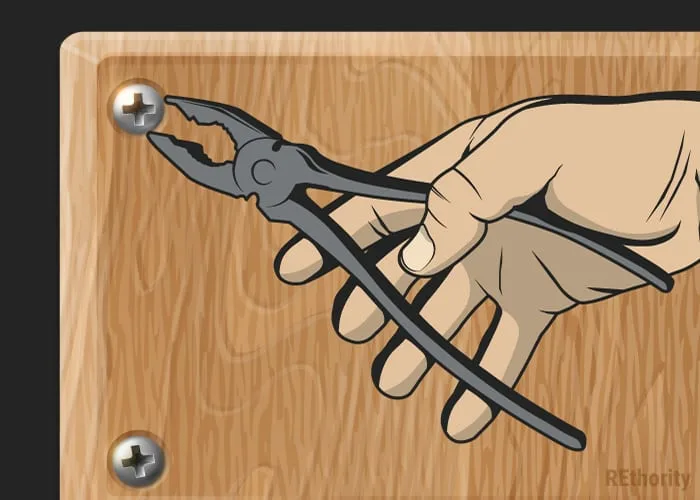
Depending on how far the stripped screw is sticking out, you may be able to remove it with vise grips or locking pliers. If you use this method, make sure to work slowly.
If you move it too quickly, you risk breaking the screw head off. That’s an even harder problem to solve!
- First, cut a single line halfway through the center of a small cardboard sheet to protect the wood or surface around the screw. This protects the surface in the event the pliers slip off the screw head.
- Clamp the vise grips or locking pliers onto the screw head. Make sure you get the pliers as close to the wood or surface as possible to give yourself the maximum leverage.
- Slowly but firmly turn the screw counterclockwise to remove it. Don’t rotate too quickly to avoid snapping the screw head clean off.
4. Grab a Screw Extractor Kit

There are screw extractor kits you can buy for this exact purpose. If you happen to have one on hand, that’s even better! Screw extractor kits are pretty simple to use.
Extractor kits are left-hand drill bits of various sizes designed to bite into the damaged head of a screw that’s been stripped. These kits are designed to remove #12 or larger screws. Here’s the gist of how to use one.
- Drill a 1/8-inch hole into the very center of the screw head that is stripped. This hole is what you’ll place the screw extractor into.
- Place the screw extractor tip into the 1/8-inch hole you drilled. Press downward firmly and start to turn it counterclockwise very slowly.
- You should feel the extractor tip “bite” into the screw head and grip it. Keep turning it counterclockwise slowly until the head is out far enough to be grabbed.
- Finish the job with locking pliers or vise grips.
5. Use a Multi-Spline Screw Extractor

If the damaged screw is a socket cap or Torx screw and the cylindrical body is exposed, you have another option that might work. Try a multi-spline extractor to get it out.
This is a tool that actually fits over the screw head rather than drilling into it. It has multiple teeth called splines on the surface that engage the screw head.
A multi-spline screw extractor forces the splines into the metal of the screw head. This should hold it with enough grip to allow you to turn the screw counterclockwise and remove it.
- Place the multi-spline screw extractor directly over the head of the damaged screw.
- Bear down to ensure it is making contact with the screw head.
- Tap the extractor into place using a mallet or hammer.
- Slowly turn the extractor with the socket wrench to remove the screw.
6. Grab a Center Punch and Left Hand Drill Bit


If you have a few tools on hand, you can try removing the stripped screw with a center punch and left-hand drill bit instead of buying a screw extractor kit.
The principle is exactly the same as an extractor kit. You make a starter hole, then put a left-hand drill bit into the hole that will bite into the metal enough to turn the screw and get it out.
Left-hand drill bits are the reverse of a normal right-hand drill bit. Their “flutes” (the twists on the bit) twist to the left in a counterclockwise direction, while the flutes twist to the right in a clockwise direction in a right-hand drill bit.
When you apply pressure to a left-hand drill bit and turn it counterclockwise, it jams into the damaged screw head and twists it out. Left-hand drill bits are not as common as their right-hand counterparts, but you can still find them at most hardware stores.
- Place your center punch directly in the center of the screw to make a hole. Make sure the screw is flat.
- Drill out the center a bit to create a space for your left-hand drill bit to fit snugly into.
- Place the left-hand drill bit into the centered hole and press down firmly. Begin to slowly turn the drill bit counterclockwise by setting your drill in reverse.
- Run the drill in reverse until the screw is out far enough to be gripped with locking pliers. Finish removing it with the pliers gripping the head.
7. Cut a New Drive Pattern with a Dremel

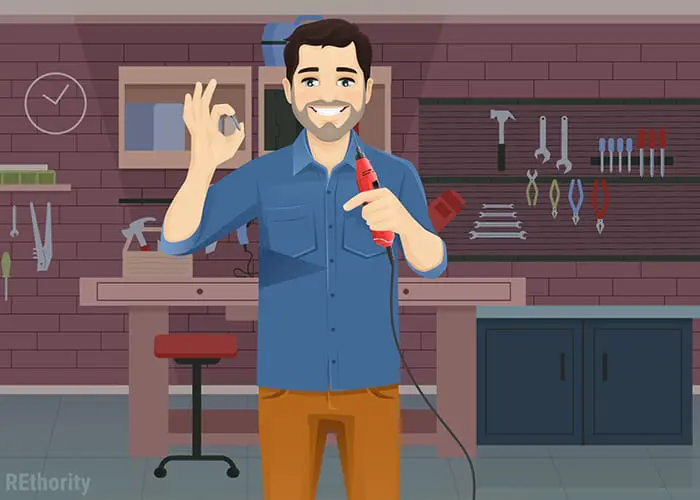
If you started with a Philips head drive, you can use a Dremel to cut a new drive pattern and turn it into a makeshift flathead screw for removal.
Basically, you’ll be slashing through the bored-out middle of the screw with a Dremel to accommodate a flathead screwdriver. Here’s how to do it.
- Place a cutting wheel on your Dremel. If you can protect the wood or surface the screw is on, do that now. If not, just be extra careful not to cut into it. Make sure there’s nothing flammable nearby because the Dremel will create sparks.
- Bring the Dremel down to cut a single line through the very center of the screw. Do not cut it too deeply. You just want it deep enough to accommodate a flat-head screwdriver.
- Once you have a straight line across the screw, put the Dremel away and grab a large-bladed flathead screwdriver. The more snugly it fits into the drive pattern, the better chance you’ll have of getting it out.
- Press down firmly and very slowly turn the screw counterclockwise to twist it out of the hole. As soon as it’s up far enough to grab with locking pliers or vise grips, take hold of it and finish removing it that way.
8. Drill Out the Screw
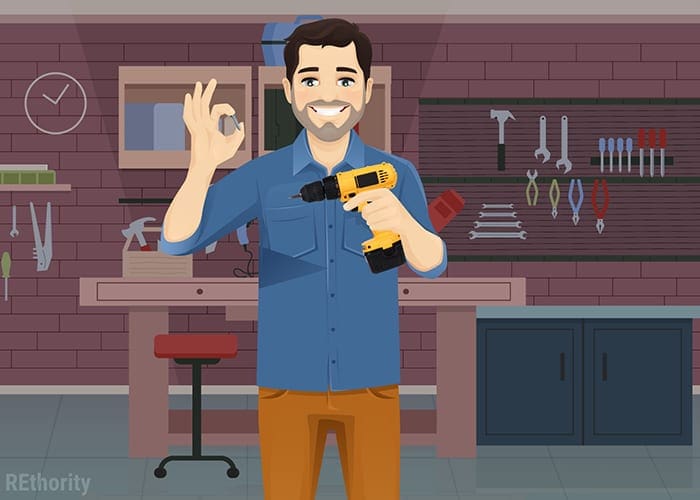
The final DIY method you can try is drilling out the screw. Don’t try this until it’s a last resort. If it doesn’t work to remove the screw, you’ll have to call a professional to remove it for you. But if you’re pretty confident it will work, give this one a try.
When the screw head is broken off, there’s less pressure on the screw shaft to hold it in place. This makes it easier to pull out by other means, if it works. Here’s how to drill out a screw to remove it.
- Locate a drill bit that is a little bit bigger than the shaft of the stripped screw. You want the drilled hole to be wide enough to completely remove the screw head from the shaft when it drills through.
- Place a center punch directly over the center of the screw head. Make a hole in the dead center to guide you as you drill.
- With your larger drill bit in, use your drill and start in the center hole you punched. Start drilling until the screw head breaks off.
- Grab a pair of locking pliers and carefully but firmly grab the exposed screw shaft. Be careful not to break it off.
- Rotate the pliers counterclockwise to remove the screw shaft from the hole.
How to Prevent a Stripped Screw
Stripped screws can be prevented if you take a little extra precaution and care before starting your project. Here are a few ways you can prevent it from happening in the first place.
- Make sure you’re using the right-sized screws for the project.
- Rub threads of screws that are 2 ½ inches or longer with beeswax or a wax candle to reduce friction as they’re driven in.
- Buy the right drill bit set for the work you’re doing.
- Drill pilot holes that are the right size for the screws you’re using and the type of wood being drilled. This reduces friction on the screws and avoids splitting the wood.
What If You Can’t Remove the Screw?


If you’ve tried the 8 DIY methods above and still can’t get the screw out, or if you’ve broken an extractor off the screw, you still have one option.
Call a professional machine shop for help. They have access to tools that you probably don’t, and they have plenty of experience dealing with stubborn screws that have been stripped and broken off.
Chances are, the machine shop will use electrical discharge machining, or EDM, to remove the screw. A stripped screw may slow your project down, but with these methods, you’ll be able to get back to work sooner than you think.
It doesn’t matter if you use a rubber band or a specialized screw extractor kit. The goal is getting the screw out, and with the above techniques, you’ll be able to do it.