Sliding glass doors need to be removed periodically for cleaning, maintenance, parts replacement, or to move large pieces of furniture. You may also be replacing your existing door with a new model.
If you’re wondering how to remove a sliding glass door properly, there’s a simple process to follow to ensure the doors, frame, and track are not unnecessarily damaged.
Keep reading to learn how to remove a sliding glass door and what tools you’ll need for the task. We’ll cover steps to take, things to consider, and when to call a pro.
We partnered with Networx to save you big money on your next home renovation project. And quotes are free!
Why Remove a Sliding Glass Door?
The instructions you will follow below will differ based on your goal. Are you removing your sliding glass door to create space for a new door?
Are you removing the sliding glass door to replace damaged parts or for routine maintenance, like cleaning the rollers and track? Perhaps you need to remove the door so you can move a large armoire or couch into or out of your home.
If you are preparing your home for new door installation or moving a large piece of furniture, you will need to remove both the sliding and stationary door panels.
If you’re taking care of regular maintenance, parts replacement, or cleaning, you may only need to remove the sliding panel.
Follow These Steps
Removing a sliding glass door can be a physical challenge, but it is a relatively simple process to follow. The general steps you’ll be taking are as follows:
- Removing the screws that hold the sliding door in place
- Tipping it out carefully
- Finding and removing all screws and fasteners
- Caulk that holds the stationary door in place
- Prying the frame out of place (if removing the entire door in preparation for a new installation)
How to Remove a Sliding Glass Door
To remove a sliding glass door, you will need a few tools and materials to get started.
Tools and Materials Needed
- Flathead screwdriver or putty knife
- Phillips head screwdriver
- Pry bar
- Reciprocating saw
- Heavy blankets, cardboard, or foam sheets
The flathead screwdriver (or putty knife) will help you tuck the sliding glass door rollers under the sliding panel as you pull it out.
Depending on the screws used in your sliding glass door assembly, you may need either a flathead or a Phillips head screwdriver.
You will likely need both. A pry bar with a hammer claw at one end will be necessary toward the end of the project as you begin prying the frame and stationary door parts away.
A reciprocating saw can help you cut through any parts of the frame or trim that are difficult to remove. Heavy blankets, layers of cardboard, or foam sheets are essential to protect your sliding glass doors and flooring.
The bottom edges of these doors can be sharp and easily scratch or mar flooring. You’ll also need help from another person to lift and move the doors once they are removed.
These doors are heavy, and their large size can make them difficult to maneuver alone. Once you’ve gathered your tools and materials, you can begin removing the sliding glass door and stationary glass door.
1. Clear the Area
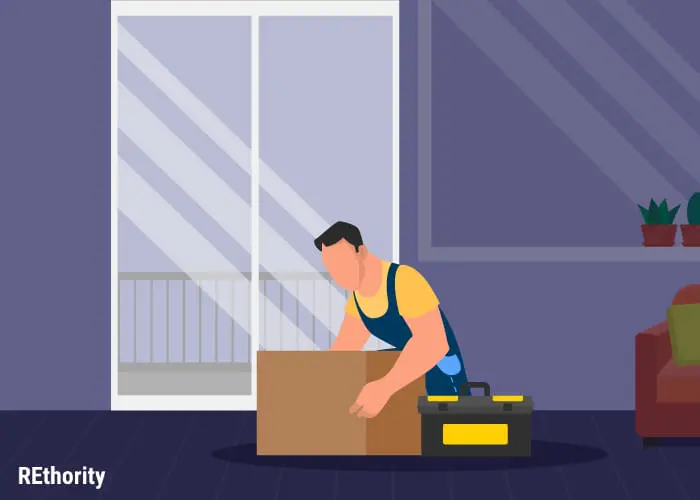
Sliding glass doors are large, and once you remove the doors from their tracks, you will need plenty of space around the area so you can carefully lay the doors on the ground.
Clear about 10 feet of space around the door, remove any furniture or objects, and ensure you have plenty of room to maneuver the doors.
2. Remove the Adjustment Screw Covers
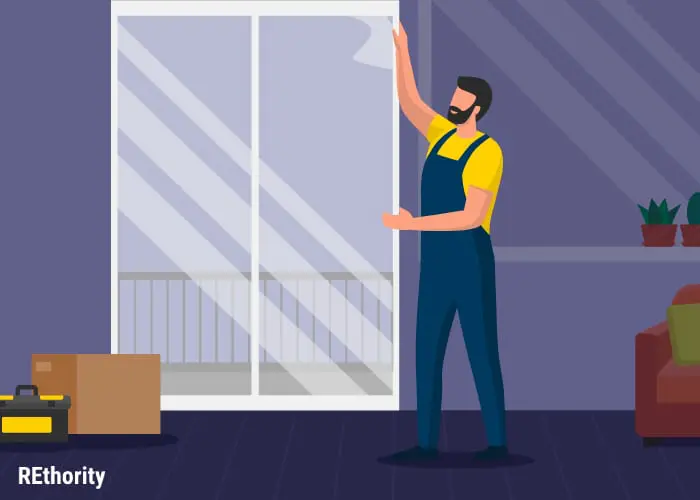
Sliding glass doors have two adjustment screws that control the rollers’ height on the bottom or side edge of the door.
These are usually covered with adjustment screw covers that keep the screws out of sight.
Locate these covers and use your flathead screwdriver to pry the covers off and expose them carefully.
3. Adjust the Screws
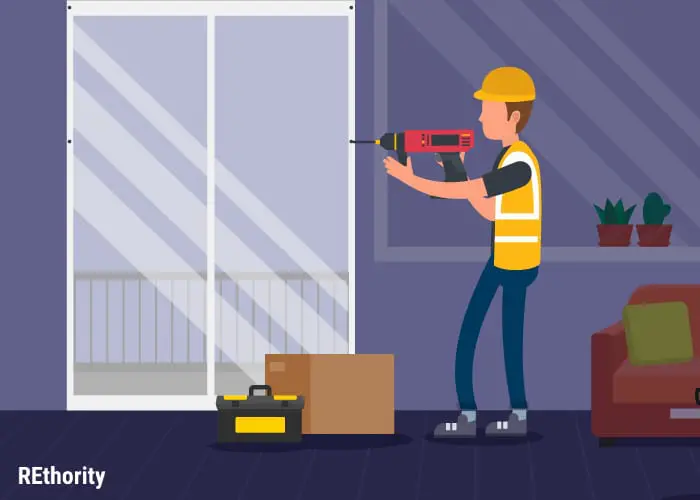
Use either a flathead or Phillips screwdriver to turn both adjustment screws in a counter-clockwise direction, which tucks the sliding glass door rollers into the door.
It makes it flush with the track rather than sitting slightly above it on the rollers. This creates additional room for the door to clear the tracks when you pull it out.
4. Remove the Head Stop
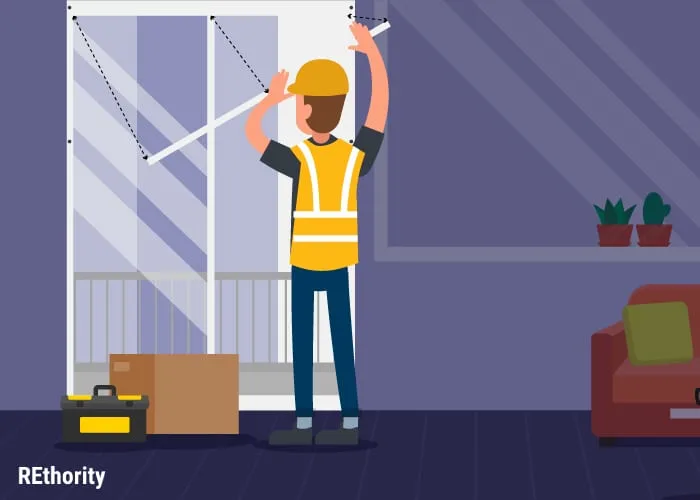
Your sliding glass door may have a doorstop that covers the inside edge of the door frame. If yours does, you will need to use your screwdriver to remove this head stop.
You will find the head stop attached to the top track of your sliding glass door. Once you remove it, be careful not to let the door fall over.
Without the head stop, the door can be removed. But it can fall forward if you don’t keep a grip on it.
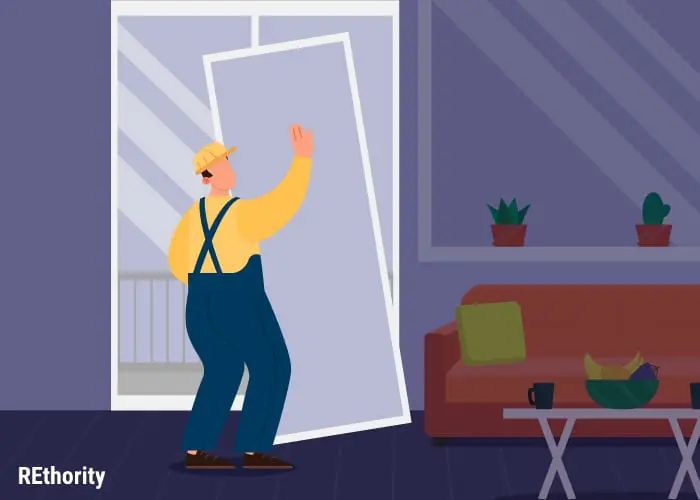
5. Tilt the Door Out
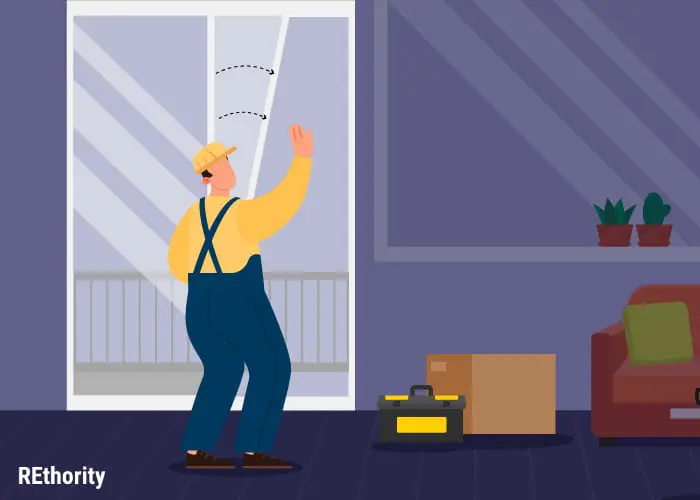
Start with the sliding glass door in the center of the track for the door’s smoothest movement. With your helper standing beside you inside the house, carefully begin to tip or tilt the top of the door inside toward you.
As you tilt the door, start lifting it up and out of the bottom track. This is simple, with the adjustment screws in their proper position and the rollers out of the way.
Once you’ve removed the sliding panel of the door, carefully place it on the blankets, cardboard, or foam sheets you’ve laid out.
6. Remove the Stationary Door
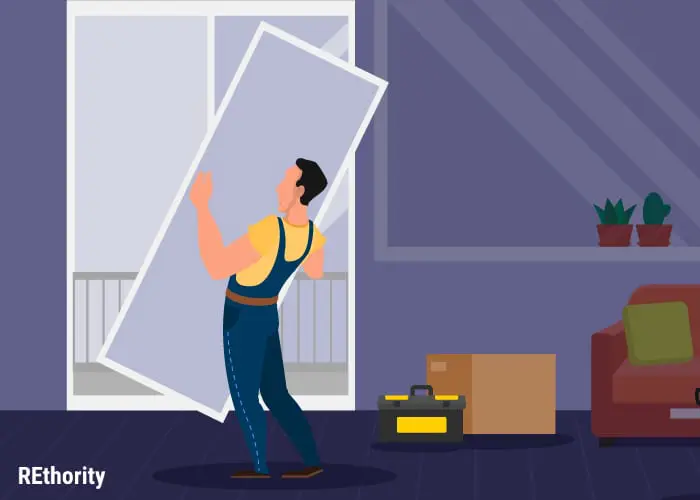
Note: You may or may not need this step, depending on your purpose of removing the sliding glass door. If you just need to clean the door’s tracks or replace the rollers, you can leave the fixed panel in place. If you need to create a wide opening to move furniture or replace your sliding glass doors entirely, you will need to remove the stationary door.
The other stationary door panel is likely located behind the sliding panel. So with the sliding panel out of the way, you can now remove the fixed door.
The stationary door will be held in place with screws that go into the sliding door tracks. Look for an L-shaped bracket screwed onto the track and corner of the stationary door panel.
Use a screwdriver to loosen these screws in the bracket, then loosen the screws holding the door panel. Unlike the sliding door, the stationary door will be caulked where the panel meets the door jamb.
You will need to use a utility knife to cut the caulk away from the panel carefully. Use a caulk remover to help soften the caulk before cutting into it. Once the caulk is cut, have your helper firmly hold the stationary panel.
Place your pry bar down between the bottom of the door panel and the track, then pry upward on the panel until you can pull the bottom of the panel toward you.
Make sure your helper has a firm hold on the panel as you do this, then carefully place the fixed panel on the blankets, cardboard, or foam sheets you’ve laid out.
7. Remove the Door Frame
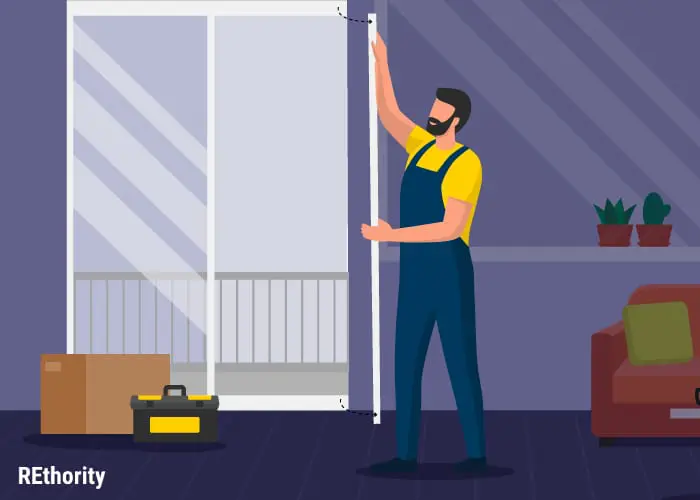
If you are completely removing the sliding glass door to install a new door, you can now remove the door frame by using the pry bar. You will be doing a lot of prying to free the frame from the door jamb.
Position the pry bar at the base of the trim pieces and pry upward to expose the trim’s nail shafts. Use the claw end of the pry bar to remove the trim by grabbing the nail shafts.
Use your reciprocating saw to cut along and through the sides and top. You’ll be cutting through the shims and fasteners along the sides and top.
The bottom may be caulked or glued into place, so once the top and sides are free, have your helper assist you in pushing and tipping the frame away from your house.
As your helper tilts the frame, keep prying with your pry bar to release the frame from the floor. Once the frame is out, you can use the hammer claw to remove any exposed nails.
Then, cut the frame into smaller pieces to make it easier to dispose of. Be very careful, however, because the pieces will be sharp and can cause you harm if handled improperly.
Sliding Glass Door Removal and Installation Costs
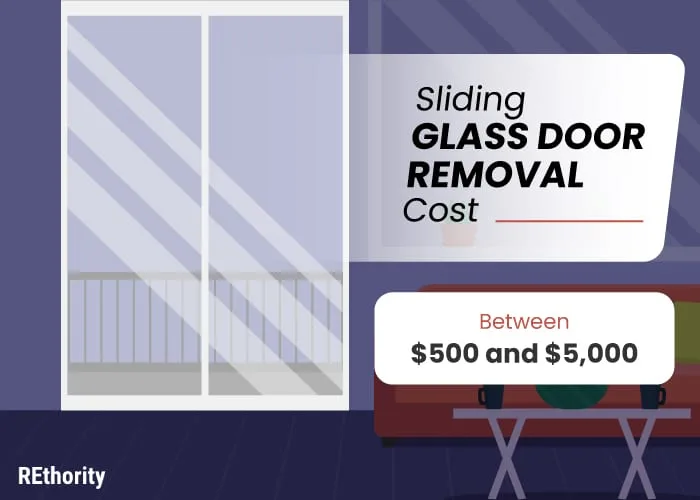
Sliding glass patio doors cost anywhere from $500 to more than $5,000, depending on the size of the doors, labor costs, door style, and door brand.
The national average cost to have sliding glass patio doors replaced and installed is about $1,700. Expect to pay anywhere from $200 to $350 for the cost of labor if you hire a professional to remove and install sliding glass doors.
To make this a less expensive remodeling project, you can remove the sliding glass door yourself and have a professional installer come to put the new door in.
If you want special upgrades or custom options, sliding glass doors may be more expensive.
You can have built-in blinds, double or triple-paned glass, retractable screens, pet panels, shutters, glass tinting, sidelights, and automatic opening features added to your sliding glass door for a cost anywhere between $50 and $4,000 (automatic opening).
When to Call a Pro
The above steps can easily be taken by any homeowner, but sometimes it’s good to leave the hard work to a pro. If this describes you, simply click the green button below to be paired with a pro.
We partnered with Networx to save you big money on your next home renovation project. And quotes are free!
Still Wondering How to Remove a Sliding Glass Door?
Don’t start removing a sliding glass door until you have your new doors ready for installation.
With your sliding glass doors removed, your home will have a large opening that can be a security hazard until the new doors are installed.
It’s also a good idea to start this project early in the day to ensure you have plenty of time to get the new doors installed before nightfall. Installation of new sliding glass doors takes about 4 to 6 hours.
Measure, Measure, Measure
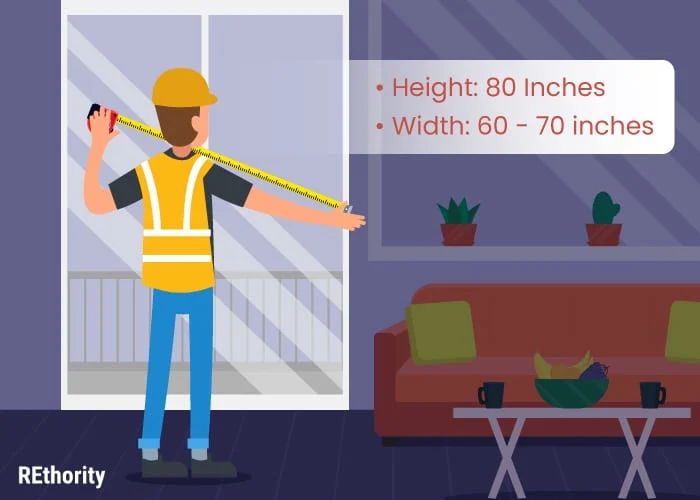
Make sure any new doors you’ve ordered or purchased are measured properly to be a perfect fit. When you measure for a new door, find the width by measuring from one side of the door jamb to the other with a tape measure.
To find the length, start from the floor where the door sill is installed and up to the beam of the door. The average size for sliding glass patio doors is 80 inches tall and 60 to 72 inches wide.
We’ve shown you how to remove a sliding glass door, covered each step in detail, and outlined a few essential considerations like the average cost, size, and project time.
If you decide to remove your sliding glass doors yourself, make sure to have a helper assist you with each step. When you remove the doors successfully, you can be proud of yourself for another home improvement project well done.
Resources:

