Searching for how to remove a “water stain on ceiling?” If so, you’re in the right place.
Read on to learn how to remove stains from the ceiling, a few things to consider when doing so, and the materials you’ll need.
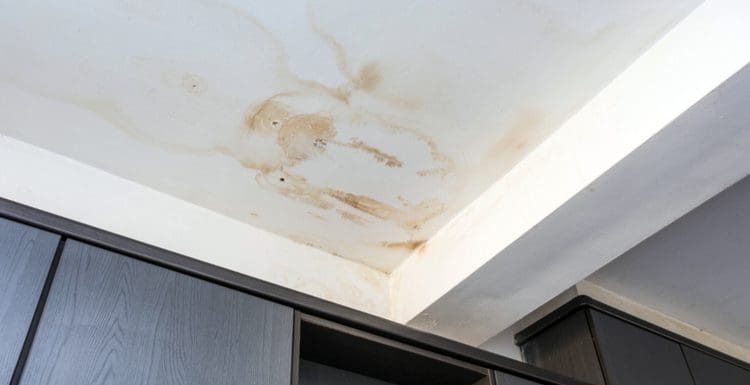
Ceiling stains can be unsightly in any dining, living, or kitchen space. They are so conspicuous that they draw your guest’s attention from any other captivating feature in your living room.
Knowing how to remove water stains on the ceiling is critical to restoring the structural integrity of the ceiling and the beauty of your space. Here’s a brief step-by-step guide to help you fix ceiling stains.

We partnered with Networx to save you big money on your next home renovation project. And quotes are free!
How to Remove Water Stains From Ceiling: A Summary

Claudio Divizia/Shutterstock
- Determine the cause of the stain
- Wear protective gear
- Assess the extent of repair
- Prep the surface
- Scrape off damaged material
- Repair the hole in the drywall
- Clean the surface
- Apply a base coat of stain-blocking primer
- Paint the surface
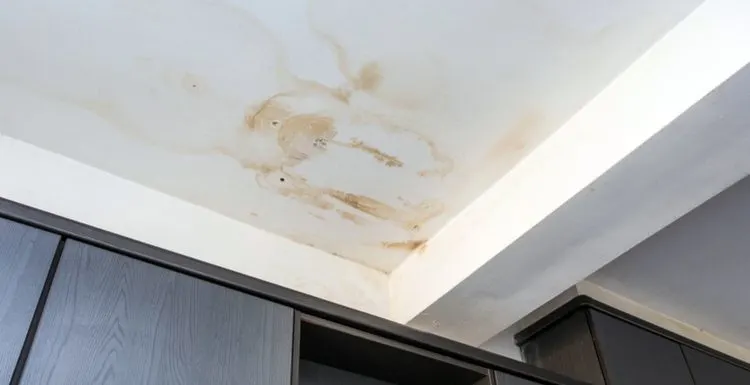
How to Remove Water Stain on Ceiling in 9 Steps

Andrey_Popov/Shutterstock
Here are the proven best steps to remove water stains from the ceiling:
1. Determine the Cause of the Stain
Identifying the cause of the ceiling stain is the first step to fixing the problem. Most homeowners have the tendency to apply paint to the stain without dealing with the root cause of the problem.
Such cosmetic solutions don’t last long; the stains often bleed out and reappear within a short period of time. Some of the main causes of ceiling stains include:
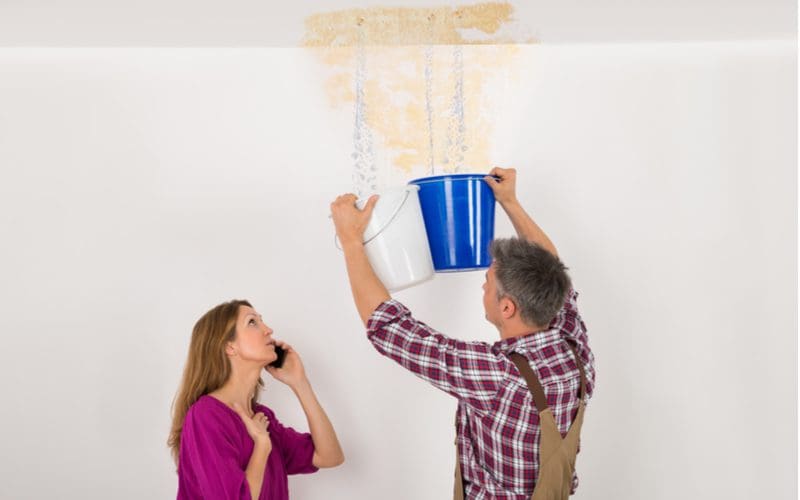
Leaking Roof
Weak shingles and seals around roof vents and compromised flashing can cause water to seep through the ceiling and develop stains. Such stains are brown in color due to the additives used in paint.
Most paint manufacturers use an additive called surfactant to stabilize paint and enable it to adhere to a surface. The additive has a brown color, and it cures once the paint dries.
However, if the water sits on a ceiling for a prolonged period, the surfactant reactivates and dissolves, eating through the paint. The result is an ugly, brown color on the ceiling.
If your roof is leaking, it’s best to have it inspected and repaired before removing the ceiling stain. Sometimes the roof shingles are extremely worn out, and you have to replace them.
Leaking Pipes
Broken pipes may cause water to seep through the ceiling. This problem is common in old houses with worn-out pipes.
Repairing the pipes is the first step to removing the ceiling stain, but you may need to replace them if they’re completely worn out.
Leaky Radiator
A leaky radiator can also cause ceiling stains, and if not fixed immediately, it can damage the whole ceiling. Radiator leaks can happen in different areas:
- The radiator body: Leaks developing on this part are often a result of corrosion, and the best way to fix the problem is to replace the radiator body.
- Radiator valve: It’s the most common cause of radiator leaks and results from a damaged internal spindle packing. The leak happens when the valve is partially open and stops when it’s closed.
- Radiator pipe joint: If your radiator is part of a compression heating system, it probably has a series of joints connected to the radiator. If any of the joints get lost, it causes leaks that stain your ceiling.
- Radiator gland: The leak may also occur on the radiator gland, a small fixture under the plastic lid of a valve.
Old Caulking and Shower Pan
If you’ve been residing in a house for a long time and your ceiling starts leaking, check your bathroom’s caulking.
Normally, caulking used on bathtubs wears out after ten years of use. You also want to check the shower pans, especially if they’re made from plastic.
Plastic shower pans deteriorate faster than those made from concrete. Major leaks are often visible under the subfloor and the floor joists. They spread outward and soaked the adjacent areas.
Uneven Heating
The central HVAC system circulates cold or hot air in a home through vents. The vents then collect air from your home and send it back into the system through a vent.
If there’s a block in the vents, the air in the ducts won’t circulate, causing uneven heating. If the location of the vents is on the ceiling, they could develop stains over time.
2. Wear Protective Gear
Before embarking on the project, you want to ensure your body is safe from harmful objects or products. Some ceilings are pretty old and may still contain harmful components, like asbestos.
Safety goggles protect your eyes from the bleach solution and anything likely to fall off the surface, while gloves are ideal for people with sensitive skin.
Be sure to wear a mask, too, to protect yourself from the strong bleach smell. Some old clothes you don’t mind throwing away also come in handy in case they bleach.
3. Assess the Extent of Repair
If it’s an old stain, a simple, clean bleach solution should remove the stain.
However, a little elbow grease may be all you need to remove the stain from the drywall ceiling.
4. Prep the Surface
When repainting the stained ceiling, it’s best to prepare the area to avoid staining other parts of the house. Remove the surrounding furniture or cover it with plastic bags.
If the stain extends to the wall, be sure to keep the bleach solution off the wall. Also, remove any wall art or decorative items on the walls. Even diluted bleach can strip off-color from surfaces.
5. Scrape Off Damaged Material
The popcorn ceiling peels off over time due to water damage. If that’s the case with your ceiling, you need to scrape off the old material before cleaning or applying paint. Scrape it off until flat drywall is visible.
Sometimes the drywall is so damaged, you need to cut out some portions and repair them (as discussed later in the guide).
A keyhole saw comes in handy when cutting out small portions, while a claw-end hammer is more suitable for ceilings with extensive water damage.
6. Repair the Hole in the Drywall
Earlier, we mentioned that you’d need to cut out some parts of an extremely damaged ceiling.
If that’s the scenario on your end, you need to repair the surface before applying paint or a primer. Here’s how to do it:
- Cut a similar size of new drywall and place it in the hole.
- Fill the gap using joint drywall compound.
- Use a putty knife to flatten the surface.
In the case of a wooden ceiling, it might be a little challenging to replace the damaged area. Once wood rots, it’s not easy to cut out the portion and replace it without leaving visible signs of repair.
It’s best to engage a professional to help you repair and remove the stain. If the water hasn’t seeped through the wood, you can sand the damage away and apply a sealer.
7. Clean the Surface
Bleach solution is effective at removing mild ceiling stains and any lingering grease, mold, and dirt.
Here’s how to do it:
- Wipe the stained area with a clean sponge.
- Measure 1/3 of the bleach solution and add it to 2/3 parts of water. In the case of wooden ceilings, it’s best to use bleach for washing wood surfaces. Oxalic wood bleach, for example, removes water stains.
- Pour the solution into a sprayer and start spraying it on the stain.
- Ensure it covers the stain and allow it to soak in for 30 seconds before misting the area again.
- Allow the area to dry and avoid touching or dabbing it because the surface can peel off easily when wet.
- Allow the first treatment to dry for some hours or overnight, and treat the area (using the solution) 5–6 more times until the stain disappears.
8. Apply a Base Coat of Stain-Blocking Primer
It’s easy to apply a coat of paint to the surface after removing the stain because it already appears clean.
However, most interior latex paints designed for ceilings don’t provide enough cover over water stains.
These paints are water-soluble, hence likely to dissolve when they come into contact with the water stain. As a result, you get discolored mineral contents that often show through the paint.
As such, it’s important to apply a coat of stain-blocking primer before repainting the surface.
Oil-based primers are not soluble in water, are mold-resistant, and have stain-blocking properties, making them an excellent alternative to water-based primers.
In addition, they have high volumes of binders that ensure the product adheres to the surface effectively. The application method depends on the type of ceiling in your house.
If it’s a smooth ceiling, a paint roller does a pretty good job at applying the product.
On the other hand, a thick nap roller cover or a spray is suitable for textured ceilings. Apply one or two coats of primer and allow it to dry for two hours before applying paint.
9. Paint the Surface
Painting the surface helps match the stained area with the rest of the ceiling. Water and oil-based ceiling paints are effective, but water-based paints are the best if you’re an eco-conscious homeowner.
They produce fewer fumes from volatile organic compounds and dry faster. Be sure to use paint that matches your ceiling color to achieve a uniform look. For more consistent results, paint the entire ceiling.
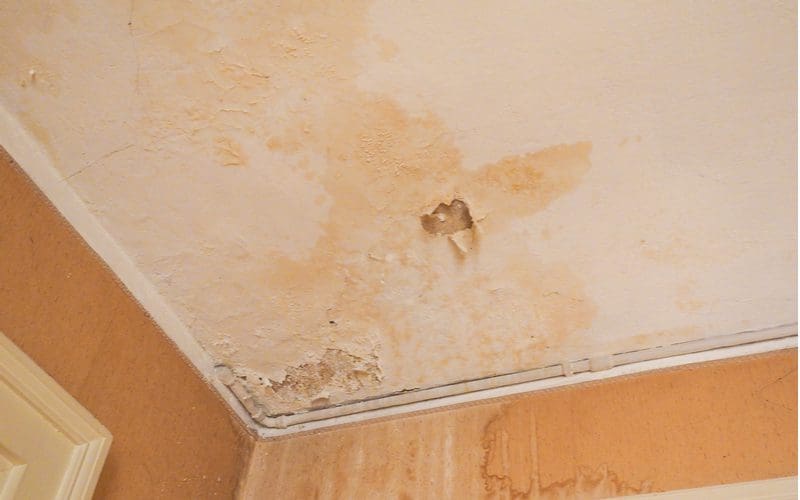
Things to Consider

Freedom365day/Shutterstock
Water leaks do not always cause a water stain on the ceiling. Two other unique scenarios cause ceiling stains too:
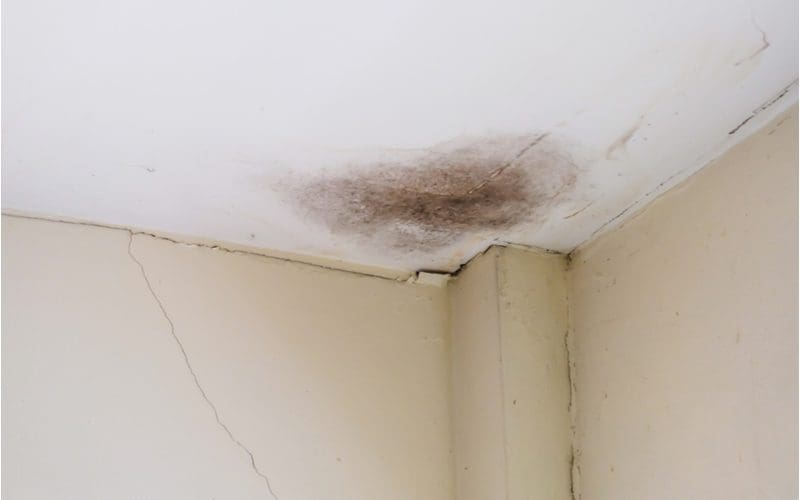
Mold Buildup
Sometimes mold buildup can stain the ceiling and cause a musky smell. The problem may be due to a cracked window, unknown plumbing damage, or water condensation.
To remove such stains, you need to:
- Identify the source of the stain and eliminate it.
- Clean the stained area (using the procedure explained above).
- Apply two coats of primer.
- Repaint the area.
Water Condensation
Excess moisture in the attic causes these stains, along with mold and mildew buildup. Typically, condensation happens when the attic space is poorly ventilated.
Heat gets trapped in the attic, warming the ceiling. As such, each time you turn on the AC and cool air rises, it comes into contact with the warm surface of the ceiling, forming condensation.
Condensation stains are common during the winter season and can cause mold buildup. The stain removal process is as discussed earlier, but it’s best to know how to prevent the problem. There are three ways of doing it:
- Ensure the attic is properly insulated: You can add an insulation blanket to prevent heat from escaping through the ceiling. Adequate insulation also reduces your power bills
- Outfit the roof with a rigid vent: Rising temperatures can cause ceilings to develop wet stains during the hot season. Installing a rigid vent helps remove hot air from the attic, keeping the area cool
- Minimize the humidity levels at home: You can install new vents or keep doors and windows open longer to remove the excess heat building up at home
We partnered with Networx to save you big money on your next home renovation project. And quotes are free!
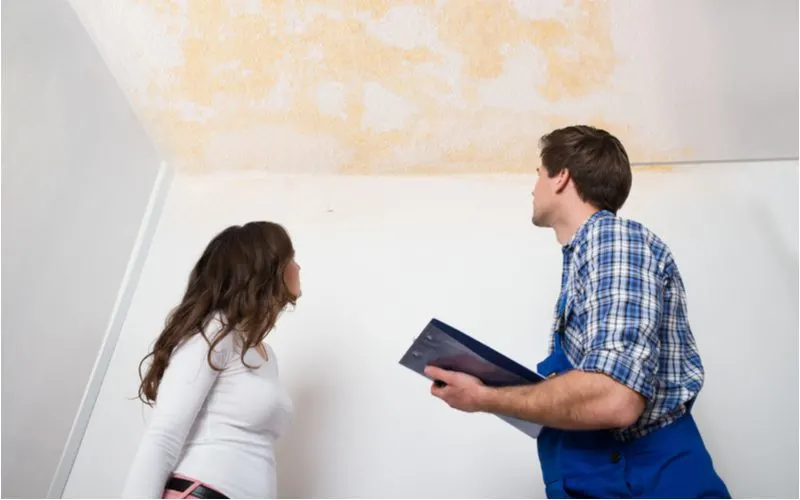
So, How Do You Remove a Water Stain on the Ceiling?

Andrey_Popov/Shutterstock
Now you know how to remove water stains on a ceiling.
The first step is to identify the cause of the stain unless mold buildup or water condensation caused them.
Also, always apply a primer before painting for better results.