
Wondering how to insulate a garage ceiling? Look no further than our complete guide below.
We’ll cover what you’ll need, steps to take, and things to consider before starting this potentially labor-intensive project.


We partnered with Networx to save you big money on your next home renovation project. And quotes are free!
Insulation serves many purposes in a home. It’s necessary if you plan to control the temperature inside your home.
It also helps to reduce noise, so it’s a no-brainer if you want to convert your garage into a more usable space.
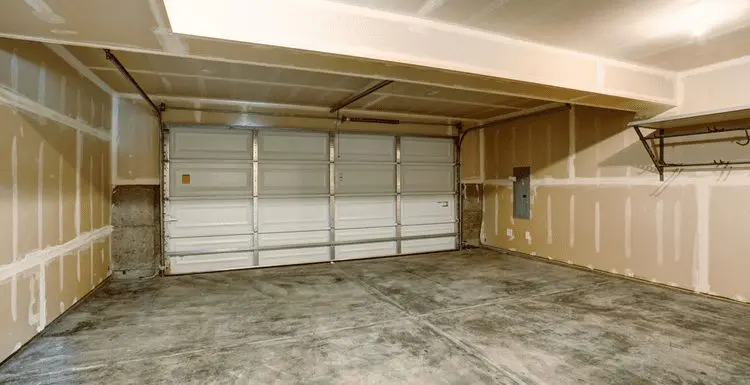
In addition to the walls and garage door, ceiling insulation is equally important, especially if there is a heat-trapping roof or a living space above the garage.
Summary of Steps
While this can be a potentially laborious process, we’ve broken it down into 5 simple steps:
- Empty the garage
- Seal holes and gaps in the ceiling
- Install baffles and vapor barrier
- Install the insulation
- Replace the ceiling panels
What You’ll Need
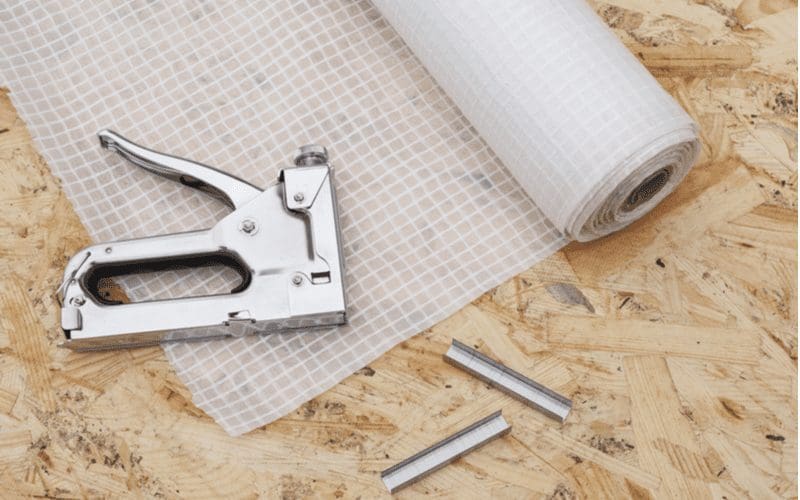
Kuchina/Shutterstock
You will need the following tools to install insulation in your garage:
- Measuring tape for accurate length and gap measurements
- Box cutter knife for cutting the insulation material
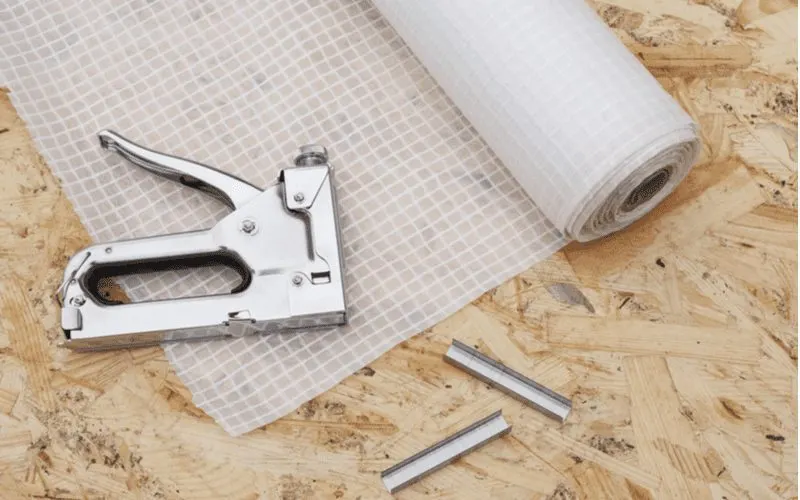
- A hammer tacker or a staple gun to attach vapor barriers to the ceiling
- Scaffolding or ladder to help you reach the ceiling easily
- Dust mask, safety glasses, gloves, long-sleeve shirts, and pants to protect you from itchy materials
- Insulation material, such as fiberglass batt, injection foam, spray foam insulation, and cellulose
How to Insulate a Garage Ceiling
Step 1: Clear out the garage
Start by removing everything from inside the attached garage. This ensures that the fiberglass won’t get caught on anything, potentially damaging it.
Once everything is outside the garage, you can set up your ladder, scaffolding, or a secure platform. We suggest having a second helper hold the ladder, as you’ll be carrying heavy insulation, throwing off your balance.
Step 2: Fill any holes and gaps in the ceiling
Note all the holes and gaps in your ceiling where loose-fill insulation or fiberglass batts won’t cover them. Cut a custom piece of expanding foam insulation and seal these areas.
Make sure to cover all gaps in the garage windows. Be sure not to seal any vents inside your garage.
Step 3: Install Baffles and Vapor Barrier for Ventilation
Proper air circulation is necessary to prevent mold and moisture buildup. For this reason, you’ll want to install baffles to maintain the ventilation in your attached garage. This ensures that there are air gaps under your roof.
Keep in mind that insulation will likely bunch up against the edges of your garage roof, so you’ll want to make sure the baffles are properly installed in those areas.
Staple the vapor barrier in place, making sure to treat any mold or condensation before installing the barrier.
Step 4: Install Insulation
Measure and cut the garage insulation to fit into odd spaces. When you’re done with the small and odd spaces, install the batt insulation or roll from the top or bottom, depending on whether you have a finished or unfinished ceiling.
Measure and cut the batt insulation or rolls to fit the size of the stud spaces you will be filling. The correct way to install the insulation is to push it through the ceiling joists and then pull it back down to evenly cover the bottom of the joists.
Make sure the ends of the batts are flushed closely so there are no gaps. You want to avoid scrunching or squeezing the insulation too tightly.
Instead, cut custom pieces of insulation and fill any gaps you notice. The goal is to place the insulation snugly against the joists.
Next, staple the insulation’s facing into the ceiling joists, making sure the facing is toward the inside of your garage. This prevents moisture from getting through the layer of asphalt adhesive on the paper facing.
Step 5: Replace Ceiling Covering
Carefully replace your ceiling panels or drywall, clean up the mess, and use your garage however you want.
Installing insulation isn’t terribly difficult, but it does take some practice and time to get it right.
Mistakes to Avoid
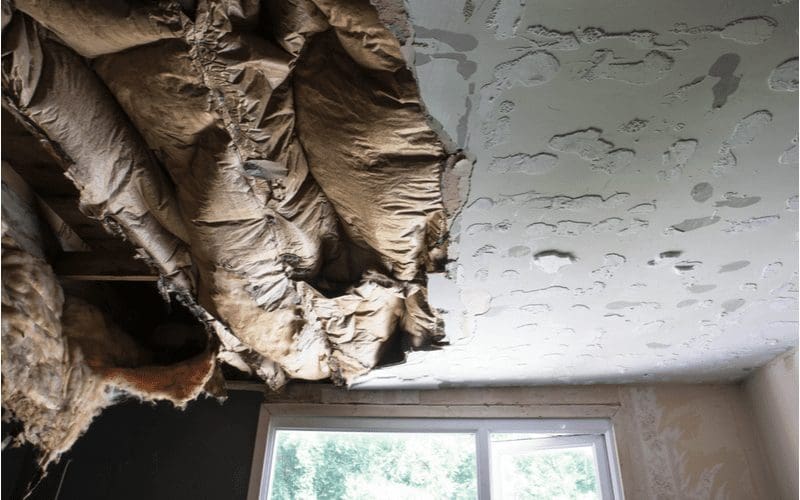

AL Robinson/Shutterstock
Although installing insulation is fairly straightforward, there are some simple mistakes that can cause major problems down the road.
These are fairly easy to make, especially if it’s your first time doing this type of project.
Here are some of the common mistakes to avoid making when insulating your garage ceiling:
- Not protecting yourself: Working with fiberglass is one project you don’t want to approach without the right safety equipment. Fiberglass can cause painful and itchy irritation if the fibers touch your skin.
- Covering an electrical box: Never insulate over an electrical box, as this can create a fire hazard. Many local building codes call for a space of at least three to five inches from light fixtures to avoid starting a fire.
- Not using adequate insulation: Your project is bound to have problems down the line if you cut corners and use excessively thin insulation. Avoid overlapping and gaps.
- Packing the fiberglass too tightly: Make sure you don’t pack the fiberglass insulation too tightly, as that will reduce the effectiveness of the insulation.
- Leaving out the vapor barrier: Whatever you do, don’t skip the vapor barrier. This critical component helps the insulation control the temperature, prevent moisture, and dampen sound. Bacteria and mold will grow inside the insulation without a vapor barrier, and that means you will have to rip out everything and start from scratch.
We partnered with Networx to save you big money on your next home renovation project. And quotes are free!
How Do You Insulate a Garage Ceiling?
Learning how to insulate a garage ceiling is a great way to save money while also increasing energy efficiency and dampening noise. It’s a simple job, but it’s not without its challenges.
With a little research, patience, and DIY skills, it can be done without calling a professional.
However, we suggest at least getting a quote from a local contractor, as there are just too many simple mistakes that can lead to major problems down the road.