It can be a huge pain if you make the mistake of removing a stain. To avoid the headache, follow the step-by-step instructions below to learn how to remove stains from wood the right way and get a good-quality finish every time.
How to Remove Stain From Wood in 5 Steps
To remove stains from wood, you’ll need to follow a few simple steps:
- Gather the necessary supplies
- Prepare the wood and work area
- Apply the stripper and wait
- Scrape the stripper off
- Sand the wood
To properly remove stains from wood, you’ll need to follow some easy steps that will probably take more time than effort. Keep reading for detailed instructions on every step.
Step 1: Gather the Necessary Supplies

Vitalii Borkovskyi/Shutterstock
To safely and effectively remove stains from wood, you’ll need the following supplies:
- Drop cloth
- Painter’s tape (if you’re stripping wood flooring)
- Respirator mask
- Safety goggles
- Gloves
- Rags
- Paintbrush with natural bristles
- Chemical wood stripper
- Glass or metal container for the stripper
- Plastic scraper
- Trash can
- Sanding block
- Fine-grit and medium-grit sandpaper
- Steel wool pads
- Handheld electric sander or orbital sander (for large flat surfaces and flooring)
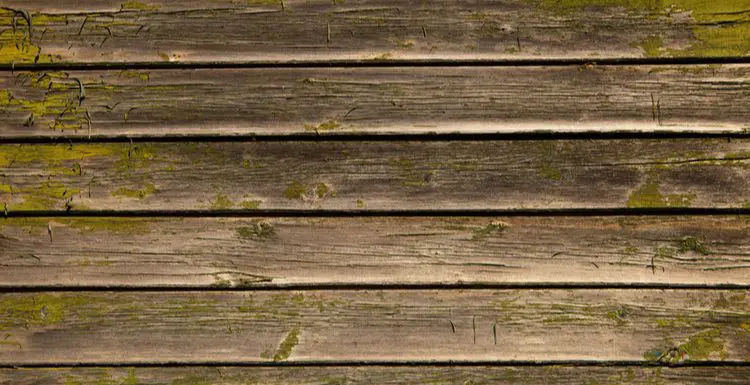
Step 2: Prepare the Wood and Work Area


rawf8/Shutterstock
Every job done well starts with good prep work. When you prepare to remove stains from wood, there are two different things you need to prepare: your work area and the wood itself. In the case of a hardwood floor, the wood surface and work area are the same.
Whether you’re about to remove a stain from wood indoors or outdoors, wear safety goggles, gloves, and a respirator mask. Long sleeves and pant legs can further protect your skin.
Stripper contains hazardous chemicals that can cause burns and respiratory problems. Don’t take any chances with your safety.
Read the instructions on the back of the stripper you purchased. Some brands may have different recommendations and wait times that work best. Get familiar with the safety instructions for the product you’ve chosen.
Your preparations will depend on the type of surface you’re about to strip. These three surfaces are the most common:
- Flooring
- Large or heavy furniture
- Anything you can take outside
Preparing to Remove Stain From Wood Flooring
Thoroughly sweep, mop, or wipe the surface to make sure it’s free of dust and debris. Allow the floor to dry. Apply painter’s tape to the bottom of baseboards or walls that meet the floor to prevent solvent from coming into contact with those surfaces.
Open windows and doors to ensure the room you’ll be working in is well-ventilated. Paint and stain strippers put off toxic fumes, so make sure your room has a steady flow of fresh air.
Preparing to Remove Stain From Wood Furniture Indoors
Some furniture is large and heavy enough that moving it outside to strip is impractical or impossible. Use a drop cloth beneath the piece of furniture to catch any drips and dust from sanding.
Ventilate the room you’re working in by opening windows to avoid a build-up of harmful fumes from the stripper. Wipe down the furniture to remove dust and debris, then allow it to dry.
Preparing to Remove Stain From Wood Outside
To remove stains from wood outside, find a shaded area. If necessary, work inside an open garage or someplace that protects you from the wind. Extremely windy days aren’t suitable for stripping wood outside.
Too much sun or wind can dry the solvent and require multiple coats. Use a drop cloth to prevent chemicals from staining or damaging surfaces like grass, brick, or concrete.
Step 3: Apply the Stripper and Wait

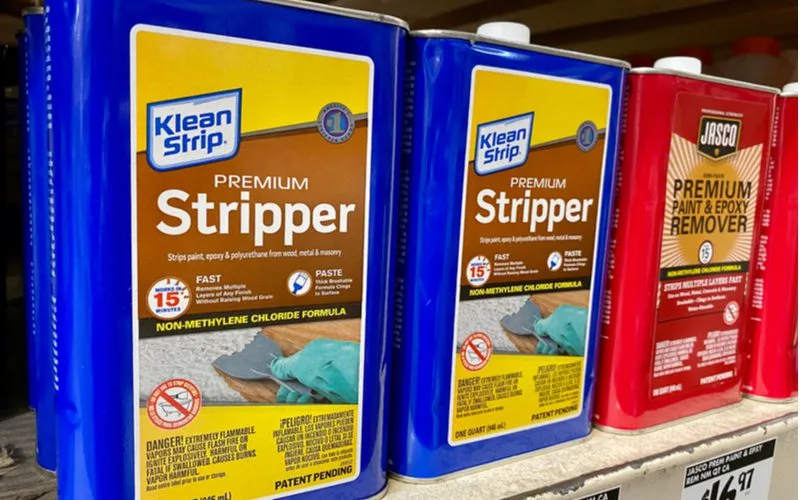
ZikG/Shutterstock
Once the wood surface is clean and dry, put on your protective equipment. Then pour a small amount of the stripper into a glass or metal container. Using the stripper from a separate container keeps debris and paintbrush fibers from getting into the main container.
Use your paintbrush to apply the stripper according to the manufacturer’s instructions. Typically, they’ll recommend that you apply a thick, even layer of stain stripper to the wood. Tap the edge of the brush into nooks and crannies to be sure you get it on every surface.
After you’ve applied a thick coat to the entire surface, wait for the amount of time the instructions suggest. Usually, the stripper will need to sit on the surface for 15–20 minutes.
You don’t have to wait next to the wood the entire time. Check it occasionally, and if any spots look dry, apply more of the product. The stain remover may bubble up and appear to thicken, which is the result you want.
Step 4: Scrape the Stripper Off the Wood

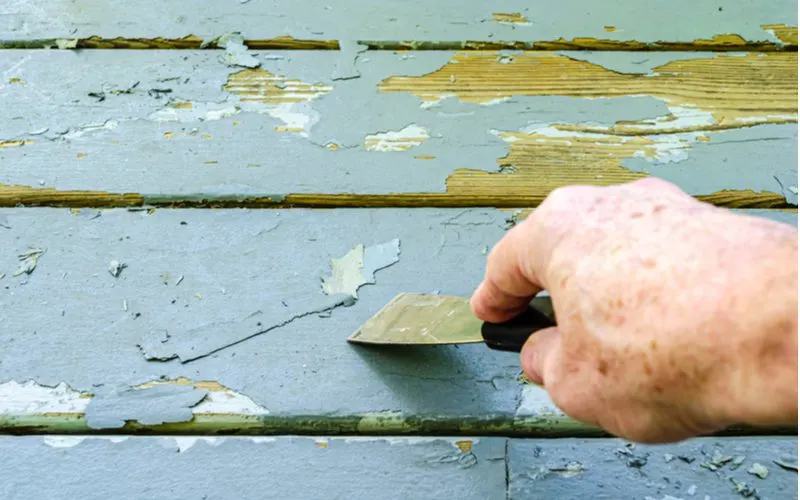
G_r_B/Shutterstock
Use the plastic scraper to remove the stripper and stain residue. Press the edge of the scraper against the wood at an angle and push across the surface. Work in a small area, about a square foot at a time. Always scrape in the direction of the grain.
Scrape the stripper directly into a trash receptacle if possible. Otherwise, scrape until you have a small pile, then lift the bulk of it into a trash can with the flat blade of the scraper. Remove all the residue that you can with the scraper.
Next, dip a steel wood pad into the stripper and rub it into all the small and intricate areas where the scraper wouldn’t reach. Once you’ve done that, rub a steel wood pad dipped in stripper over the entire surface, always following the grain.
After you’ve removed all the chemical stripper and stain residue, wipe down the wood with a damp cloth to clean it thoroughly. Allow it to dry for at least 24 hours before going on to the final step.
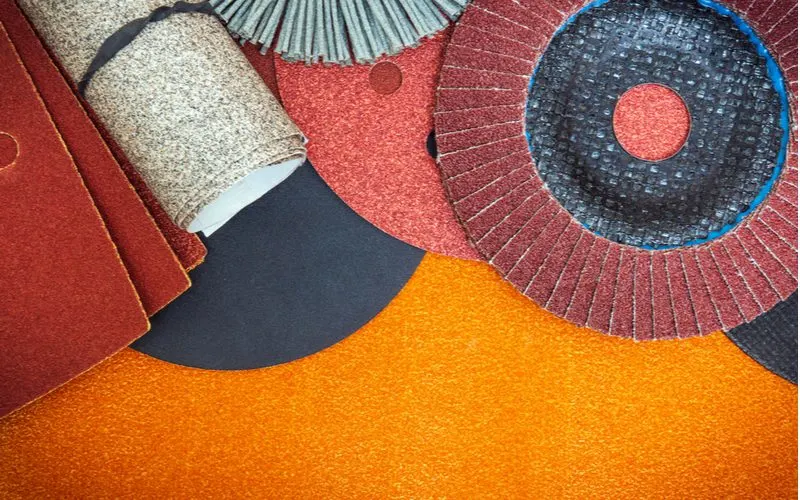
Step 5: Sand the Wood
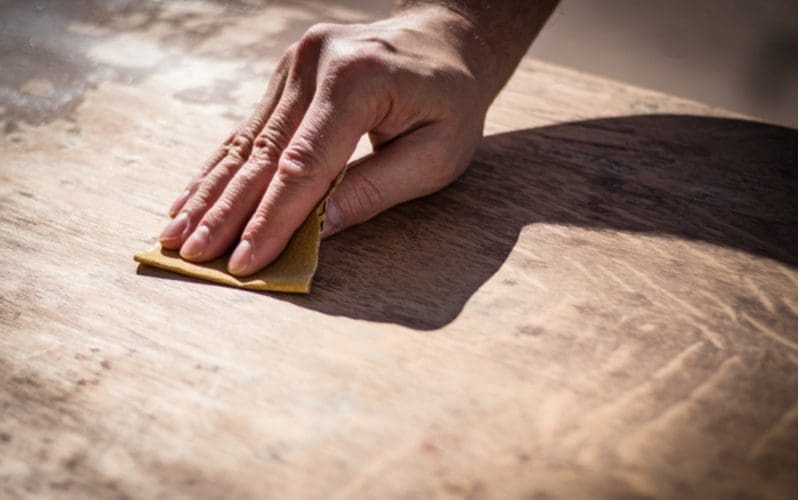
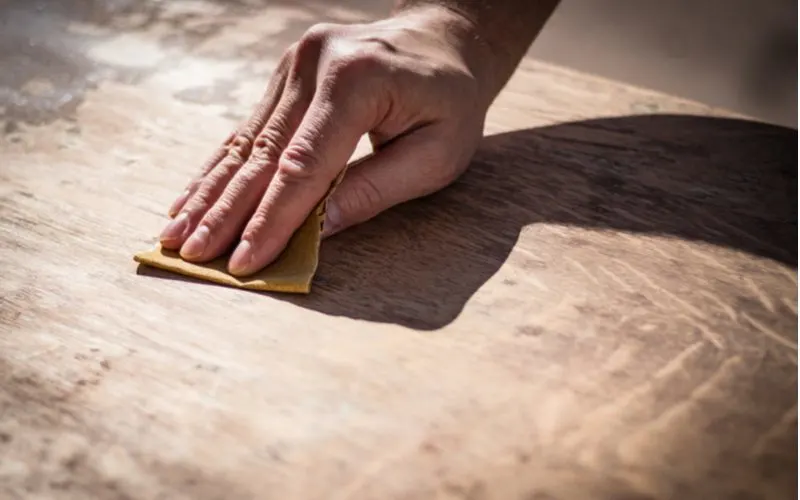
Benjamin Clapp/Shutterstock
The process of sanding the wood you stripped can be broken down into five simple steps:
- Wear safety goggles and a respirator mask to avoid inhaling wood dust.
- Start with medium-grit sandpaper such as 100- to 150-grit on your sanding block, or use an electric sander for floors and large surfaces.
- After all traces of stain have been removed, switch to fine-grit sandpaper of about 180 grit.
- Sand until you’ve removed any marks from the coarse sandpaper and the surface is smooth.
- Wipe the finished wood with a damp rag to remove the dust.
Your wooden surface is ready for its new finish!
Things to Consider
When you’re ready to remove stains from wood, keep the following things in mind:
- If you’re stripping a wooden floor, don’t skip the painter’s tape around the perimeter of the room. Even the steadiest hand can slip, and stain remover will damage the finish on your walls.
- If you must remove stains from wood indoors, open windows even if the temperature outside is unseasonably hot or cold. You might not realize you’re being overcome with stripper fumes until it’s too late. If you can do the job outside, opt for that instead.
- Don’t skip protective gear like goggles and gloves, even if you’re outdoors. Stain remover is corrosive and can injure your skin and eyes.
So, How Do You Remove Stain from Wood?
Solid prep work and patience are the keys to being able to remove stains from wood. Remember that it’s not uncommon for older wood floors and furniture to have several layers of stain and sealant to get through.
If most of the wood stain won’t come off when you scrape, you can always apply the stripper again and let the chemicals do the work. We hope these tips help you remove stains from wood like a pro during your next DIY project!