If the thought of buying a house makes you anxious, there’s a simple fix: Learn about every step of the process.
When you break the process down into seven steps, it’s much more manageable and easier to understand.
While buying a house is not simple, it’s not as complicated as you might imagine. The most important thing is that you know exactly what to expect and are prepared for each part of the process.
We’re walking you through the 7 steps to buying a house to show you exactly what the process looks like and how you can make it as quick and painless as possible.
The 7 Steps to Buying a House
Buying a house can be made much simpler by breaking the journey down into manageable steps that create a simple guide for first-time homebuyers.
Each step of the process is necessary – skipping steps to try to find your forever home faster will only land you back at square one.
If you follow these steps, you’ll avoid many of the issues that plague first-time homebuyers and ensure you find a great, affordable house you and your family can enjoy for years to come.
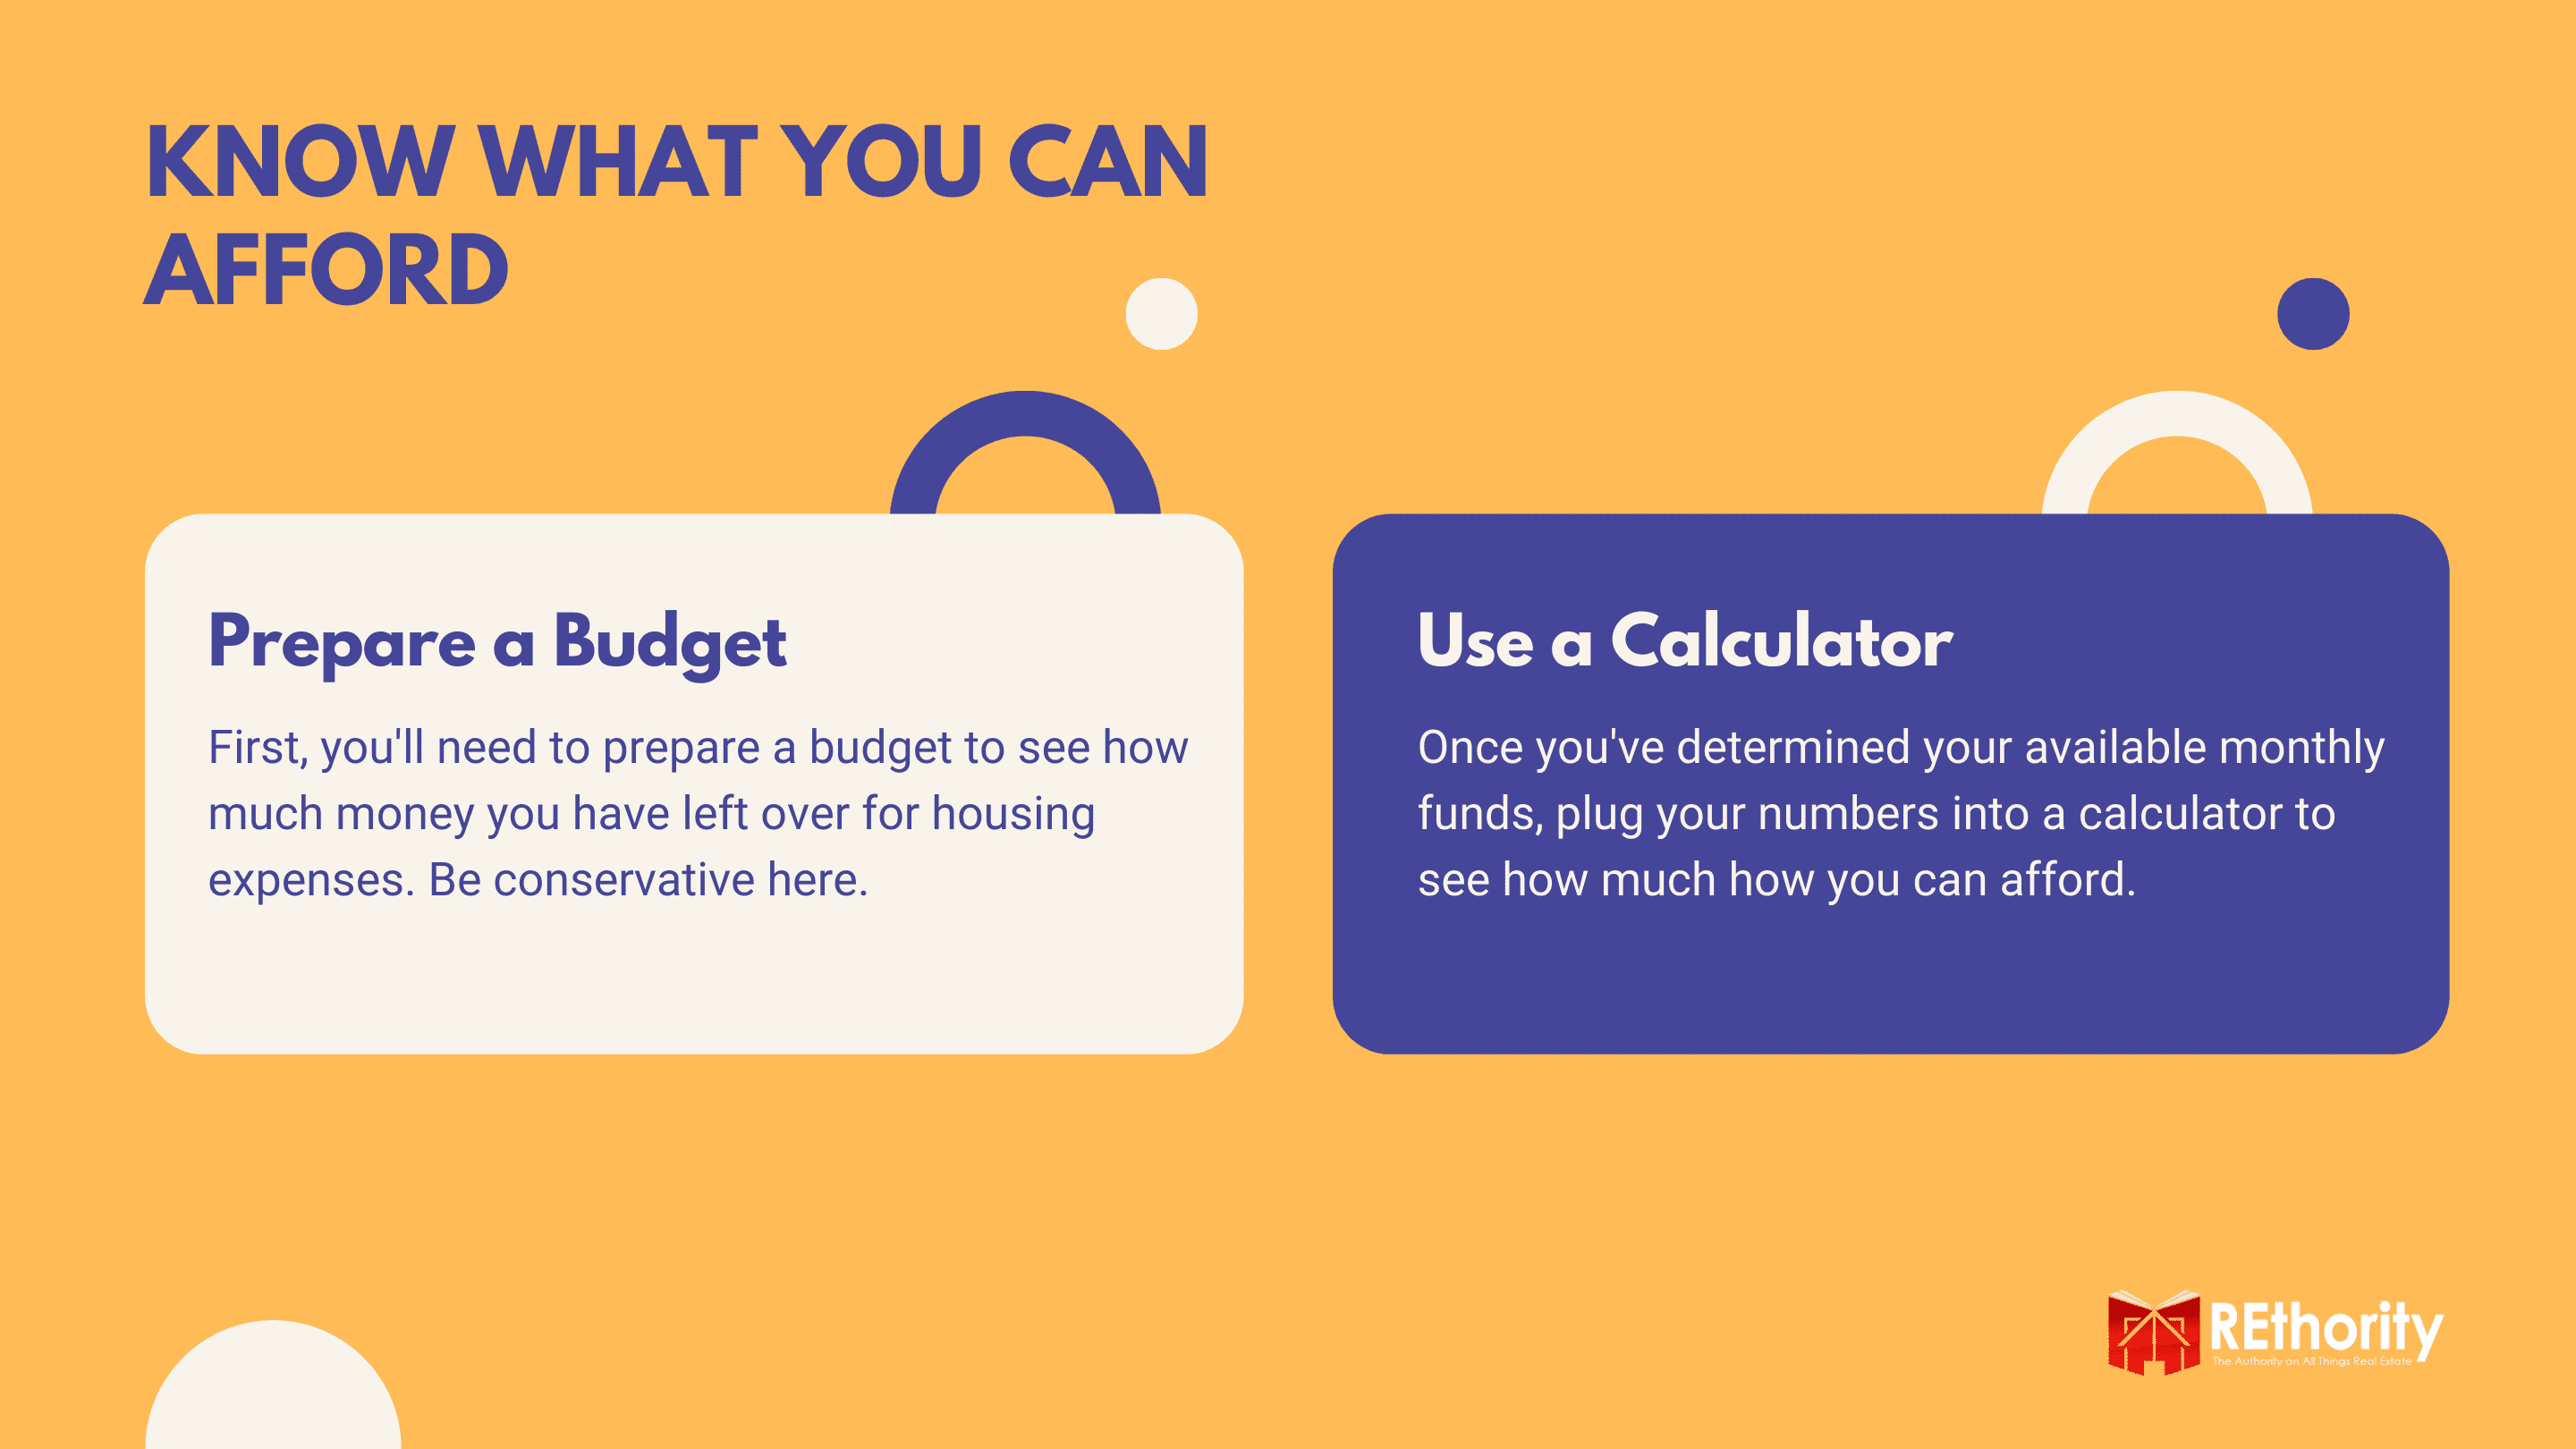
1. Know What You Can Afford
Your budget should be first and foremost on your mind as you prepare to buy a house; it’s the single biggest purchase most Americans make.

You need to determine how much you can afford to spend on a house by making note of the following:
- Average home prices in your area
- Your credit score
- Your household’s monthly income before taxes
- Your monthly expenses
- Your current debts
- How much your down payment could be?
You can use the Affordability Calculator on NerdWallet to quickly calculate how much house you can afford with your current income and debt circumstances. First, enter your information into the calculator.
Then, you’ll see a screen that shows a sliding scale of what you can afford to spend on a house, your mortgage payments, property taxes, and more.
The affordability calculator’s scale shows your debt-to-income (DTI) ratio, or what percentage of your income you are obligated to pay back to debtors each month.
You can see which pricing range will be affordable (low DTI), stretching (higher DTI), and aggressive (dangerously high DTI).
If you’re a first-time homebuyer, it’s wise to commit yourself to looking at homes that are in the affordable range. Ignore the stretching and aggressive ranges.
Even if you feel your monthly income could support a more expensive home, those that stretch your budget too far are likely to land you in hot water if unexpected expenses come up (and they will).
2. Get Pre-Approved for a Mortgage
Before you find the real estate agent you want to work with, get pre-approved for a mortgage. Many lenders allow you to do this online, from Quicken Loans to LendingTree.
Why is getting pre-approved early so important? There are a few ways pre-approval can help the home-buying process move faster. First, it shows your real estate agent that you are serious about buying a house.

Without a letter of pre-approval, some agents won’t show houses to you for fear of wasting their time. It also helps your agent negotiate on your behalf when you find a home you’d like to make an offer on.
Showing the seller and listing agent that you’re ready to buy with a pre-approval letter in hand gives you an advantage. Finally, it gives you a solid idea of how much you can afford to spend on a house and what price range to look at.
While you calculated an idea of how much house you can afford in Step 1, the letter of pre-approval shows precisely how much a lender will allow you to borrow.
Before you sit down to fill out the pre-approval application, gather all the documents and items you’ll need to make the process as smooth as possible. For mortgage pre-approval, you will need:
- Proof of any non-paycheck income (child support, alimony etc.)
- Past W2s (2-3 years) and tax documents
- Recent statements from investment accounts
- Social security number
- Recent pay stubs (6-8 weeks)
- Employer contact information
- Past bank statements for all accounts (2-3 months)
- Driver’s license
Don’t get pre-approval confused with pre-qualification. Pre-qualification doesn’t require the lender to actually verify or check the information you give them, so it results in an estimate of how much you’ll be able to borrow, not an exact amount.
You’ll eventually need a letter of pre-approval, so you can save time by skipping pre-qualification altogether. You can learn more about pre-approval by checking out our complete guide to mortgage pre-approval here
3. Find the Right Real Estate Agent
It can’t be overstated: Your real estate agent is one of the most critical parts of your home-buying journey. They can make it or break it. A good real estate agent will go to bat for you.
Not only will they negotiate better deals, but they’ll also explain the local real estate market, make sure all deadlines are met, and ensure you end up in the home you want.
A bad real estate agent, on the other hand, can ruin the experience. Make sure to look out for red flags that are the signs of a bad real estate agent – poor communication, lack of respect for you, lack of marketing expertise, and lack of experience in real estate.
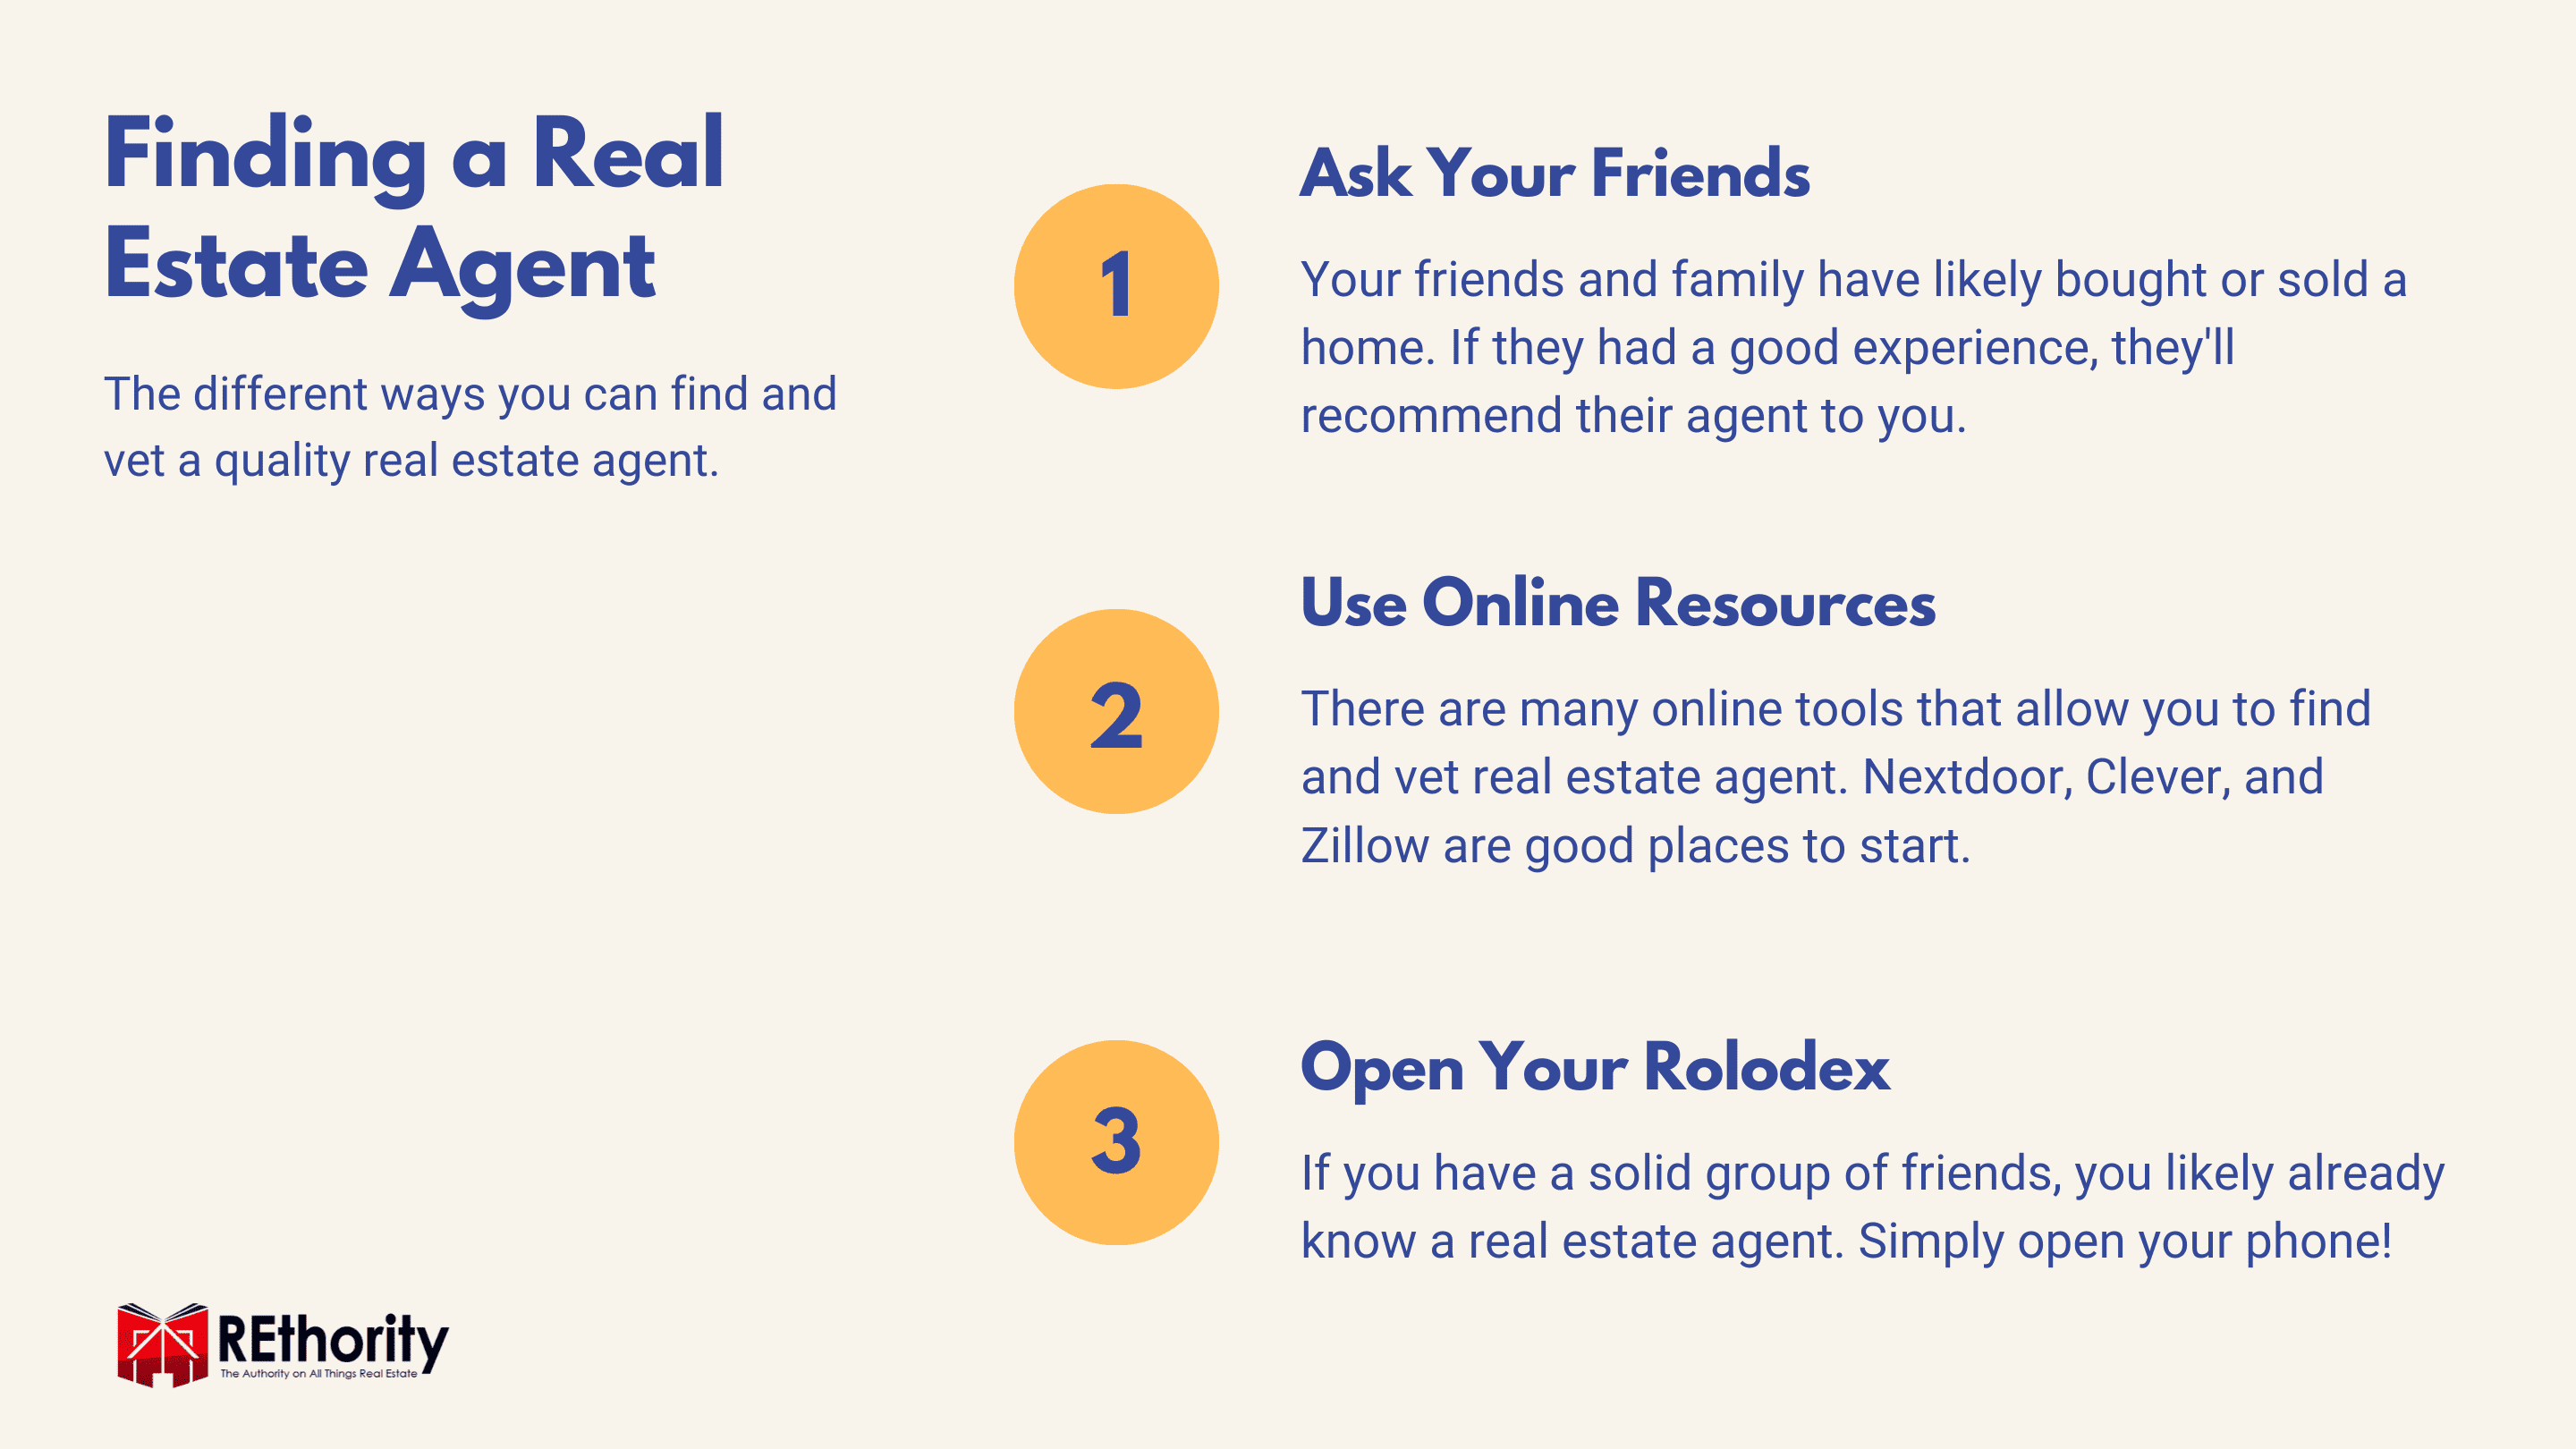
When you start your search for the right real estate agent, think locally. Searching online is a great way to find lots of agents in your area, but there’s no better method than asking friends, family, and colleagues for their best recommendation.

Ask what agent they’d recommend and why they loved working with them. Research the top agent candidates from your referrals online. What kinds of awards have they received?
How many homes did they sell last year? What do they specialize in? What types of reviews do they get? You don’t have to worry about how much it will cost to hire a great real estate agent.
Unlike hiring an attorney or other professional, a real estate agent won’t charge you directly. Instead, their fee (along with the listing agent fee) will be paid by the seller of the home you eventually buy.
If you’re vigilant about finding the right real estate agent from the start, you won’t end up with a lackluster agent who doesn’t have your best interests at heart.
4. Start Your Home Search
Now that you have a solid idea of how much you can spend, have a letter of pre-approval, and have found the right real estate agent to represent you, it’s time to start your house search in earnest.
Tell your real estate agent exactly what you’re looking for in a home:
- Number of bedrooms
- Number of bathrooms
- Specific features you want (wheelchair access, garage, etc.)
- Number of stories
- General area/location
- Any deal breakers
- Any additional preferences
Your agent will appreciate that you know what you’re looking for because it ensures neither your nor their time is wasted on houses that aren’t a good fit. It also gives them better direction as they look for listings you’ll be interested in seeing.
Show your real estate agent your letter of pre-approval and determine exactly what your price range is. This will help your agent only show you homes that you’ll genuinely have interest in and the ability to buy.
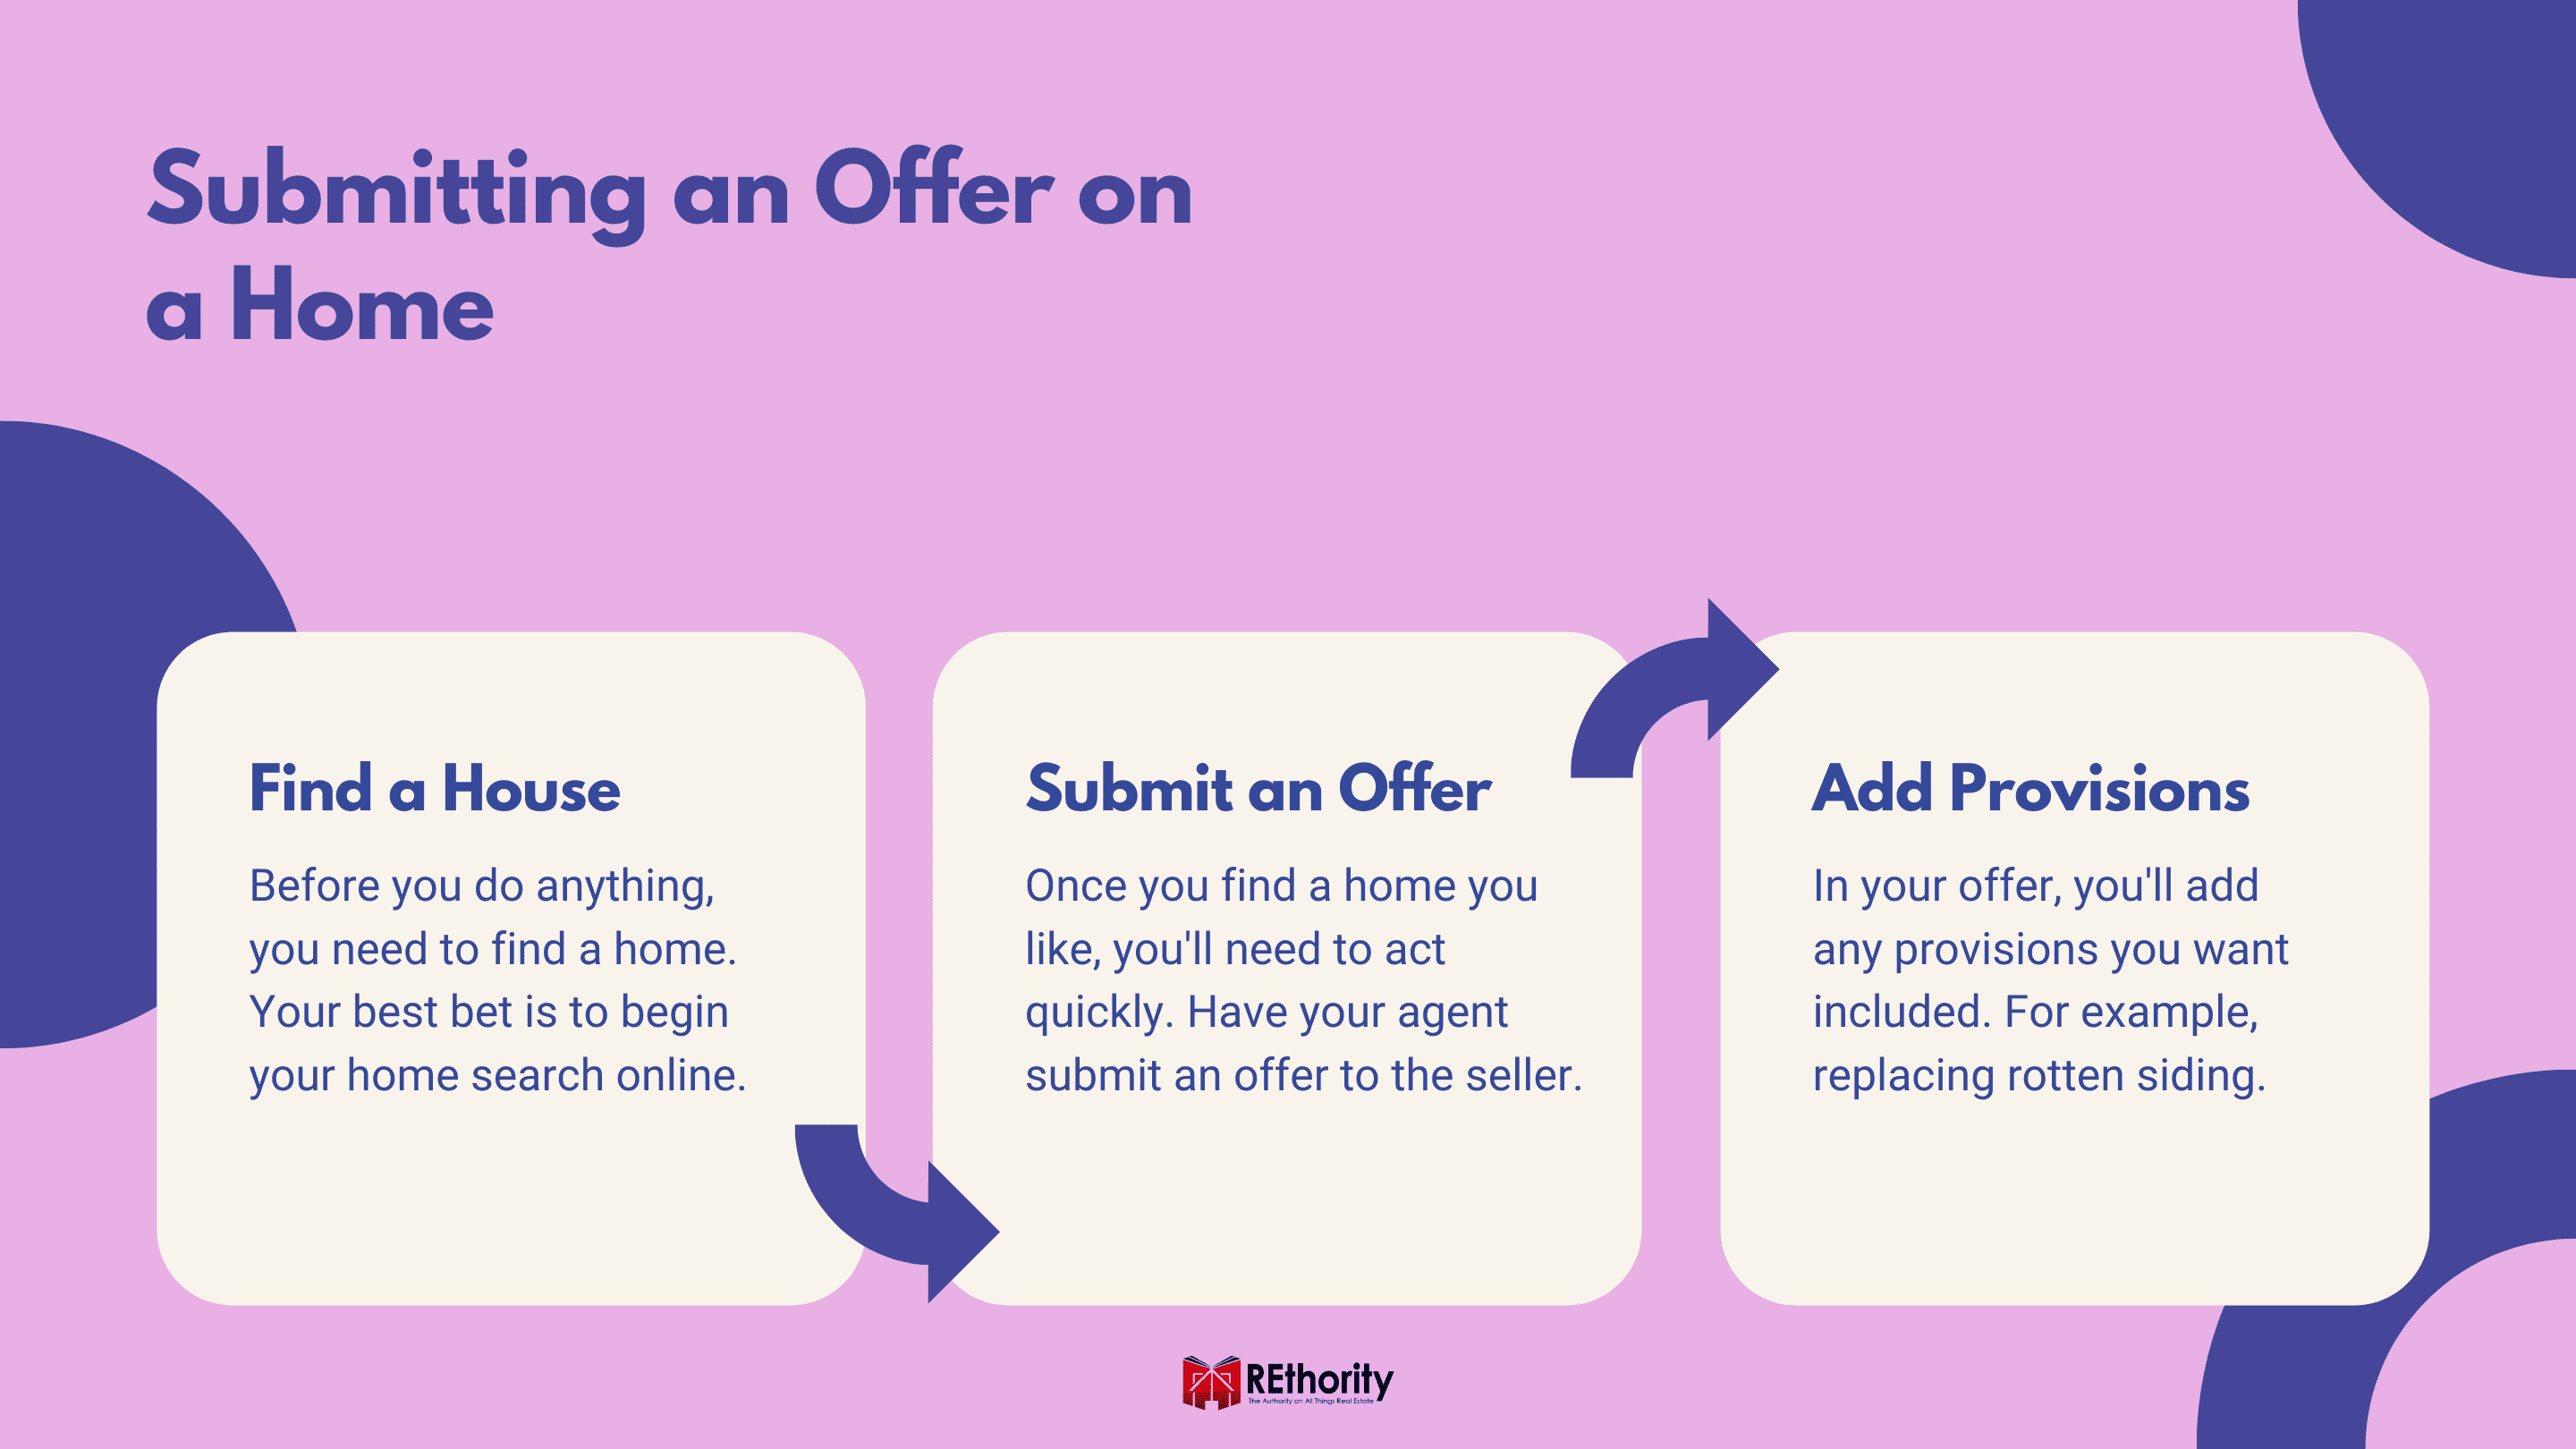
5. Submit an Offer
You might have to attend a few open houses, have your agent show you a couple homes, and research lots of homes online before it happens, but you will soon find the perfect house that meets your criteria and is within your price range.
When you do, your agent’s expertise becomes even more valuable! When you’re ready to submit an offer on the house you like, your agent will act quickly to make sure you’re at the top of the list.

Your agent will communicate with the listing agent (the seller’s agent) to find out if there are any other offers on the home and whether any have been accepted. If there are no accepted offers, you are free to make an offer of your own.
You and your real estate agent will draft an offer letter. Your agent will help you determine a competitive offer to submit. The offer letter will include the address of the home, your offer amount, and your financing information.
It also includes the length of your offer’s validity, and any contingencies that would cause you not to purchase the home (for example, if it appraises for less than the offer, or if inspections show additional problems).
Your offer letter is legally binding if the seller accepts it, so don’t make an offer on more than one house. Once you submit your offer to the listing agent, it’s out of your hands until the seller makes a decision.
Your real estate agent will be able to advise you if there are any additional steps you can take to increase the chances of your offer being accepted, like including “earnest money” (a deposit that shows you’re serious about purchasing the house).
6. Home Inspections and Offer Negotiations
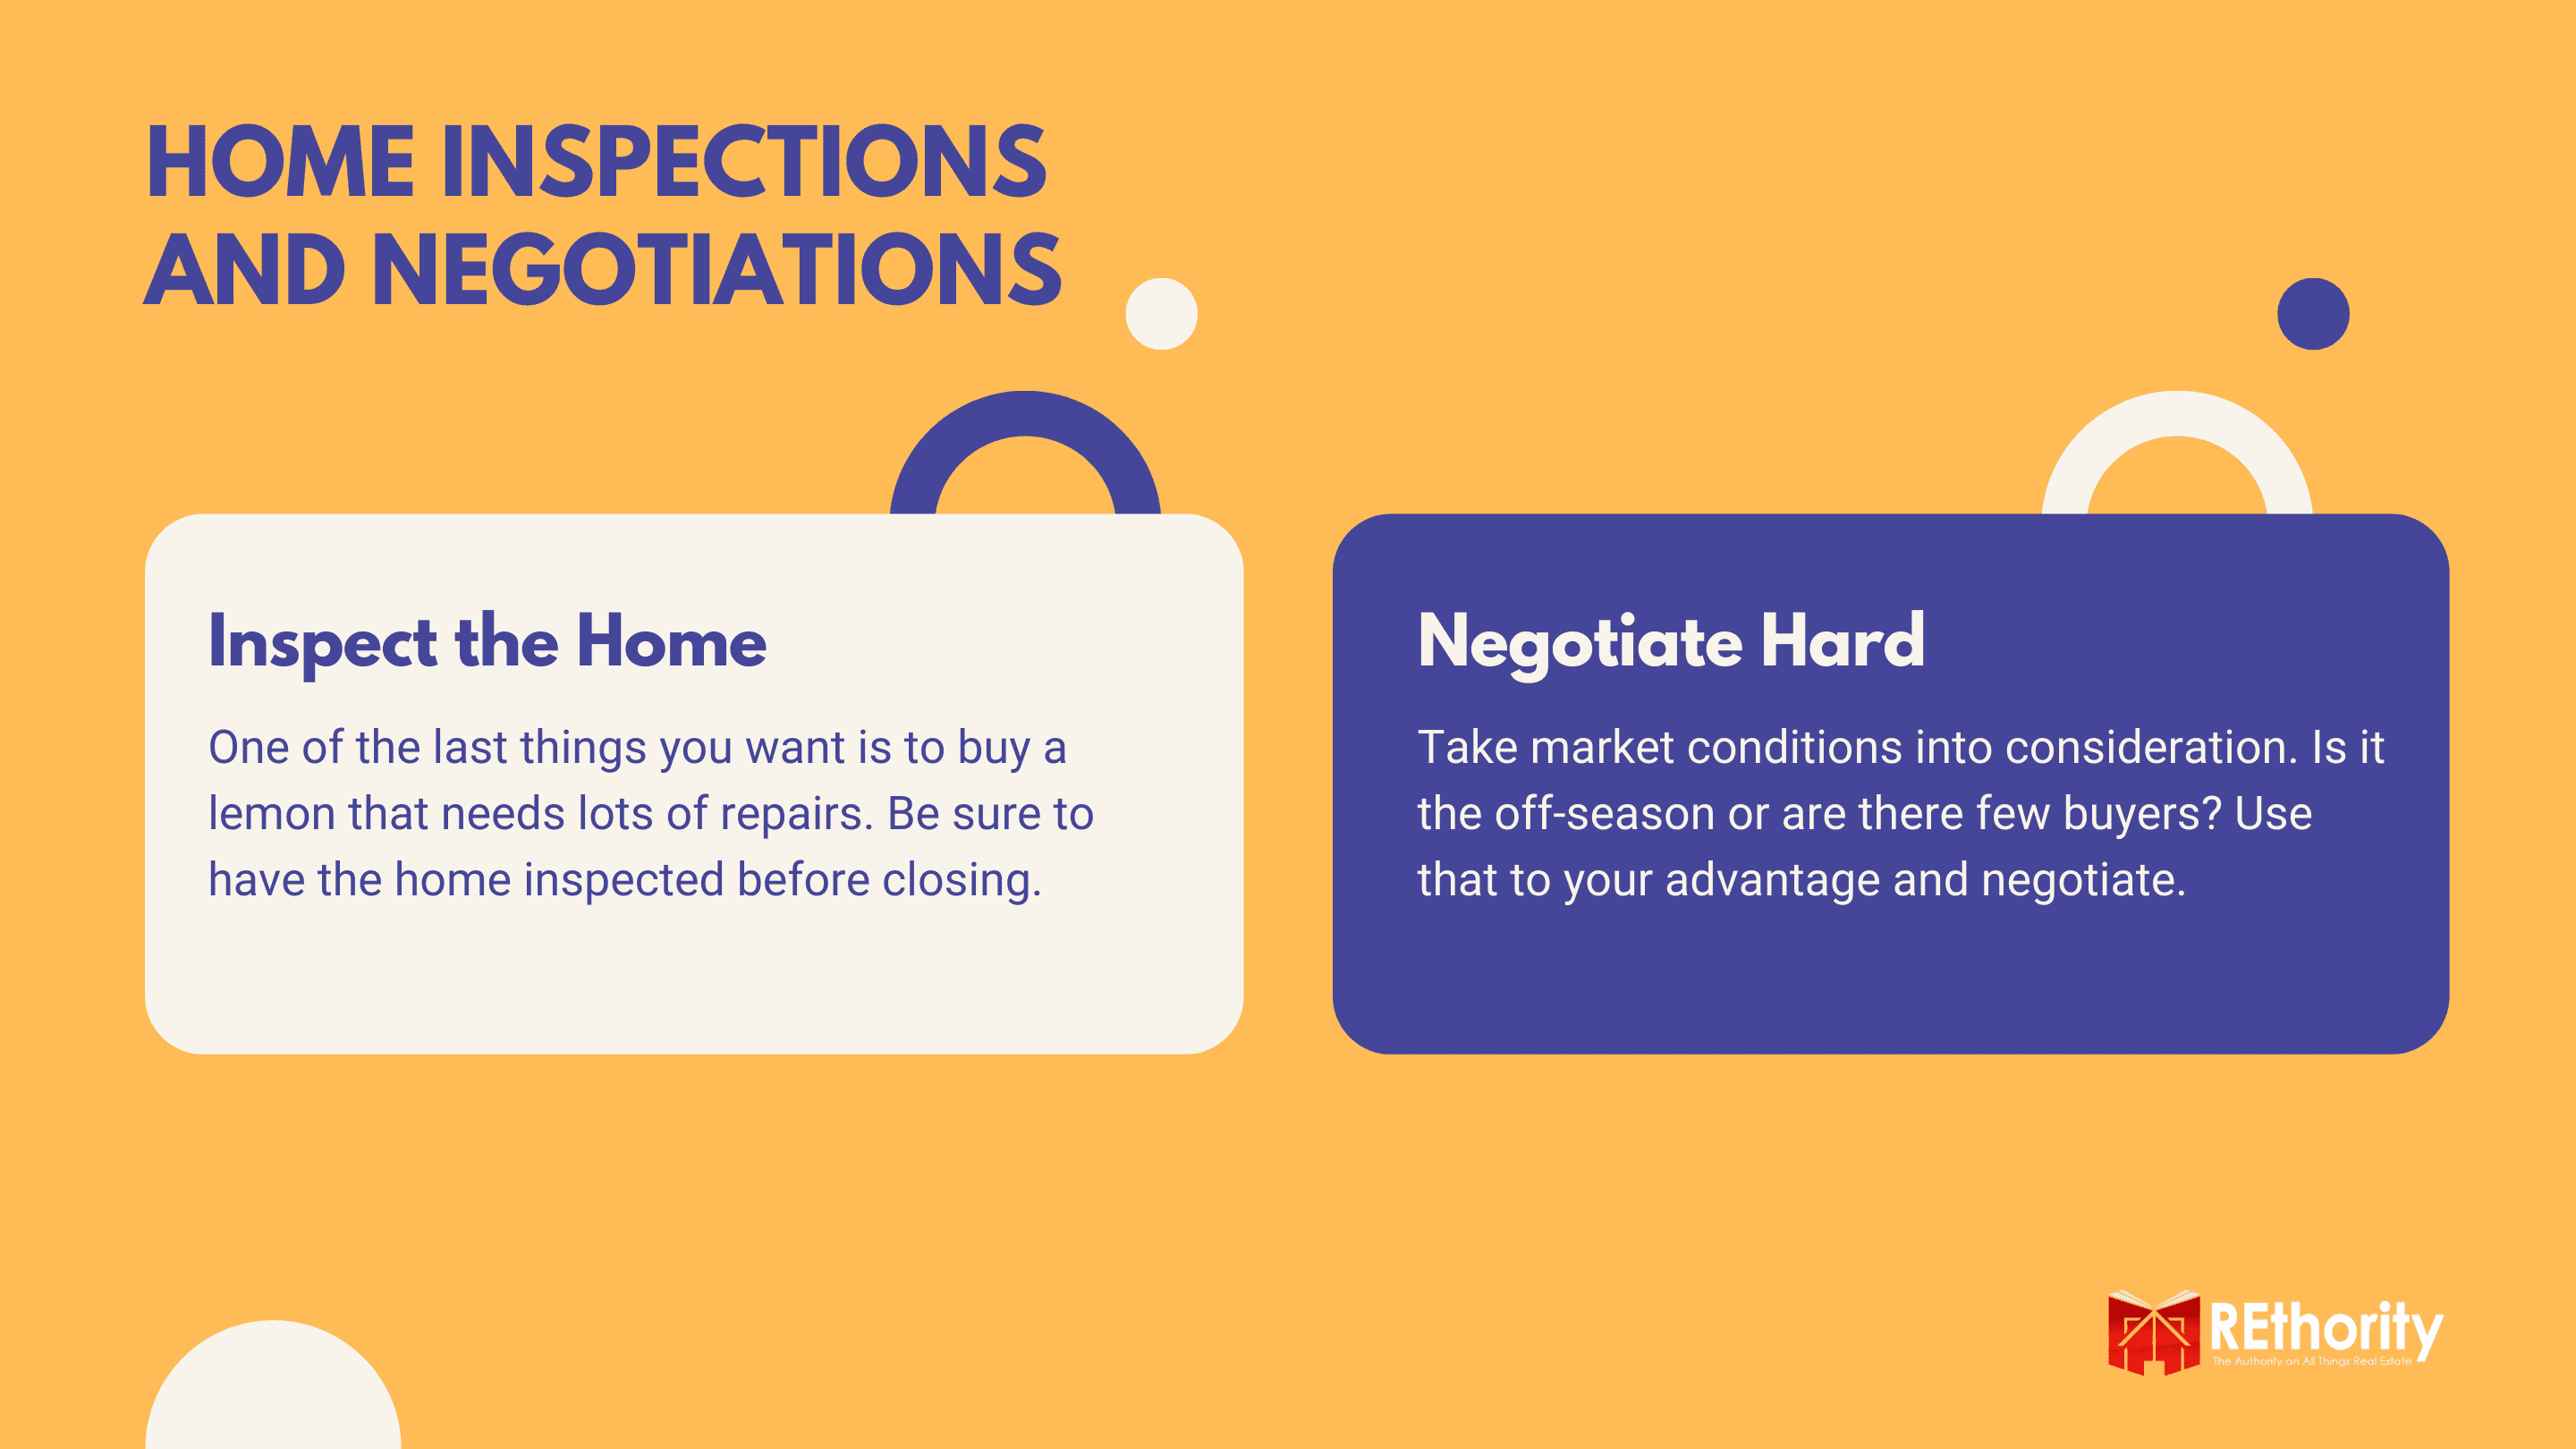
When the seller accepts your offer, you’ll want to make sure the house is everything it appears to be. This is when you’ll schedule a thorough home inspection to make sure there are no hidden problems that you’ll soon inherit.
The inspection period is the reason you included some contingencies in your offer letter – if you discover a big problem, you don’t want to be stuck in a contract to buy the home!

Your real estate agent will be able to recommend home inspectors they’ve worked with before. During the inspection process, the inspectors will be looking for any issues that need to be repaired, pest problems, and contaminants like mold or asbestos in the house.
Any issues the inspectors find can become your leverage to have the seller either pay to fix those issues or lower the sale price.
You’ll rely on your real estate agent to professionally negotiate on your behalf – another reason it’s so important to have a great agent on your side.
7. Closing on the House
Once the seller agrees to or counters your negotiations (if you had any), you’re in the home stretch! It’s time to close on the house. Your real estate agent will schedule an appraisal by a licensed appraiser to ensure you have an accurate, exact valuation of the home.
Your lender will want this information before allowing you to borrow. You will have an opportunity to take a final walkthrough of the home and then meet with the other parties involved in the transaction to fill out all the required paperwork.
These parties are the seller and their agent, your lender, a title company representative, and your real estate agent.
At closing, you’ll be responsible for paying your down payment (a percentage of the purchase price) and closing costs (about 2% to 5% of the total loan amount).
You can pay in cash, or, if your lender allows, you may be able to include it in your loan. Once the funds have been transferred to the seller’s broker by your lender, you’ll get the keys to your new home.
What Are the Steps to Buying a Home?
The 7 steps to buying a house may take about a month, but when it’s all said and done, you’ll feel like it was a whirlwind. Think of all the steps and things you’ve accomplished.
You’ve determined your budget, gotten pre-approved, found a great real estate agent, hunted for houses, submitted an offer, participated in intense negotiations, scheduled inspections, and made it through closing.
Buying a house isn’t something you can rush. Each step takes time, and each step is worth doing properly.
When you look back on your home-buying journey, you’ll be so glad that you did your research and knew exactly what to expect for what will likely be the biggest purchase of your life.
And when you’re all moved in and can finally sit down in your new living room, look out at your new yard, and meet your new neighbors, you’ll know that your hard work was worth it.

