
If you’re searching for a real estate agent website, there are a few options available to you.
But before you get overwhelmed with your decision, read our guide. We’ll help you sort through the madness.
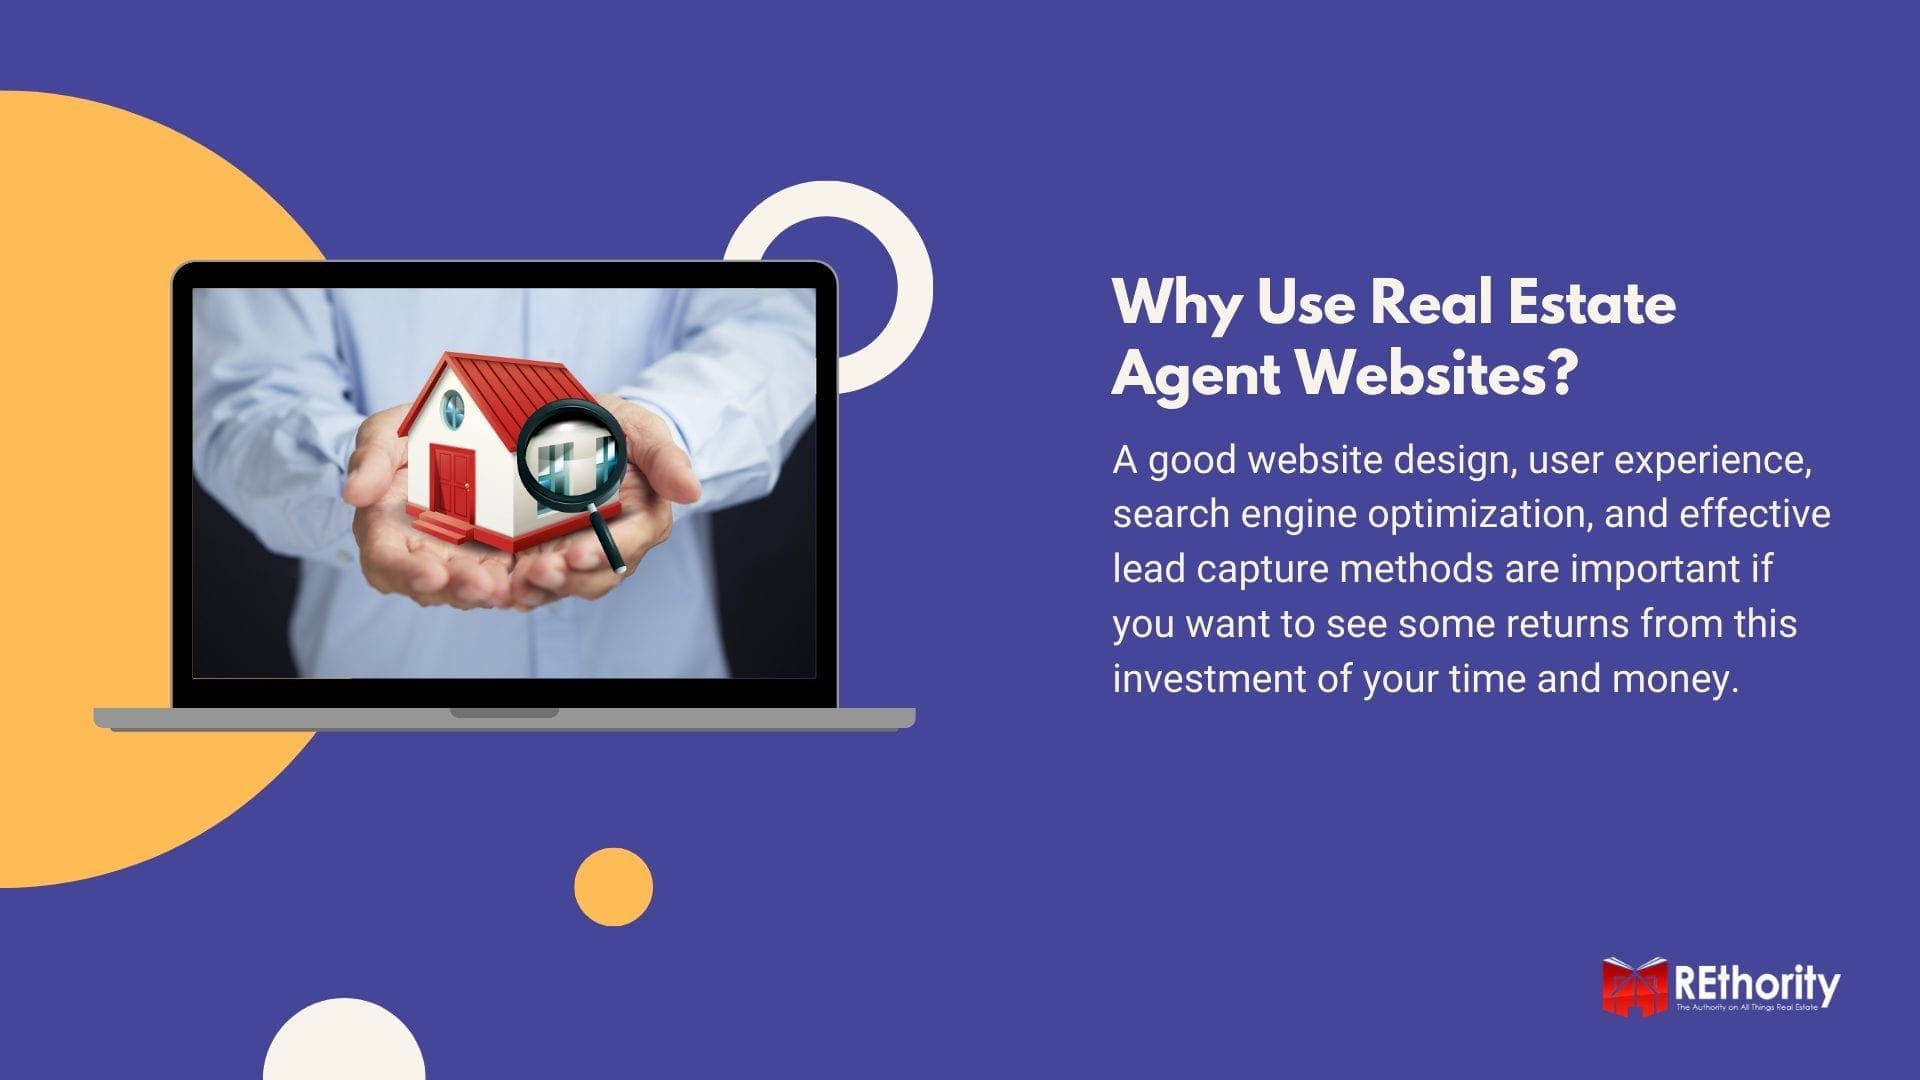
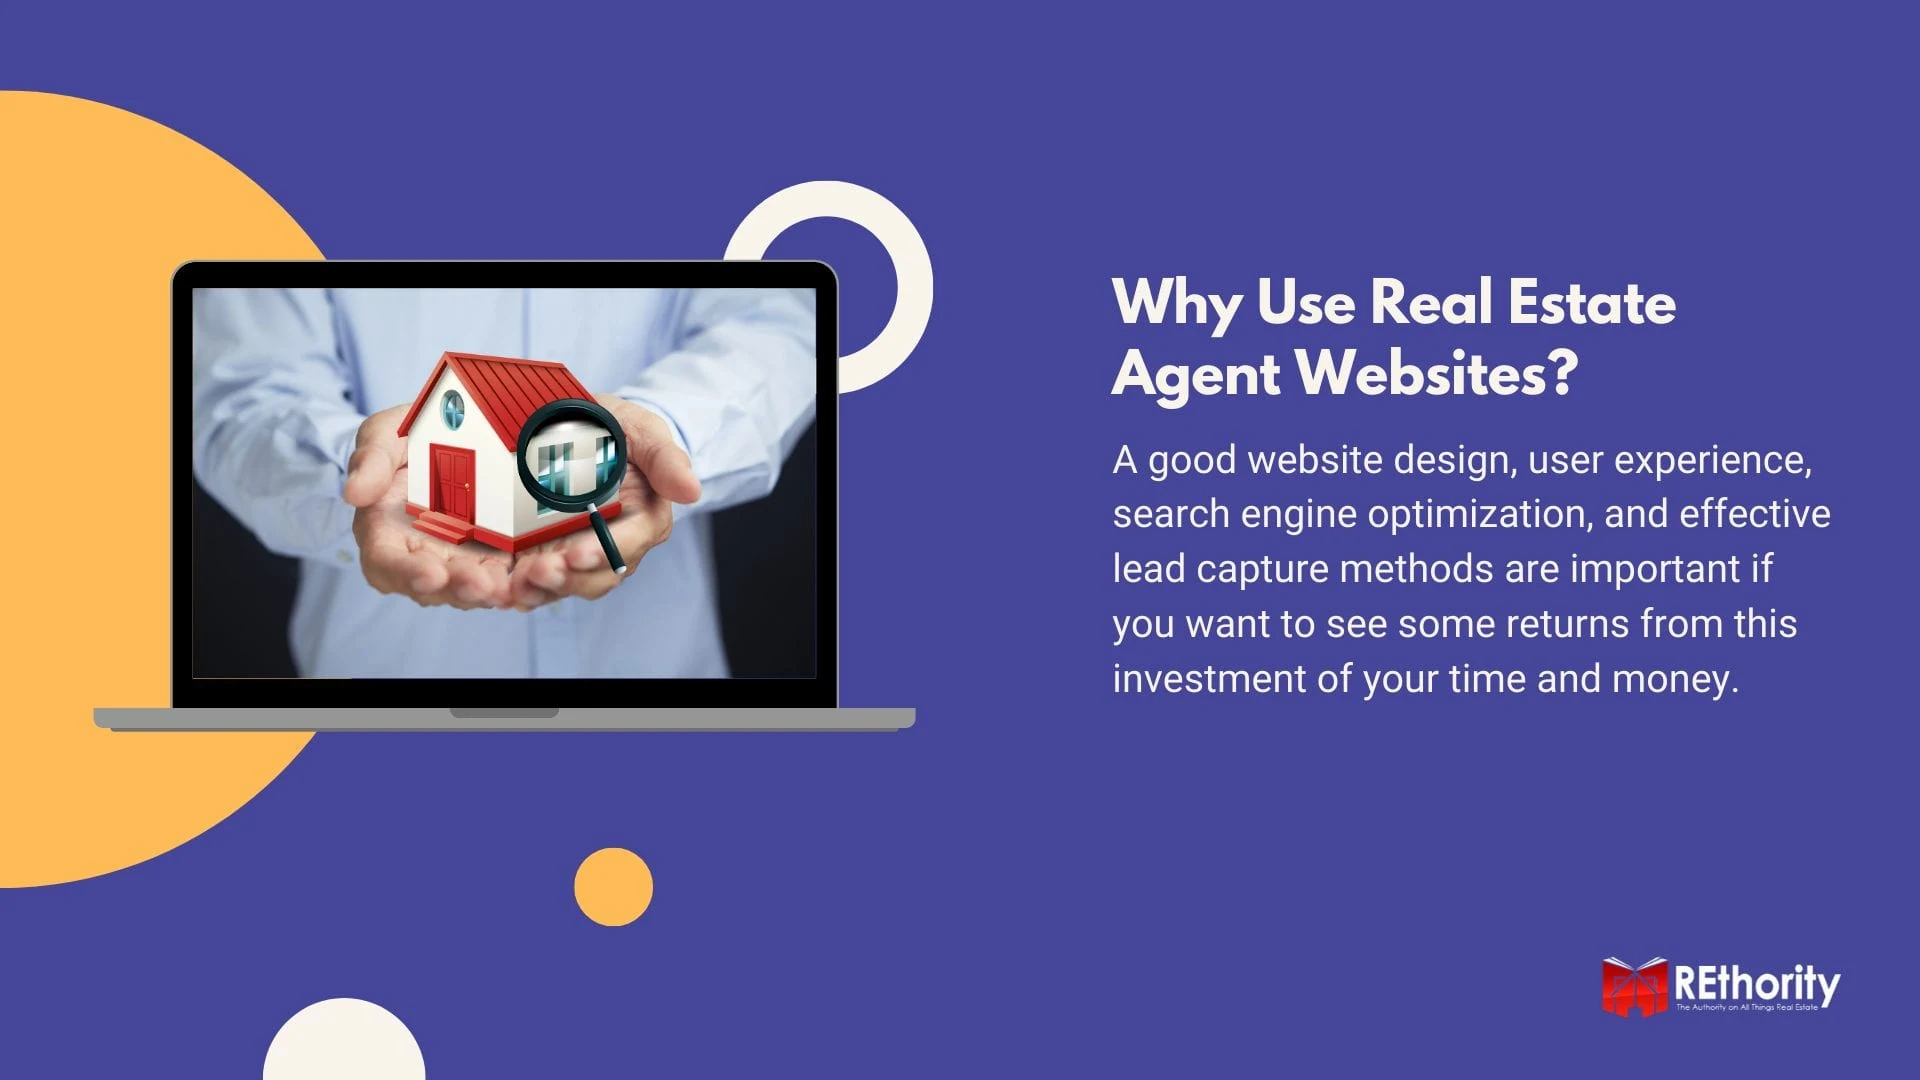
Why Are Real Estate Agent Websites Important?
Thinking about creating a real estate agent website to boost your marketing efforts? It’s an essential step that can be overwhelming without a step-by-step plan.
You have two basic options when you’re looking to build a real estate website:
- Build, design, and host it yourself
- Use an existing website builder to do it for you
If you decide to build your own website, you’re in for a challenge that will result in a more customized website.
If you use a website builder, you’ll have everything you need bundled into the monthly or annual price with a lot less hands-on time.
Either way, the goal is to build an IDX-enabled real estate agent website. This stands for internet data exchange and connects to your local MLS property listings.
Ultimately, this allows users to search for properties they like. But website functionality isn’t the only thing to consider as you work on building your real estate marketing website.
Website design, user experience, search engine optimization (SEO), seller and buyer lead generation, and effective lead capture methods are also important if you want to see some returns from this investment of your time and money.
In this guide, we’re going to show you how to build your real estate website both in WordPress and by using a website builder like Carrot.
Let’s start by looking at how to build a website without the help of a real estate website builder platform.
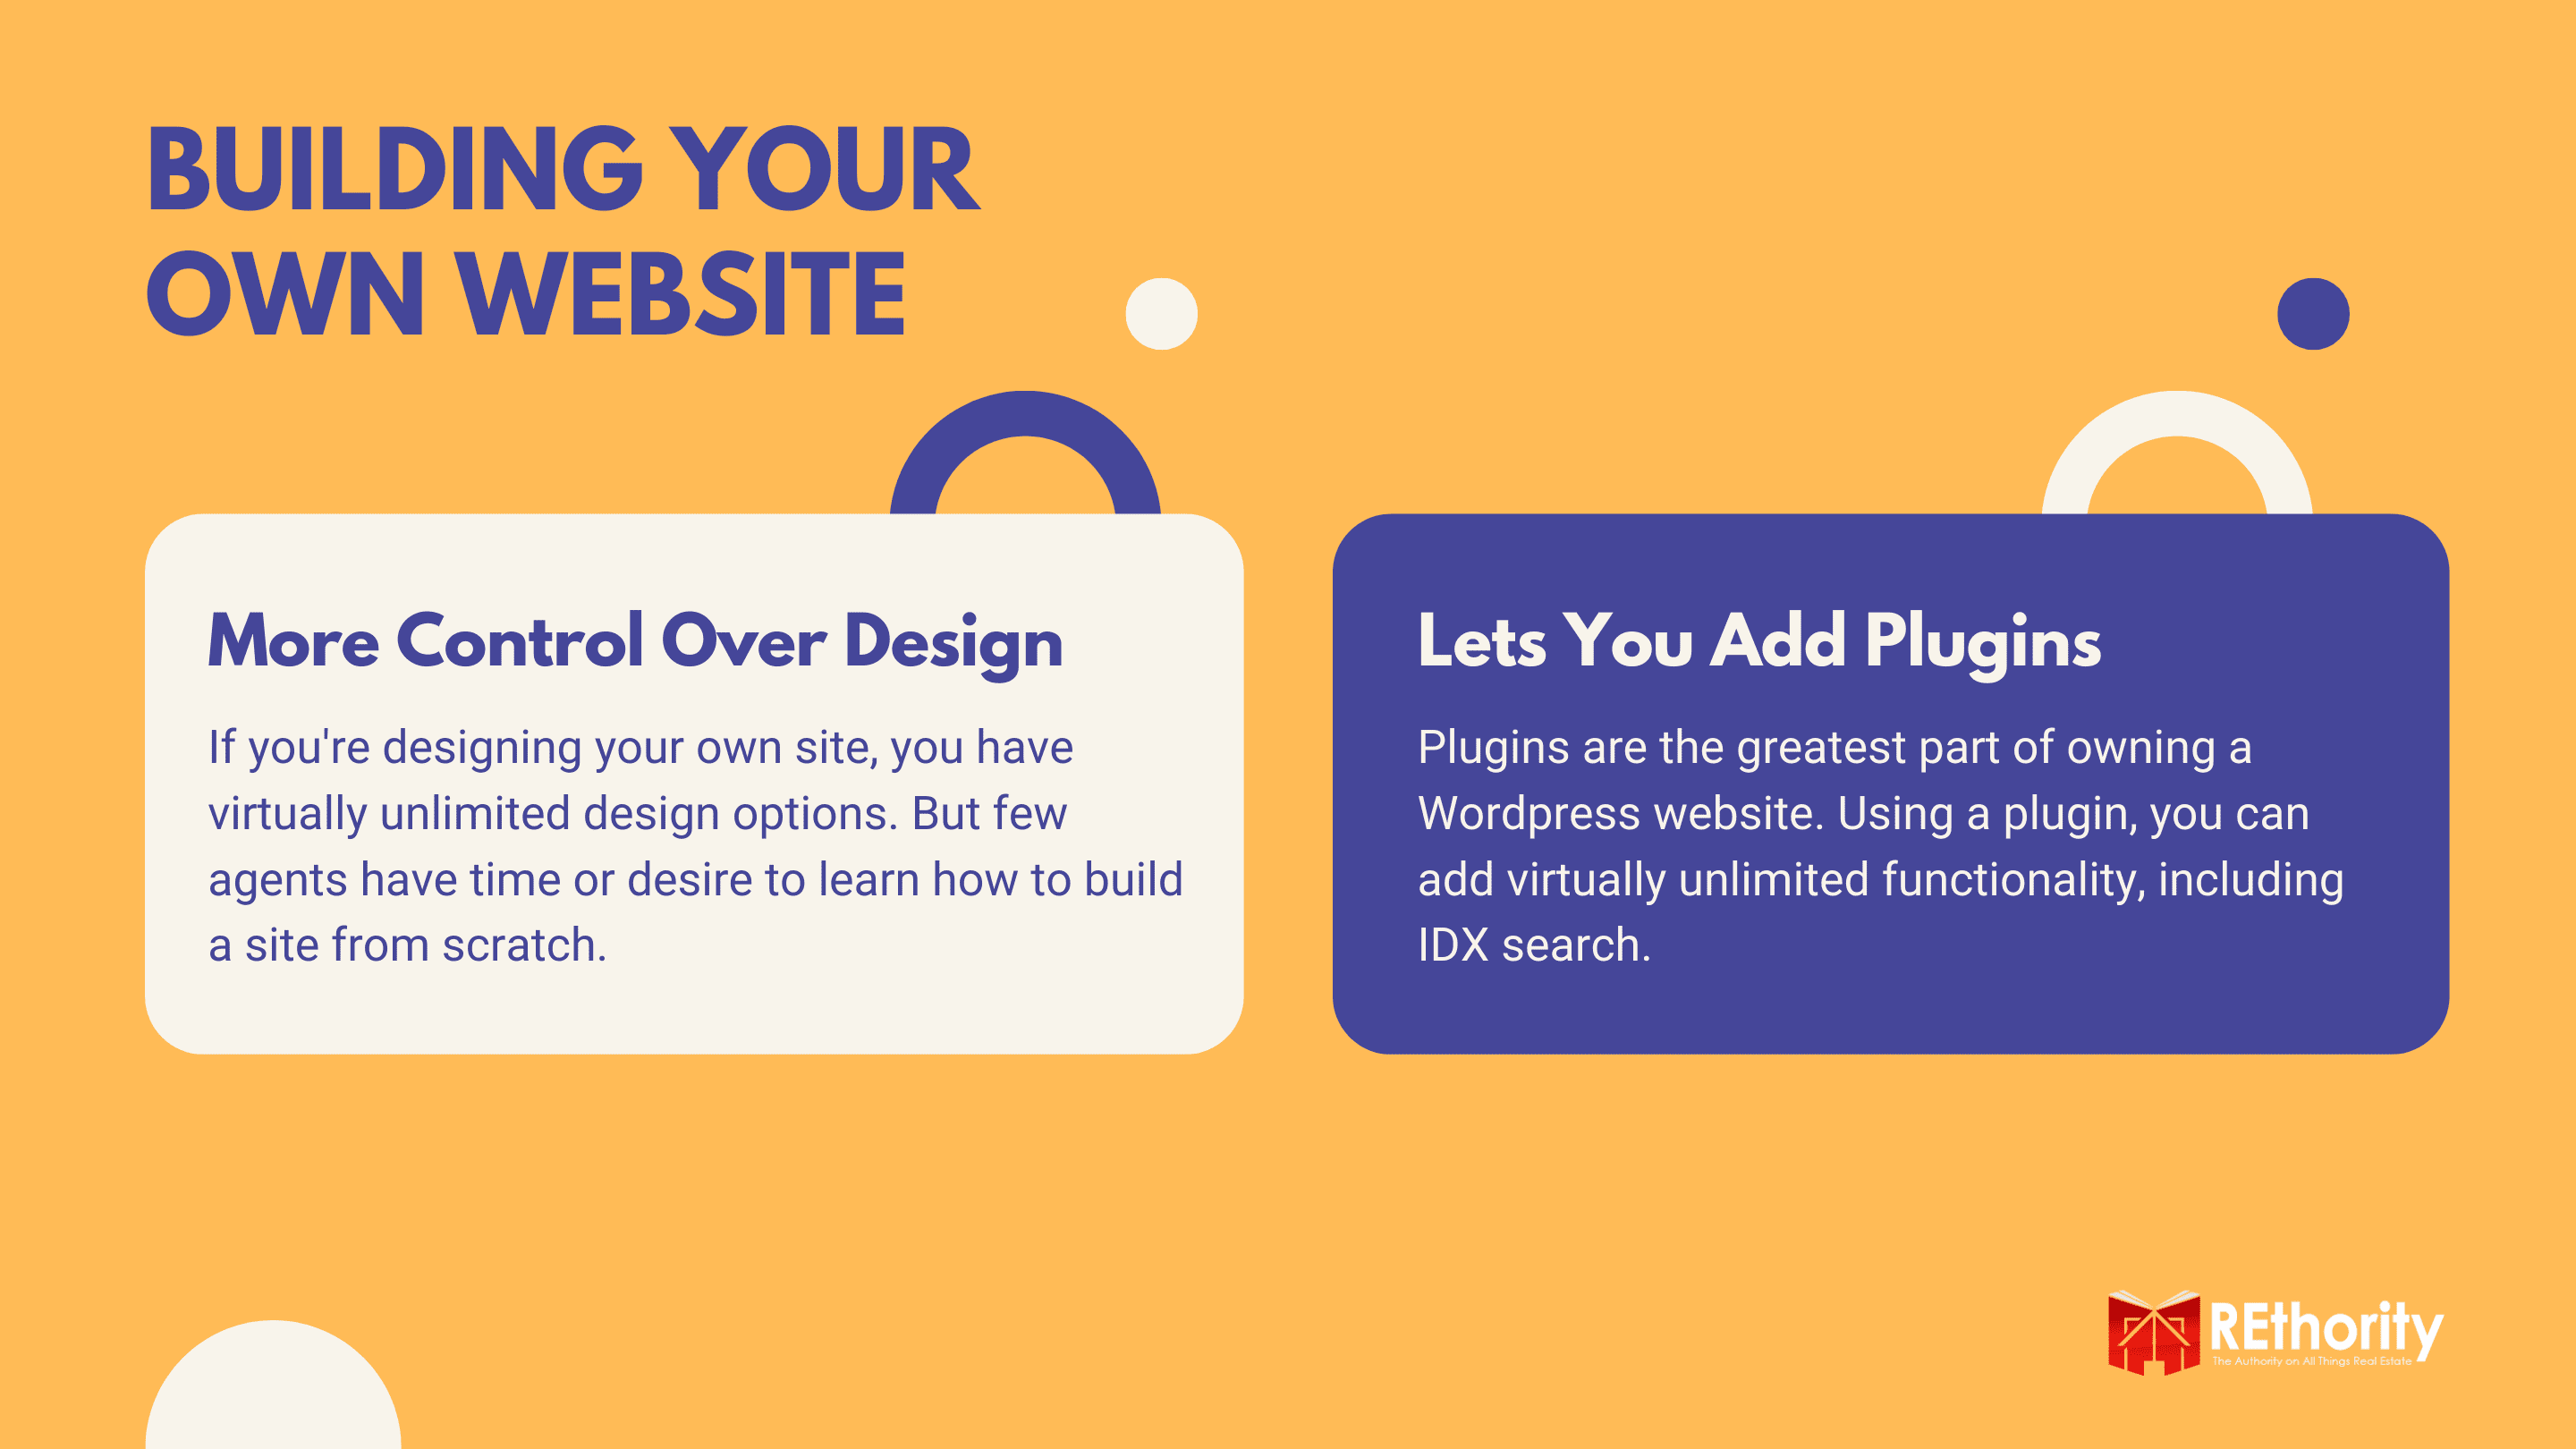
Option 1: Building Your Own Real Estate Website
If you want full control over your website, unlimited customization, and web design options, you’ll likely want to build your own website using WordPress. The only problem?

Building a real estate agent website from the ground up is more challenging and time-consuming than you’d think.
The good news? It’s possible to build a great website even if you don’t have any experience with web design.
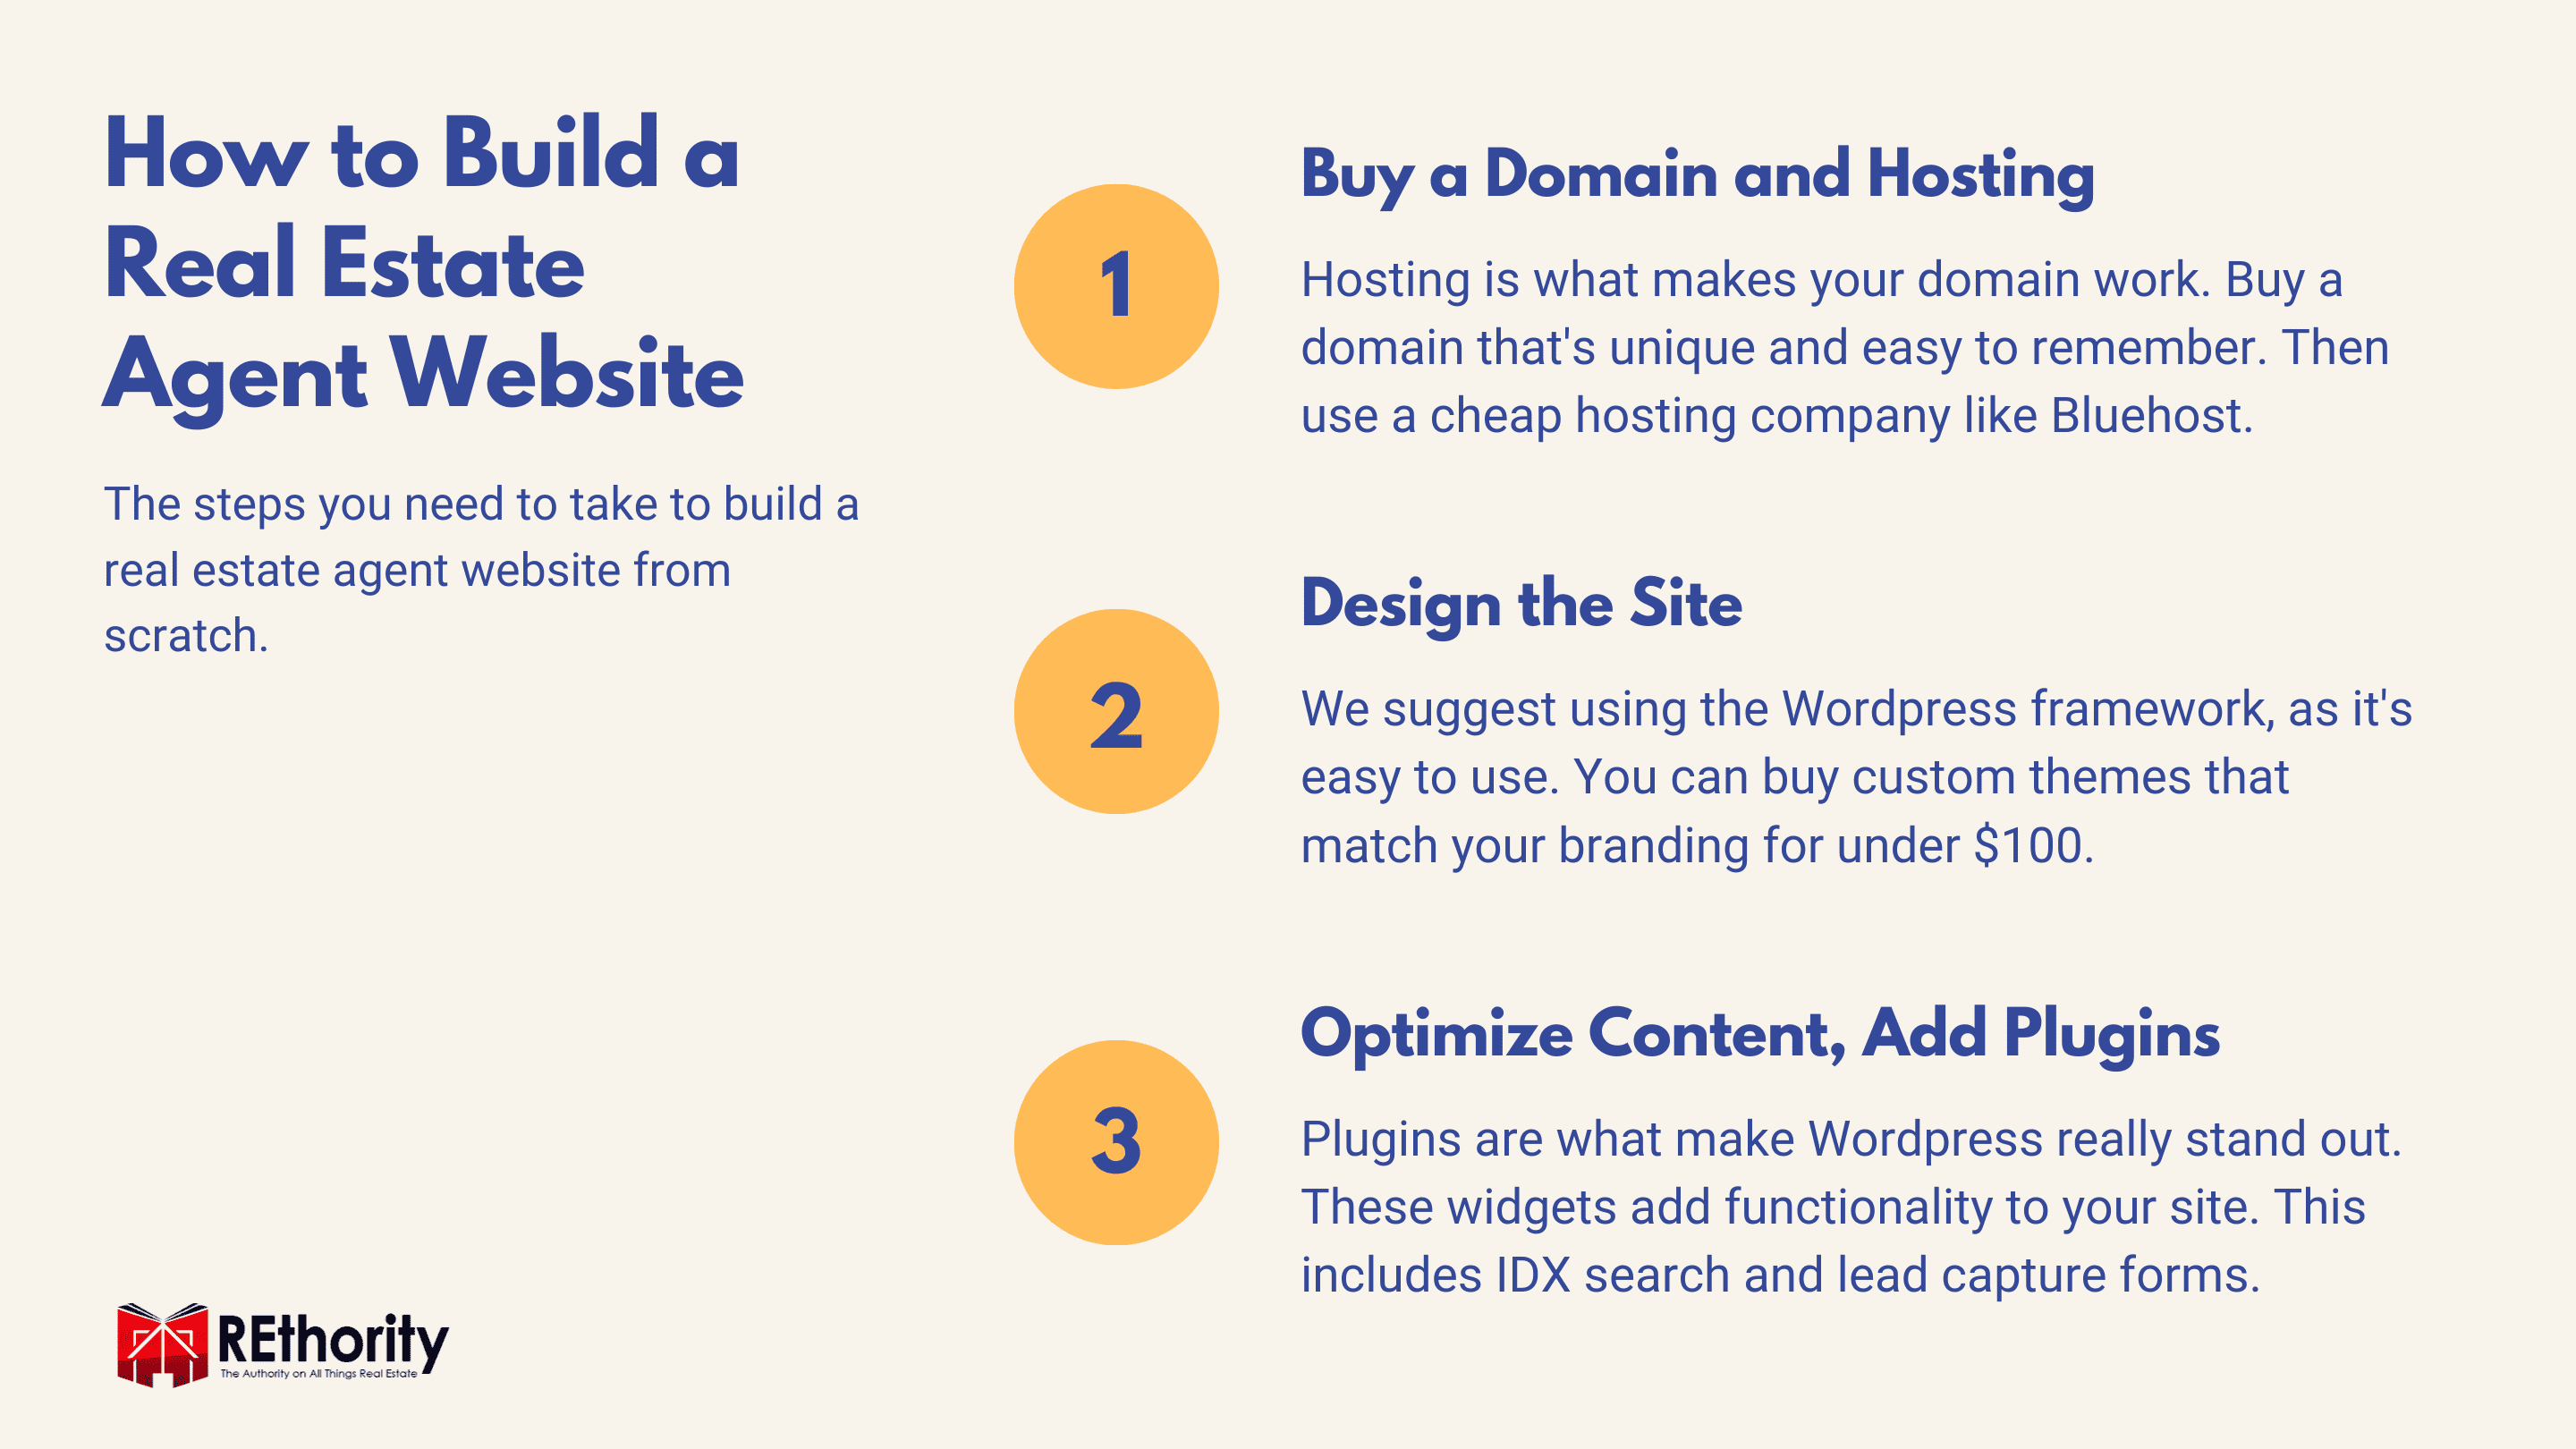
The process looks like this:
- Find a good website hosting provider and domain name
- Link your site to WordPress
- Install the IDX theme so you can show listings from your MLS and allow property searches
- Add plugins to make your site more functional and efficient
- Post images and content for every page
We’ll walk you through the process of building your own WordPress real estate website.
1. Web Hosting
You need web hosting to store your website’s information and data on a remote server or computer and make it accessible through the internet. There are so many web hosting providers around that making a decision can be tough.
I have experience with WpEngine, Bluehost, and WPX. Out of those three, Bluehost has been the best in terms of value, ease of use, and reliability. Expect to pay between $3 and $10 per month for hosting.
Most web hosting platforms offer annual plans that allow you to pay for a year or more in advance. We like that Bluehost will let you search for and buy a domain name directly through them (one less step).
Here’s what you get with Bluehost:
- Less than $3/month
- Select your domain name
- Five domain email addresses
- One-click WordPress install and setup
- 50 GB website data storage
Once you’ve got web hosting, you’re ready to choose your domain name.
2. Domain Name
You need a domain name to give your website an official online address and URL, like www.realestateagent.com. Be mindful of the name you choose because it’s going to be a factor in how well you rank in Google search results.
Also consider how easy your website is to remember for clients and prospects and how closely it fits your brand and image as an agent. Because there are so many websites online today, a lot of great domain names are already taken.
You might have to try searching for a few different options to land on one that’s available and a good fit for your real estate business. If a domain name you like is unavailable, try variations of it.
But skip hyphens and any domain extensions other than .com. Here are some ideas to include or consider when you come up with your domain name:
- Your location or region (Example: NashvilleHomesforSale.com)
- Your name or agency (Example: ThomManningRealty.com)
- General real estate terms (Example: SellYourHouseNow.com)
Bluehost will allow you to search and find available domain names directly through your account dashboard. Once you’ve found the perfect domain name, it’s time to start laying the foundation for your WordPress website.

3. Install WordPress
WordPress will be your point of access to your website. It’s the portal you’ll use to add content, check and change website settings, and keep spam in check.
In most cases, you can install WordPress for your new domain directly through your web hosting dashboard.
Under your website management or settings tab, look for “Install WordPress” and choose your domain name from step two. The installation doesn’t take long.
Once WordPress is installed, you will have access to edit and publish content on your new website. But you’re not quite finished yet! Next, you’ll need to find an IDX WordPress theme to add to your website.
4. Add an IDX Website Theme
An IDX theme will enable you to put live, accurate MLS listings on the homepage of your website.
It will also give your website visitors a way to search for properties that match their criteria, like location, number of bedrooms and bathrooms, square footage, acreage, and more.
WordPress themes will cost you different amounts depending on their features, but you can expect to pay anywhere from $20 to $100 for your theme.
When you’ve chosen and purchased the theme you want, installing it is easy. From your WordPress dashboard, just find the Appearance tab and select the Themes option.
Select Add New, then click on Upload and choose the file you downloaded when you purchased your theme. Select the Install option. Next, you’ll click on Activate. That activates your new theme on your website.
You can make changes to your homepage by visiting the Pages tab on the dashboard sidebar later, if you’d like. Your website is beginning to take shape now!
5. Find and Add Plugins
There are millions of plugins you can add to your WordPress website to make it more secure, spam-free, functional, user-friendly, and effective in generating and capturing leads.
Our advice: Don’t go overboard with plugins just yet. It’s best to start with the basics and master them. You can always add more to your website over time. Plus, the more plugins you have, the slower your site will be.
Some essential plugins you may want to consider right away include spam blockers, lead form plugins, and slideshow plugins. Here are three highly-rated options.
Installing a plugin is simple. Each link above gives you a download option. After downloading your plugins, go to your WordPress dashboard and choose the Plugins tab, then click on Upload.
Find the plugin file you downloaded, click Install, and click Activate under the plugin name. Do this for each plugin you want on your website.
6. Insert Images, Logos, and Text
You can get creative with this part of building your website. Upload and add your logo, images, and text to your website to make it your own and personalize it to your liking.
You can customize everything about the appearance of your website under the Appearance tab in the WordPress dashboard you used earlier to install and activate your IDX website theme.
If you downloaded and activated the slideshow plugin, you can set it to show an endless scroll of properties for sale right now. You might add general photos of your area, homes that are currently for sale, photos of you with past clients, and photos of yourself and/or your real estate team.
Make sure you upload quality, high-resolution photos so they won’t appear grainy or pixelated to website visitors. The small icon or image you see to the left of each browser tab above your search bar is called a “favicon.”
This is a tiny version of the logo associated with a given website (ours is the REthority open book/house logo). Make sure your logo is simple enough to be recognizable when it’s shown this small.
7. Add Website Pages
From your WordPress dashboard, click on Pages, and then select the Add New button. At a minimum, you’ll want an About page and Contact page.
- About page: What should potential clients know about you? Add a short bio to help website visitors get to know you a little better. Talk about your mission and goals as a real estate agent.
- Contact page: How can potential clients get in touch with you? Add your contact information, including your phone number, office address, email address, and a contact form.
As you get more comfortable with using your website and creating pages, you can make your website more functional by adding a page for reviews and testimonials, lead-specific landing pages, and even a blog.
8. Check and Share Your New Website
Once you have your theme, plugins, design, and pages set up the way you want them, it’s time to test your website. Look for any broken links, spelling or grammatical errors, or mistakes in formatting (overlapping text, for example).
See how long it takes your website to load. Do a test search on your homepage to make sure your IDX functions are working correctly. Visit your website on a mobile device to make sure it’s mobile responsive.
Once you’ve checked and tested your new website and are satisfied with it, it’s time to share it with your network. Congratulations!
Option 2: Using a Real Estate Website Builder
Not up for building a real estate agent website from scratch? There are lots of website builders for real estate agents to choose from.
Carrot has the best reputation and is perfect for those who don’t want to spend hours editing and preparing a website.

We’ll use this platform as an example to show you how to create a great website without building and designing it yourself. Let’s get started!
What Is Carrot?
Carrot (formerly called Investor Carrot) is a platform that allows real estate professionals—agents, brokers, and investors—to build websites that attract and capture leads online.
Carrot websites are built on WordPress, but the process is much more straightforward than doing it yourself. Plus, the support you can get from weekly coaching calls and Carrot customer support can make your experience better.
Each step is guided or automated for you, so all you have to do is choose your target area, edit the text, and add the images you want. You don’t have to worry about finding web hosting because Carrot will host your website on their servers.
While this is awesome, bear in mind that you still need to find and purchase a domain name. But don’t worry; Carrot can help, and most domains are less than $10.
Building Your Carrot Website
When you sign up for Carrot, you’ll pick the plan that works best for you. We recommend that you start with the Content Pro plan ($99/month) to get the following features:
- Real estate agent website
- Search engine optimization
- Lead manager
- 15 custom campaign tracking links
- Visual website editor
- Weekly website coaching calls
- 3 SEO rank tracking
- 12 blog posts
- Add IDX listings and map search for $50/month
- No setup fees
After you sign up, Carrot will ask you a few questions about your real estate business so it can begin customizing your website for you. Choose your location, add your contact information, and select what you’ll be using the website for (investor sites are a lot different from agent sites).
Add Content
Every page on the website will be automatically populated with your name and contact information to make sure visitors know who you are and to help you rank better in search results.
If you choose to add the IDX option for $50/month, you’ll choose your target area to connect it with your MLS easily. This is how users will be able to see properties for sale nearby and do advanced property searches right from your website.
Carrot websites also come with at least 12 blog posts that are pre-loaded into your website. You should make sure to edit these blog posts so you’re not penalized by Google for featuring the same content others have on their websites, called duplicate content.

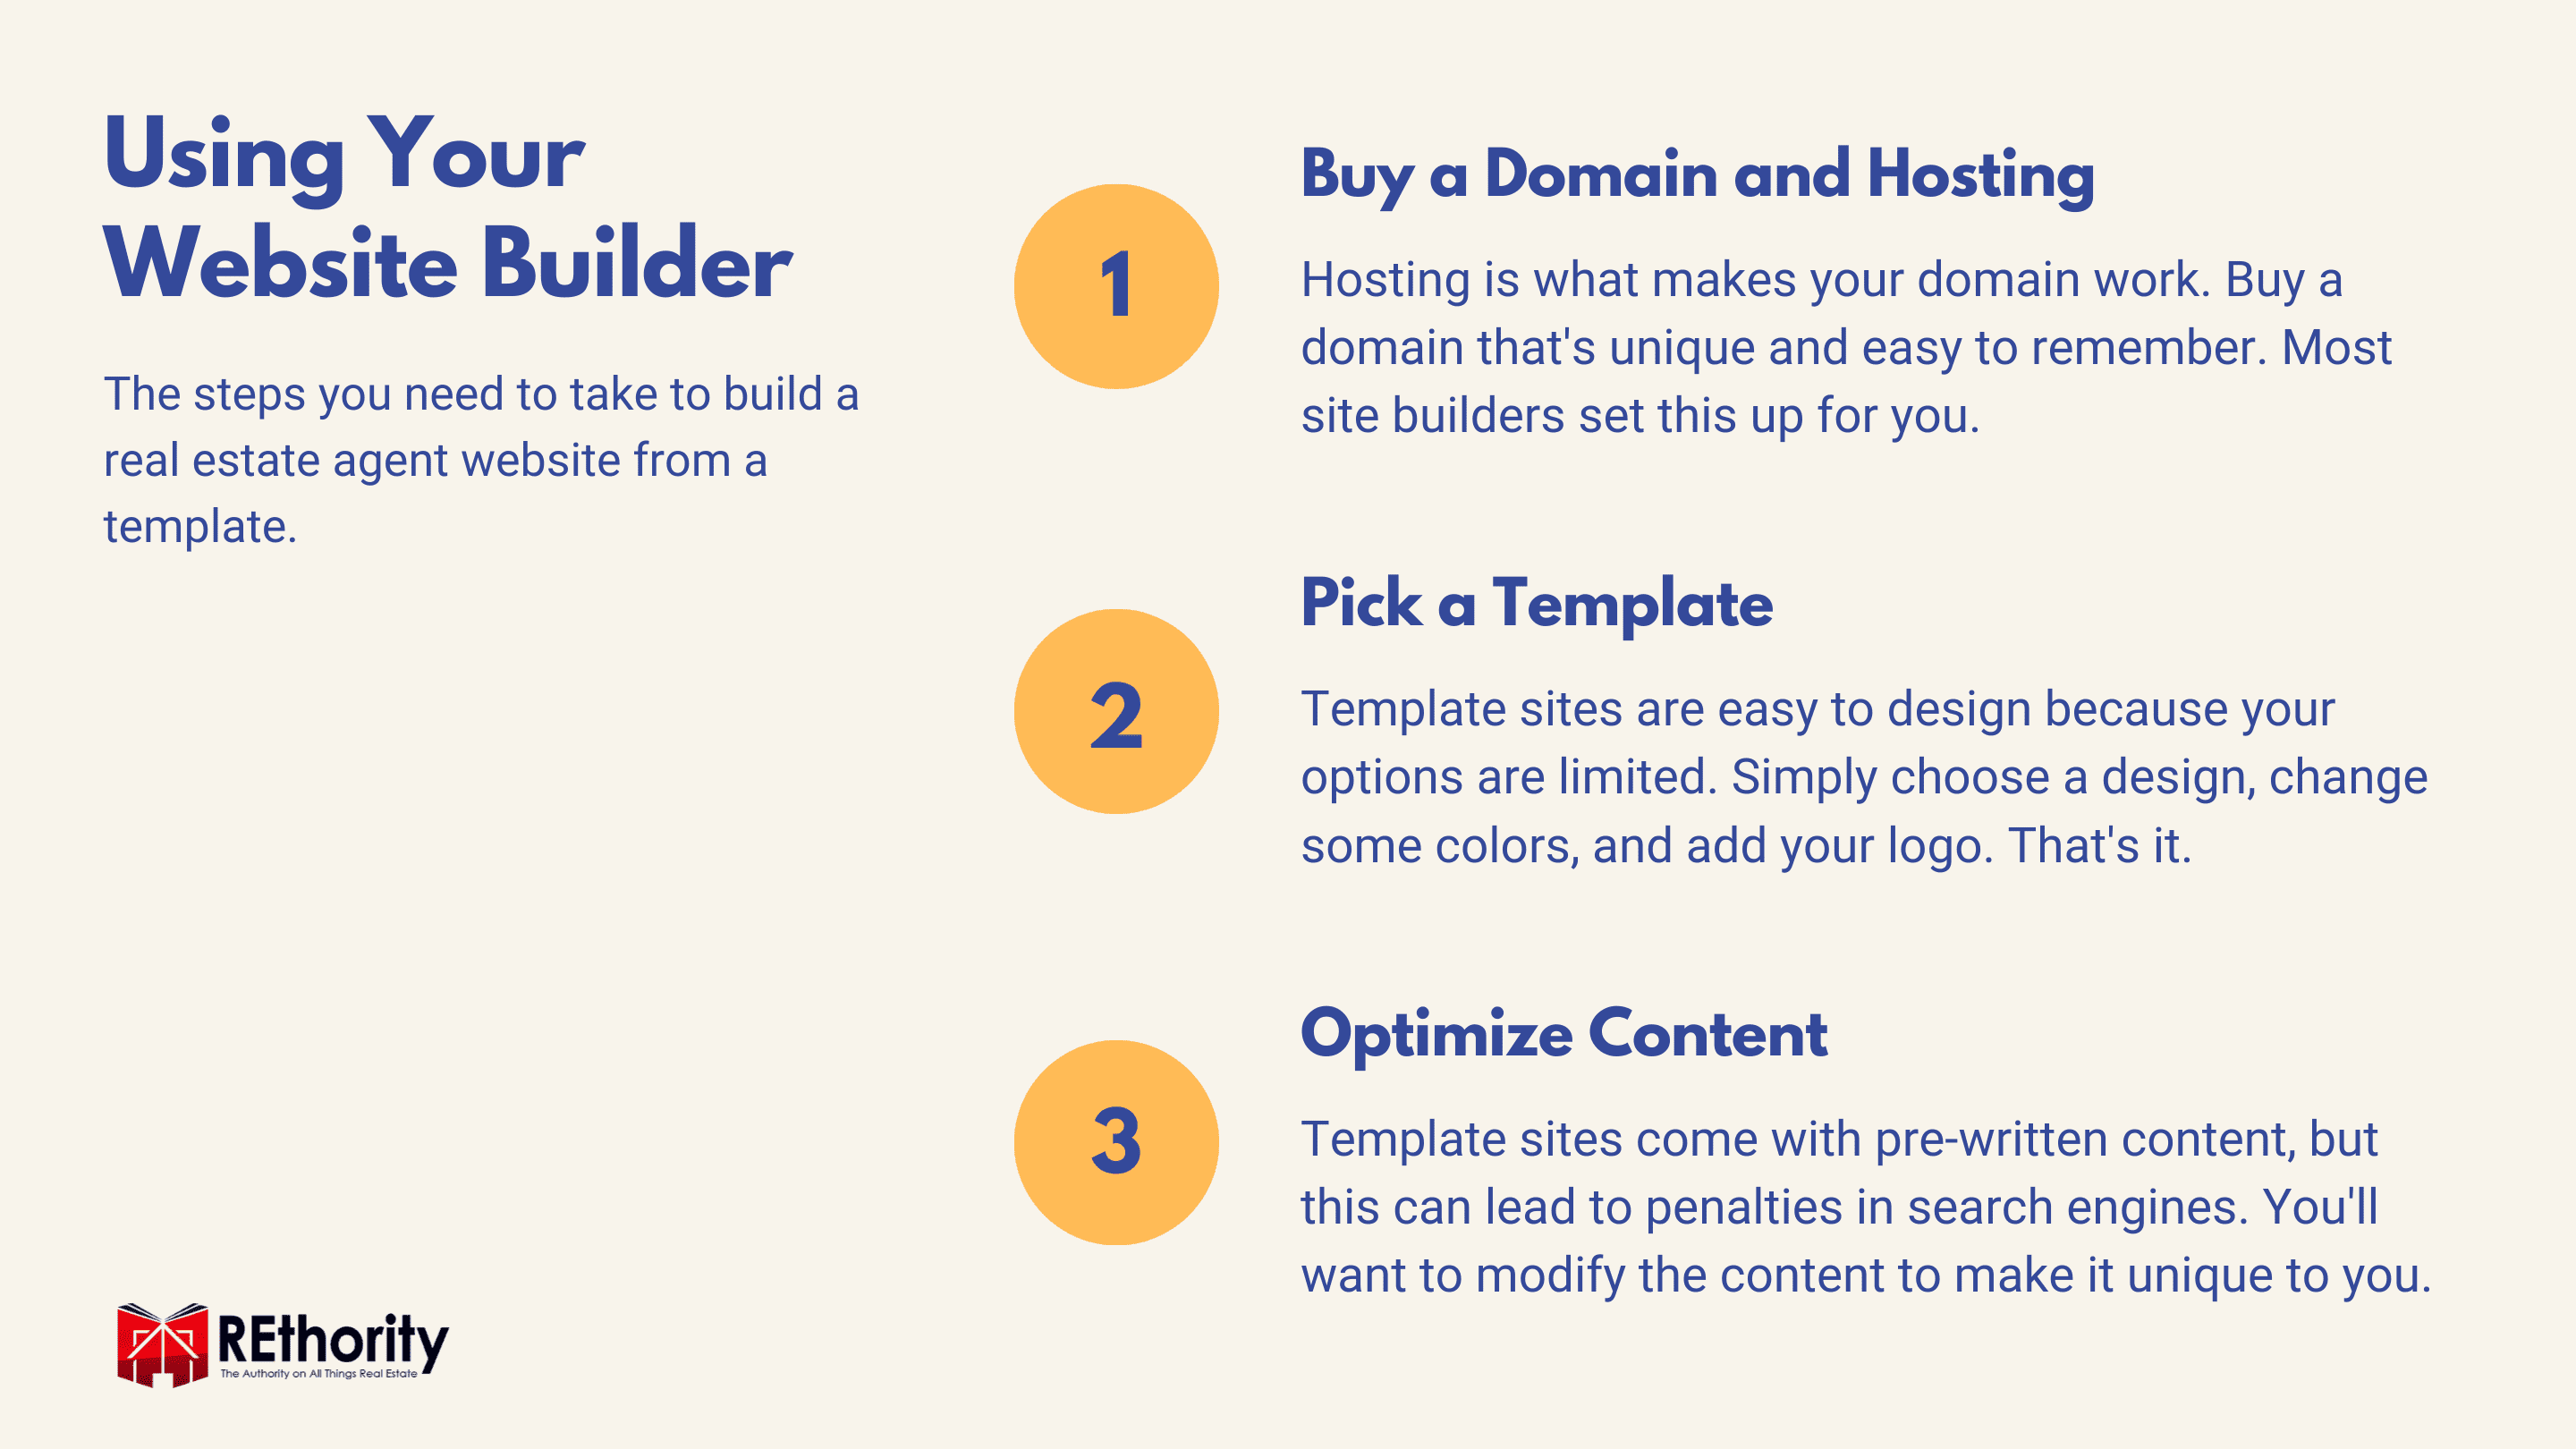
Templates/Themes
Carrot has several website templates you can choose from, so select the one you like best and that you think fits your brand as an agent. You can always tweak the appearance of your site by changing photos, colors, and adding your logo.
Add Website Pages
You can add and remove as many pages as you want on your site because it’s built on WordPress. Make sure you add an About page and a Contact page.
- About page: What should users know about you? Write about your background as an agent to help website users learn about you.
- Contact page: How can potential clients get in touch with you? Add your contact information, including your phone number, office address, email address, and a contact form.
Lead Generation and Capture
Lead generation and lead capture are some of the main reasons real estate agents need a good website, and Carrot makes it easy to get your site set up to attract and capture leads.
With one click, you can create lead forms on your website that allow users to type their contact information in exchange for something that brings them value.
For example, if a user wants to save their property search to be notified when new, matching listings are available, they’ll create an account by entering their name and email address.
That information goes straight to your Carrot dashboard, where you can track, manage, and export it when you want. They do have a pretty awesome CRM.
Real Estate Agent Websites: What’s Best?
Boosting your online presence starts with a quality, powerful real estate website. The option you choose depends on what your overall goal is for your real estate agent website.
Building your website is a lot more work, but if customization and full control over your web hosting and real estate website design are your top priorities, it may be worth it to invest the extra time into it.
Template Sites Save Time
Be prepared to spend at least a day getting your website up and running this way—more if you can’t dedicate uninterrupted time to it. Building your website using a platform like Carrot is much simpler.
But keep in mind that it doesn’t give you full access to all the WordPress website features and capabilities that building your site would. It does, however, give you a wide range of customization options to help you make your site look unique and generate new leads for you.
Carrot Is a Great Option
With this option, you can have your website running and live within a couple of hours. For most real estate agents and realtors, template providers and website builders like Carrot offer a better online marketing solution.
Instead of spending hours or days getting your website ready, you can choose the templates you like best to make your website customized in a fraction of the time it takes to build your own real estate website.