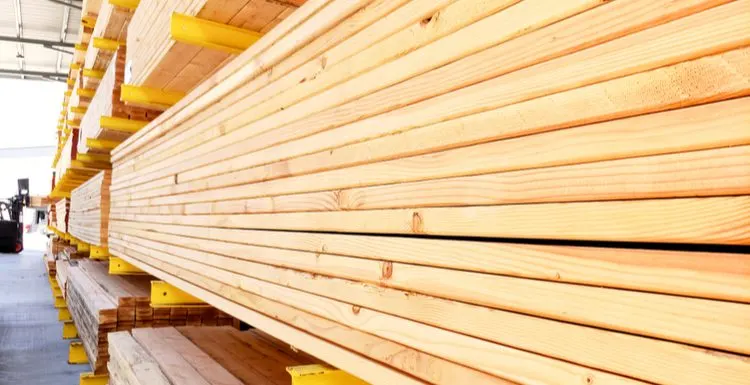
When painting pressure treated wood, you’ll need to take a few more steps than you would with traditional lumber.
Put in a little extra effort, and you’ll get the results you want. Read on to learn more.
Can You Paint Pressure Treated Wood?
Alexander_Safonov/Shutterstock
Painting pressure treated wood is possible, but you have to know what to do. If you don’t paint it correctly, the paint won’t absorb and will eventually peel off. Do some planning ahead, and you’ll have a successful home painting project.
Follow these basic steps for painting pressure treated wood:
- Clean your wood with soap and water
- Allow to completely dry
- Sand your wood safely
- Apply a latex-based primer
- Apply the latex-based paint of your choice
Of course, this article is just a summary, so if you have any doubts, we suggest hiring a professional painter. They’ll ensure the job turns out perfectly with no errors.
Painting Pressure Treated Wood in 5 Easy Steps
Treat your lumber properly, and you’ll find that the paint job will last for years to come. Follow these steps for a successful project.
Choosing Pressure Treated Wood
There are different reasons to choose pressure treated wood over other types of lumber. The treatment process doesn’t make your lumber stronger but will help it hold up better against outdoor elements. This makes it great for outdoor projects.
It’s fine to use pressure treated wood indoors as well. It’s a cheaper choice than other types of lumber, which is a factor when deciding to use it. Use pressure treated wood for all kinds of indoor or outdoor projects. Remember that it’s treated with water-based chemicals.
While these chemicals deter pests and decay, they also leave the wood wet and keep paint from sticking. Follow the five easy steps and be sure that you know how to dry the wood properly and how to paint it correctly.
What You’ll Need
There are just a few specific tools needed to paint your treated lumber successfully and safely:
- Mild detergent soap
- Cleaning cloth or bristle brush
- An appropriate face mask and goggles
- 50-grit sandpaper
- Latex-based primer
- Latex-based paint
Now that you’ve gathered your materials, you’re ready to get started.
1. Clean With Soap and Water
Stokkete/Shutterstock
Clean your lumber before you paint it. This should always be your first step in a painting project.
When painting pressure treated wood, cleaning helps dilute chemicals on the surface used to treat the wood that can cause your paint to peel up later on.
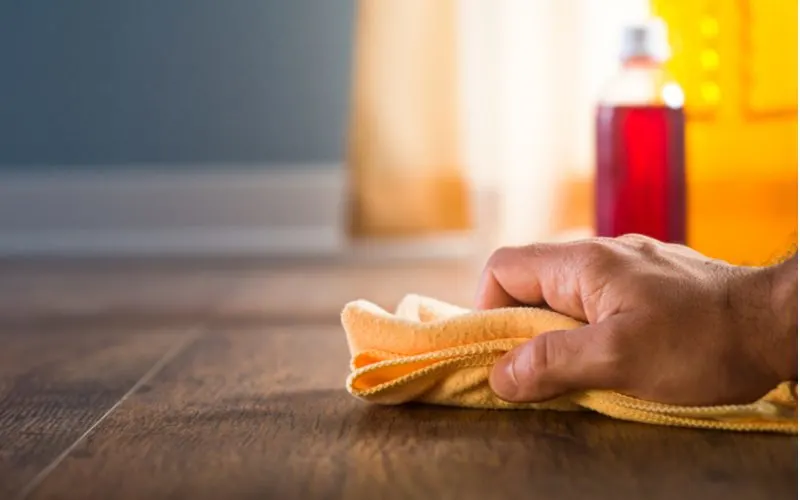
Use mild soap and water to scrub down the entire surface with a rag or bristle brush. Rinse the wood completely with clean water and pat dry with a dry, clean cloth.
If you had it stored outdoors, your lumber might be damaged or covered in dirt and debris. Give it some extra attention with a commercial wood cleaner and a power washer for easy and effective remediation.
2. Allow to Dry
Ray B Stone/Shutterstock
Dry your lumber on a dry, flat surface after you clean it. Look for a clean space with direct sunlight.
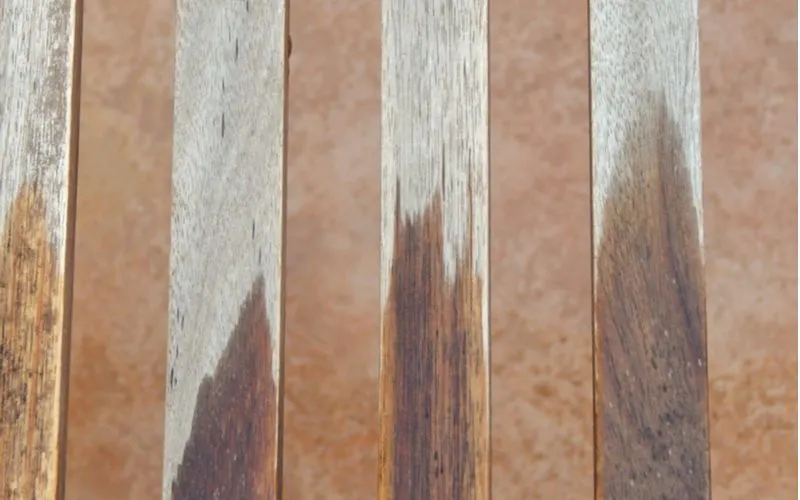
Don’t dry it standing up or in a cool, dark place because this could cause it to warp over time. It’ll also take a lot longer to dry, and there is a risk of mold.
Give your lumber a few days or weeks until it’s completely dry. If it feels dry to the touch, test it. Drop a small amount of water onto the wood. If it soaks in, it’s dry and ready to paint.
If the water sits on the surface, it’s not dry. Wait a few days and test again. Be aware that some wood can take up to a month to fully dry out.
3. Sand the Wood
Yakov Oskanov/Shutterstock
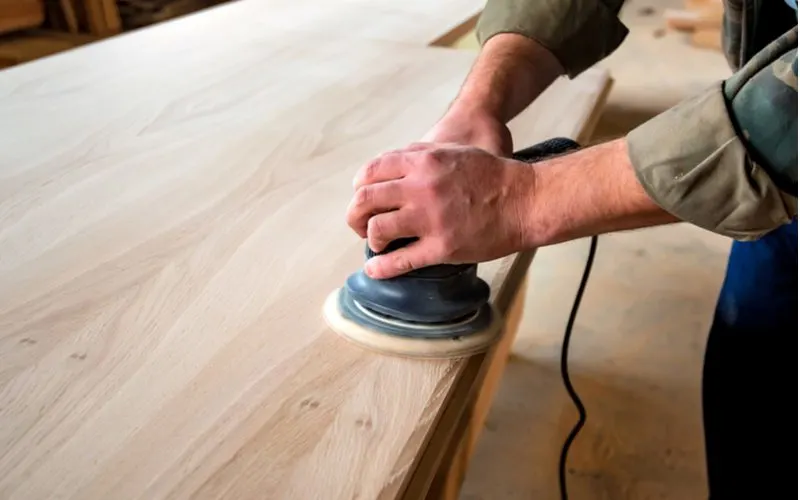
Sand your wood before you paint it. Don’t be tempted to skip this step. Sanding will remove any imperfections raised from the surface of the wood and create a light roughness that will allow your paint to stick better.
Always do any sanding outdoors and always wear a mask and eye gear, but especially with pressure-treated wood. Wood may release the chemicals that it’s treated with into the air. Take extra care so that you know that you are safe.
Use gentle 50-grit sandpaper since you’re just trying to scratch up the surface and don’t want to release too much of the chemicals from the wood itself. Wipe down with a damp cloth before priming.
4. Apply Primer
Bohbeh/Shutterstock
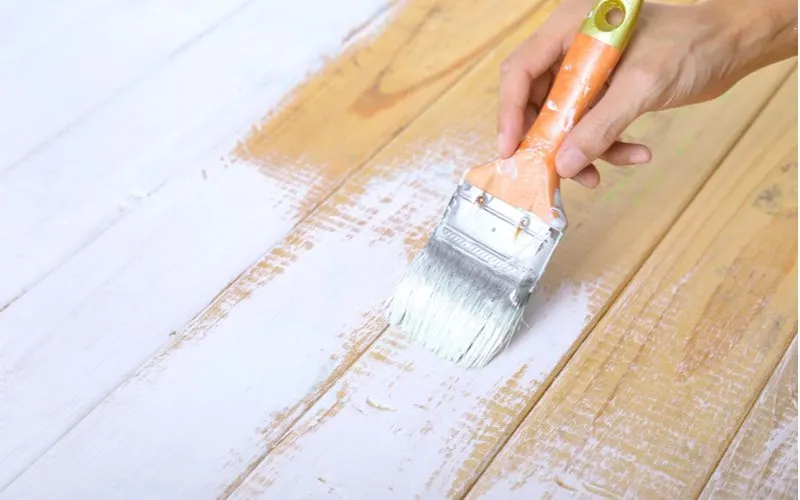
Prime your wood once it’s dry and ready to paint. It might seem easy to just move on to painting, but priming guarantees your paint job lasts much longer.
Get a latex-based primer so that it adheres correctly. Experts agree that oil-based primers don’t absorb properly into the wood.
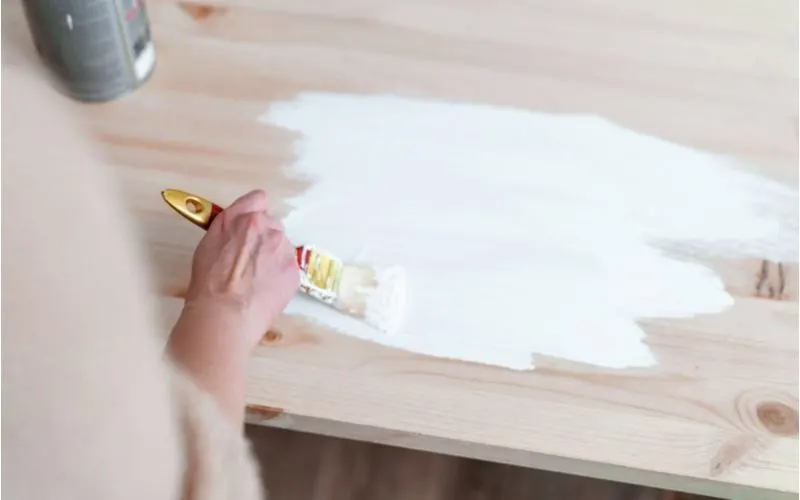
Apply it however you wish, rolling, spraying, or painting it on with a brush. Just make sure to cover the surface completely.
Read the manufacturer’s instructions on the back of the can because curing times vary for primers.
Wait a few hours for your primer to cure. Take the necessary actions to make sure that you leave your wood to cure where dust and dirt can’t collect on your newly primed surface.
5. Apply the Proper Paint
Yamasan0708/Shutterstock
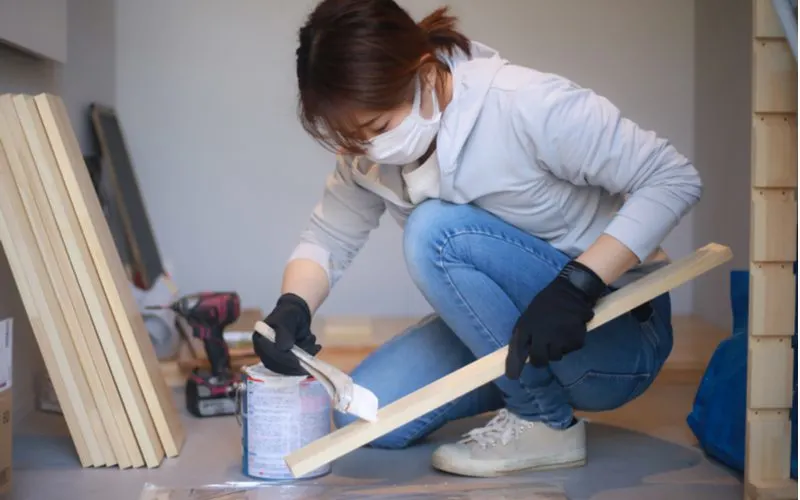
Check that your primer is cured completely. If it is, then it’s time to paint! Like with primers, choose a latex-based paint. These are best for painting pressure treated wood.
Apply at least two coats. Allow the paint to dry completely between each coat. Think about what you are doing with the wood when picking your paint.
If this is an outdoor project, quality outdoor paint is best. For indoor projects, you have your choice of different finishes, as long as it’s good interior paint. Choose whatever color you want—that’s the fun part!
What If You Paint It Too Soon?
Water activates the chemicals in pressure-treated wood. Don’t paint it before it’s had time to dry. If you do, the chemicals will keep the paint from adhering to the wood.
Painting pressure treated wood before it’s dry means you’ll likely end up with poor coverage or peeling paint. Of course, this results in wasted time and money.
Painting vs. Staining
While the pressure treated wood already lasts longer than others, studies have shown that finishing wood with either paint or stain adds even more to the long-term durability of your wood.
Staining is a great option for pressure treated lumber, especially for outdoor projects. Wood absorbs stains easily, and it’s simple to apply.
Keep in mind that with stains, you are limited to shades of brown, and it doesn’t hide blemishes in the wood. Painting, unlike staining, provides a wide variety of colors and finishes.
With paint, you get a smoother look to the wood, and it covers all kinds of discoloration and imperfections. It doesn’t soak into the wood as easily as a stain will, but it’s a great option if applied correctly.
Things to Consider
Ingo Bartussek/Shutterstock
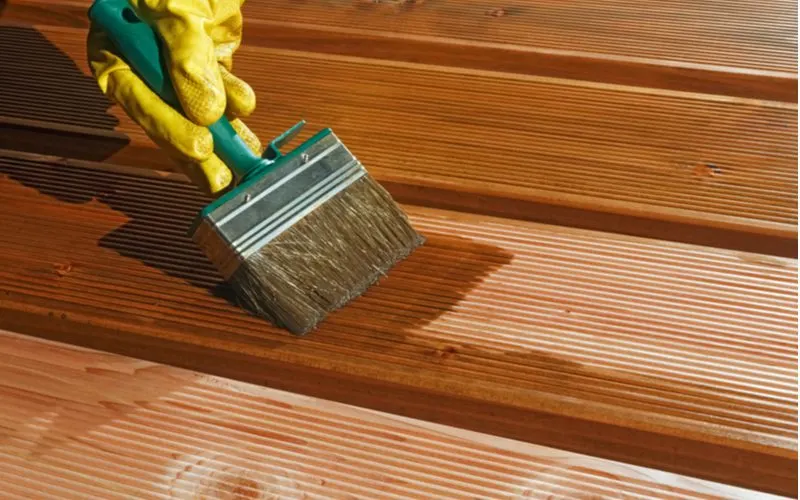
Make safety a priority when handling treated lumber by keeping these few things in mind.
- Wear gloves when handling pressure treated wood, and wash your hands afterward.
- Never burn pressure treated wood.
- Don’t use pressure treated wood for food preparation projects, like cutting boards.
- Plan on annually treating painted and stained wood that is outdoors to prolong its life.
Successfully Paint Pressure Treated Wood
Painting pressure treated wood is certainly an option for your next big project, as long as you know that it’s not like regular lumber.
With a little planning and preparation, it’s not difficult. Just make sure your wood is clean before painting, and choose latex-based primer and paint.

