Knowing how to remove paint from wood is a handy skill for countless home improvement projects.
To learn how to prepare wood for a new paint job or finish, read on; we’ll cover what you need and the steps to take.
Summary of Steps

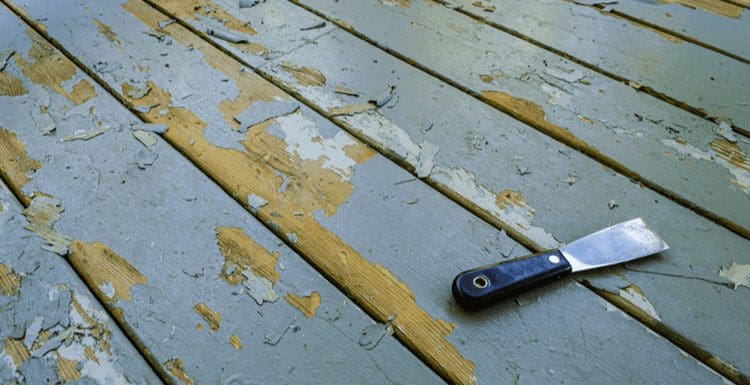
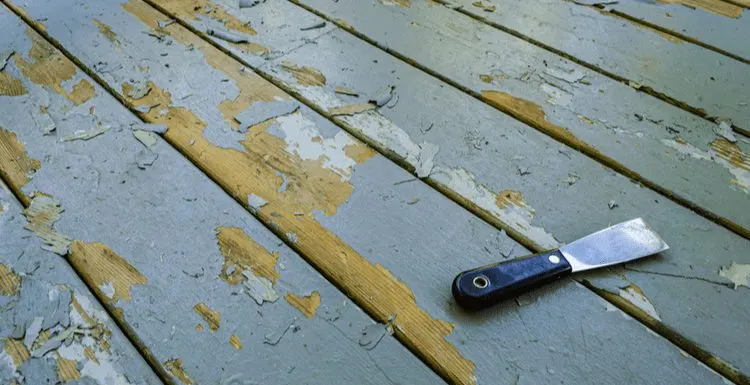
Alexeysun/Shutterstock
Stripping paint from wood without damaging the wood takes a little preparation, but it’s well worth it in the end to have a clean, beautiful wooden surface for your project.
To do the job properly, you’ll need to do the following:
- Determine the quality of the wood
- Decide whether it’s a DIY project
- Prepare the wood for stripping
- Choose a paint stripping product
- Gather your materials
- Prepare your workspace
- Remove foreign objects
- Apply the paint stripping product
- Scrape off the paint
- Wash and sand the wood
How to Remove Paint From Wood in 10 Steps
Let’s get started.
Step 1: Check to Make Sure the Wood is Worth Exposing
Before you take on the job, you want to make sure the wood underneath that coat of paint is in good shape.
If the wood is rotted or damaged, you may want to abandon the project and just replace the wood altogether.
Look for signs of rot, dry rot, sponginess, cracks or breaks, shrinkage, or warping. Poke the wood in places that are not easily visible to test its strength and texture.
Step 2: Decide Whether It’s a DIY Project
Of course, you want to perform this job yourself if possible. However, some projects are too big or dangerous to attempt on your own.
If the wooden surface you want to strip is too large or the paint you want to remove is full of lead, it’s best to bring in a professional.
You can send a piece of furniture out to be stripped, or you can have a professional come to your home or workshop to perform the job.
Step 3: Choose Your Paint Stripping Product
There are four types of paint-stripping products available. Some are chemical-based, while others are composed of organic materials like citrus and vinegar.
- Solvent: these products use toxic chemicals to weaken the bond between the paint and the surface of the wood.
- Caustic: these products are lye-based and turn the paint into soap, loosening it.
- Biochemical: these products use fewer chemicals and primarily consist of plant-based solvents.
- Zero-VOC: these products are non-toxic and emit little scent, but they are generally pricier than other types of paint stripping products.
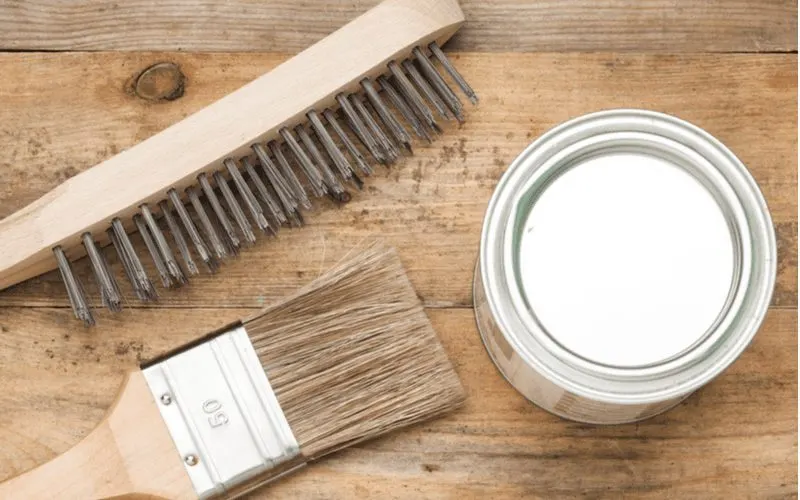
Step 4: Gather Your Tools
Before you start, you want to make sure you have all the tools necessary for the project. You’ll need the following items:
- Safety glasses
- Work gloves
- Sandpaper
- Paintbrush
- Paint-scraper
- Wire brush
- Paint-stripping product
Nothing is more annoying than having to stop in the middle of a project to find a tool you need, so make sure to gather everything you’ll need before you get started.
Step 5: Prepare Your Work Space
Before you start your project, it’s essential to prepare your work area.
- Spread plastic sheeting at least 6 feet beyond the area where you’ll be working.
- Overlap the sheeting and tape it down.
- Cover the sheeting with newsprint to catch spills.
- Remove any other objects and furniture from the room.
- Cover anything you can’t remove with plastic sheeting.
- Cover doorknobs, hinges, and other hardware items with painter’s tape.
- Close off the room with plastic sheeting and duct tape.
- Cover the air vents in the room where you are working to keep the dust and debris from circulating.
Step 6: Remove Any Foreign Objects From the Wood
Any nails, screws, or other objects embedded in the wood need to be removed before starting the stripping process.
Test Existing Paint Job for Lead
This makes them toxic to humans. Before you begin stripping any paint, you need to make certain it doesn’t contain lead. You can purchase a lead test at any hardware store.
Follow the directions on the test kit. If you discover that a large portion of your house is painted with paint containing lead, check out the EPA’s instructions for abatement.
Remove Lead If Necessary
If the paint you want to remove is lead-based, the best course of action is to hire a professional. It’s especially important if you’re removing paint from a large portion of your house, like walls or ceilings.
If you’re still going to try to complete the job yourself, follow this guide carefully.
- Keep children and pregnant women away from the area.
- Work in one room at a time, and keep the room sealed off from the rest of the house.
- Remove everything from the room.
- Wear disposable covers while working.
- Use a HEPA respirator any time you are in the workroom.
- Do not eat, drink, or smoke in the workroom.
Step 7: Apply the Paint Stripping Product
Now it’s time to apply the paint stripping product to the wood. Shake the can well and pour the product into a shallow pan. Apply it with a paintbrush to one small section of the wood at a time.
Leave the product on the wood until the paint begins to bubble, usually roughly 20 minutes. Check the paint occasionally to see if it’s softening. Make sure you remove all of the stripping product before it dries.
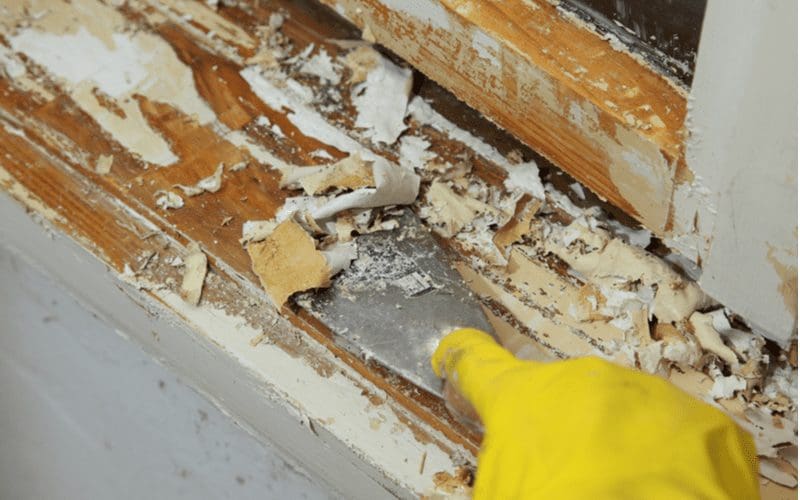
Step 8: Scrape Off the Paint
Use the paint scraper to remove the softened paint. Go slowly, and be careful not to scratch the wood underneath. If the paint resists, apply more paint stripping product and allow it to set.
Then return to the scraping process. You may need to repeat the process a few times to get all of the paint off. You also may need to sharpen or replace the paint scraper’s blade periodically as it dulls.
Step 9: Don’t Forget the Hard-to-Reach Spots!
Not every piece of wood is a nice, convenient flat surface. Sometimes, you’ll have to scrape paint from crevices. A few household tools will make this process easier:
- Toothpicks
- Teaspoons or tablespoons
- Sanding cords
- Old gift cards or credit cards
Step 10: Wash and Sand for a Clean Finish
Once you’ve removed all the old paint, the final step is to wash and sand the wood. This will remove any clinging particles to give you a clean surface to work with.
Wipe the wood down with a clean, wet cloth, then sand the entire surface. You can use a power sander on large flat portions of the wood, then sand the more delicate areas by hand.
Things to Consider
Here are a few more things to think about before you take on a paint-removing project.
- Wear protective clothing when stripping paint from wood. You may want to make sure you have the following in your toolbox: safety glasses, a respirator, disposable coveralls or old pants and long-sleeved shirt, rubber gloves, and disposable booties
- To clean up, mist the plastic sheeting lightly with water to keep debris from scattering. Remember to tape it shut before disposal.
- Use a HEPA-filtered vacuum.
- Do not empty any of the water you use to clean into a toilet or sink. Seal it in a container and find appropriate disposal procedures for your town.
- If you don’t want to scrape paint from wood, you can opt for heat guns, sanding methods, or pressure washers.
So, How Do You Remove Paint From Wood?

Sima/Shutterstock
To get a beautiful, fresh surface of wood, remove the paint from it by checking the wood and existing paint job, preparing your tools and workspace, applying a paint-stripping product to the surface of the wood, scraping off the paint, then washing and sanding the wood.