
Maybe you want to remove paint from bricks to give the exterior of your home a new look. Maybe you’re hoping to restore the vintage appeal of the interior.
In any case, understanding how to remove paint from bricks is a DIY project that you can tackle on your own as long as you do the proper planning and preparation.
There are many reasons to paint brick. If it was purely a design choice, you could quickly reverse it with just an afternoon of work.
All you need to do is prepare your area, apply a stripping solution, and peel the old paint away before rinsing off the brick.
How to Remove Paint From Brick in 7 Steps

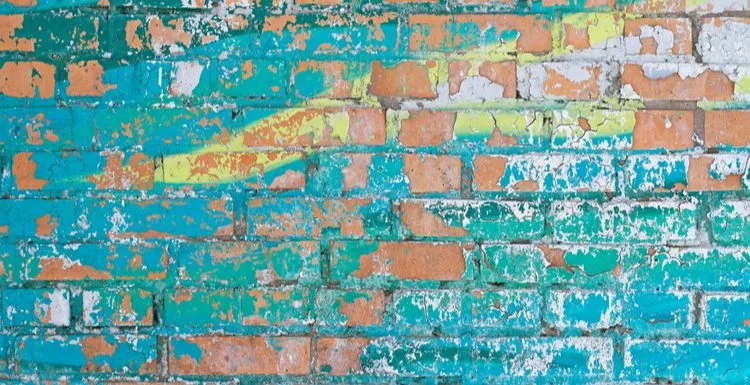
Yanas/Shutterstock
Responsibly and carefully removing paint from bricks can be accomplished in just seven steps. Let’s get started!
Step 1: Test a Small Section First
Before diving headfirst into this DIY project and removing all the paint from your brick, try removing paint from just a small section to start.
This test area protects you from making a significant mistake. Choose an area that isn’t highly visible. This way, you can inspect the brick below the paint and ensure that it’s a color you like.
Additionally, testing a small area helps you ensure someone hadn’t originally painted the brick because of its poor condition.
It may feel like an unnecessary deviation to strip the paint from a small section of brick, but you’ll be glad that you carved out the time for it if you decide not to go through with the removal.
Step 2: Prepare for the Cleanup
If you decide to proceed with the project, take some precautionary steps to make your life easier at the end of the removal process. Preparing for cleanup is especially important if you’re removing paint from an indoor space.
Lay down tarps or drop cloths to catch dust and paint chips. Cover doors and vents to prevent debris from traveling throughout your home. Even if you’re removing paint outdoors, you’ll be pleased that you don’t have to pick paint chips out of your lawn.
Step 3: Make Sure You’re Protected
Accidental exposure to paint stripper can cause some unsavory symptoms. There are a few types of protective wear you’ll probably want to don when removing paint from bricks. First, protective glasses are a good idea when tackling any DIY project.
Gloves are another crucial protective element, and it’s wise to follow recommendations from the manufacturer of the stripping solution you’ll use to remove the paint from bricks.
You should also wear a mask or some sort of breathing protection while you work with the stripping solution.
Step 4: Prepare the Brick
If any paint is visibly flaking from the brick, scrape it away before starting the stripping process. Now you can focus your attention on the more stubborn areas. Don’t spend too much time trying to chisel off paint that isn’t already peeling.
But if a section is visibly pulling away from the brick, it should be relatively easy to scrape off. If you find that the majority of paint on the brick is peeling away already (to the point that you can see the bare brick below), you may actually be able to remove it with a heat gun.
When this is the case, you can skip past steps 5 and 6. It’s important to remember, though, that the heat gun method only works in cases where the paint is already falling off on its own.
Step 5: Apply the Solution
Once you have removed all of the chipping paint, you can start applying the stripping solution. Take plenty of time with this step—the more diligent you are, the more effectively you’ll remove the paint.
The manufacturer will list a recommended thickness that you should build on top of the brick; this will likely take a couple of application layers. After you’ve achieved the desired thickness, apply the removal strips to the prepared surface.
These peeling strips are generally fabric; they should be pressed against the stripping agent firmly until they have attached. Make sure to overlap the strips to cover the entire surface with both the stripping solution and the peeling strips.
Step 6: Remove the Strips
Check the manufacturer’s instructions to see how long they recommend leaving the peeling strips on the solution before removal. Once that amount of time has passed, lift the strips. Don’t rip the strips off the wall like a bandage. Instead, slowly lift them away in a deliberate fashion.
If necessary, use a tool like a trowel to help lift any strips that feel especially stuck. As you lift the strips away, the paint on the brick should peel away with them. If you find any stripping solution or paint left behind, use a tool to scrape it away.
Step 7: Rinse the Brick
At this point in the process, your brick should be mostly paint-free. Unfortunately, some stubborn areas may still show signs of the old coat of paint, though. If necessary, take a bristle brush with soapy water to the brick to remove any lingering paint.
As tedious as this may feel at the time, you’ll be glad you made this effort when all is said and done. Once the brick is free of paint, a good rinse is still helpful for removing leftover residue.
You don’t necessarily need to scrub the entire area with a brush, but a gentle rinse is helpful. After you’ve handled the cleanup, you can finally enjoy your freshly unpainted brick. Simply collect the tarps you put down in the first place, and the project is complete.
Things to Consider
Before you jump into a paint removal project, keep these things in mind:
- Start your paint removal project when you have plenty of time to dedicate to it.
- Don’t try to remove the peeling strips too quickly, or you’ll have to start the whole process over again.
- Follow the manufacturer’s instructions carefully throughout the paint removal process.
- Clean up any remaining stripping solution from the brick once you’ve finished the project to avoid exposure later on.
- Don’t waste time trying to chip away paint that isn’t already peeling off the brick.
- If you find the brick in your test removal area is significantly degraded, consider abandoning the removal project and simply painting it a new color that you like better.
So, How Do You Remove Paint From Brick?
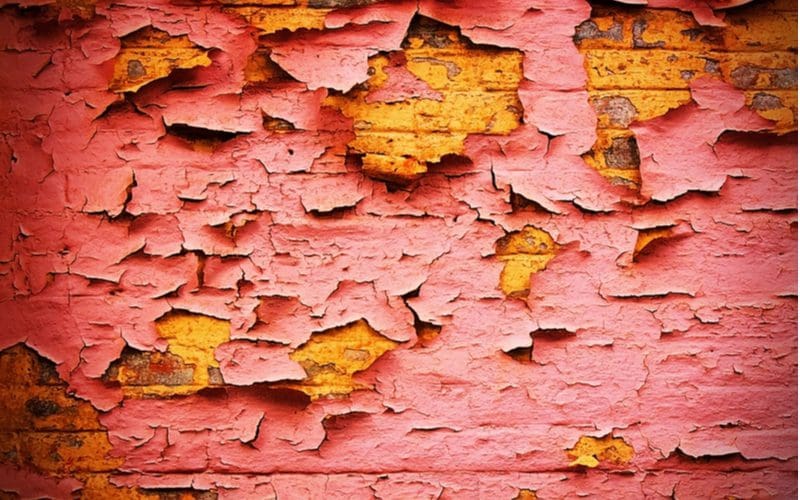
AlexZaitsev/Shutterstock
The truth is that removing paint from bricks can be a pretty labor-intensive and time-consuming process. Still, it’s not particularly difficult as long as you prepare and follow instructions.
Make sure to prepare for aspects like cleanup before you get started and take a close look at the manufacturer’s instructions; if you’re careful along the way, you’re bound to be pleased with the results.
Prepare for a long process of paint removal from the beginning, and you’ll be left with impressively clean brick to show for it at the end of your project.