
In a nutshell, painting an aluminum object involves cleaning and sanding the surface, applying primer, painting, and polishing with a few coats of enamel sealer.
Give the various coats enough drying and curing time to achieve an impeccable, long-lasting finish.
How to Paint Aluminum in 11 Easy Steps
Get your materials ready, and let’s get started painting!
1. Thoroughly Clean the Aluminum Surface
Spmodify/Shutterstock
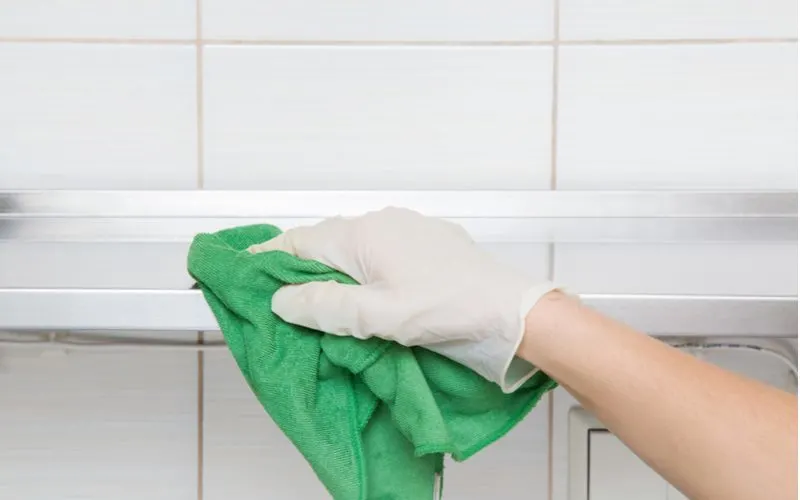
Fill a tub with warm water and add a few capfuls of a degreasing agent. You can find different degreaser brands at your local home improvement or auto store.
Use a rag to wipe the aluminum object with the solution. Then, rinse the surface with clean water to eliminate any residue, and dry it off with a clean, absorbent cloth.
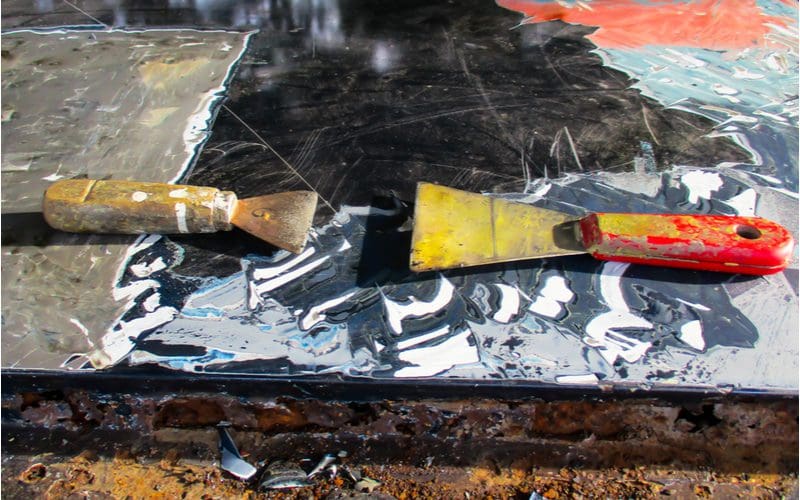
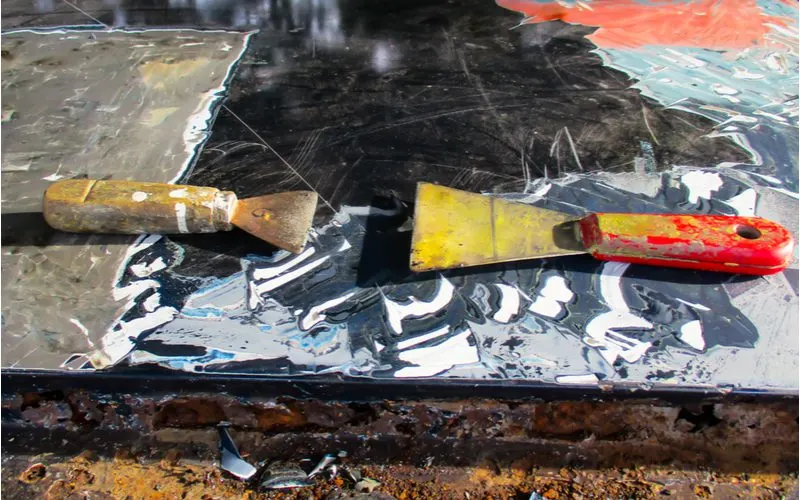
If the item you’re looking to paint has old paint, you need to remove it. Buy a paint stripper and follow the instructions on the can. Typically, you’ll need to pour the solvent on the metal and wait for a few minutes before scraping the paint off with a scraper.
In most cases, paint strippers come with an after-wash to remove the stripper residue that remains. Use it to clean the surface, and rinse it off with plain water. Finally, dry the metal with a clean cloth.
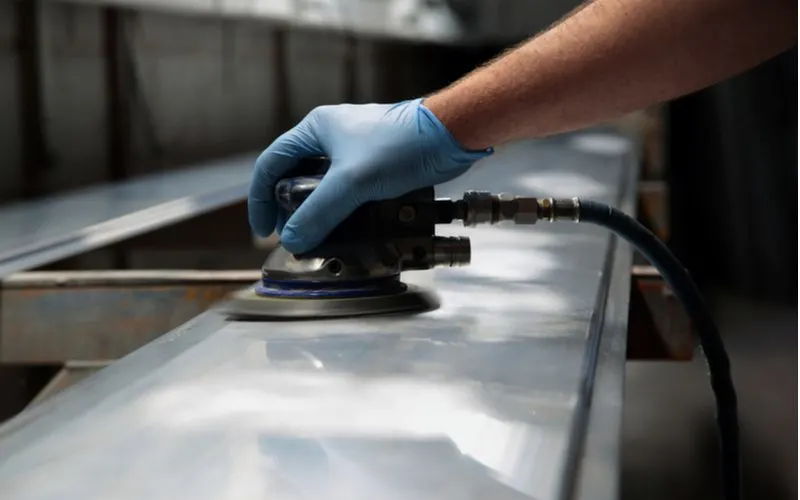
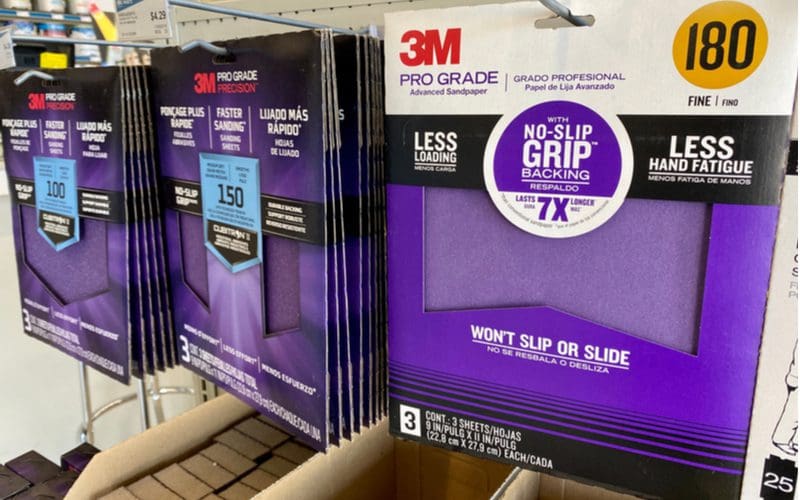
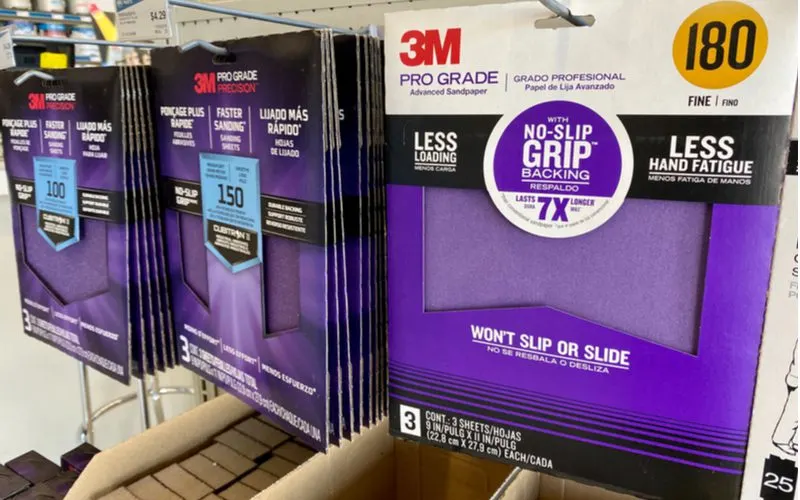
2. Sand the Metal to Smooth It

Rigsbyphoto/Shutterstock
Sand the aluminum surface using medium-grit sandpaper to remove imperfections like scratches and rust. Using 100-grit sandpaper in a circular motion will do a great job of removing foreign particles from the metal.
Then, wipe the dust off and smoothen the item with 400-grit sandpaper. If you want a sparkling finish, sand the surface again with higher-grit sandpaper. It will increase adhesion between the aluminum surface and primer.
3. Rinse the Surface to Remove Dust

FotoDuets/Shutterstock
Any particles left on the surface will ruin your paint job. So, wipe the metal with a tack cloth to remove all sanding dust.
Alternatively, clean the surface with a mixture of warm water and a degreasing agent. Then rinse the metal with plain water and air-dry it to remove moisture.
4. Prepare to Prime the Surface

Virrage Images/Shutterstock
Get a can of self-etching paint primer, not ordinary primers. You’ll get one from a home improvement store or an auto shop. Read the directions on the can for guidance on how to use it and the ideal painting conditions, like the recommended temperature range.
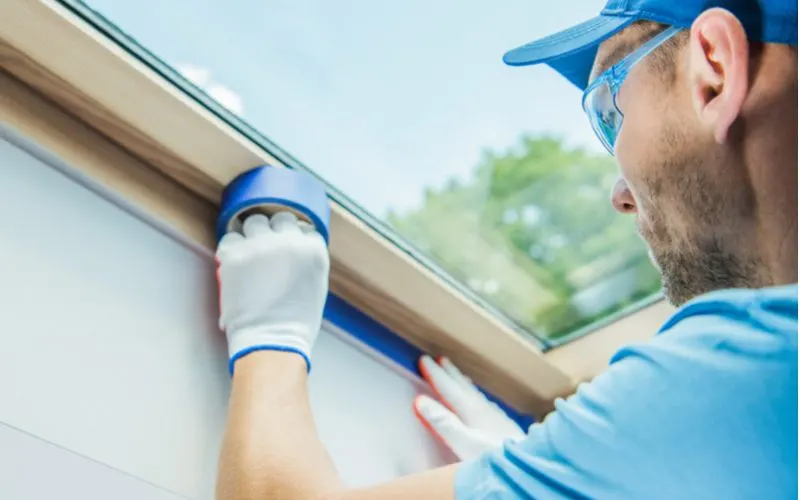
If there are sections you don’t want to cover with paint, cover them with masking tape. A plastic sheet secured with tape on the edges will be excellent for a large area. The cans containing primers and paints release fumes that can cause dizziness or headaches.
For this reason, find a well-ventilated working area, like a large room with big windows. Outside is the best option, but it mustn’t be rainy or humid as it can interfere with curing. Wear a respirator regardless of where you choose to work.
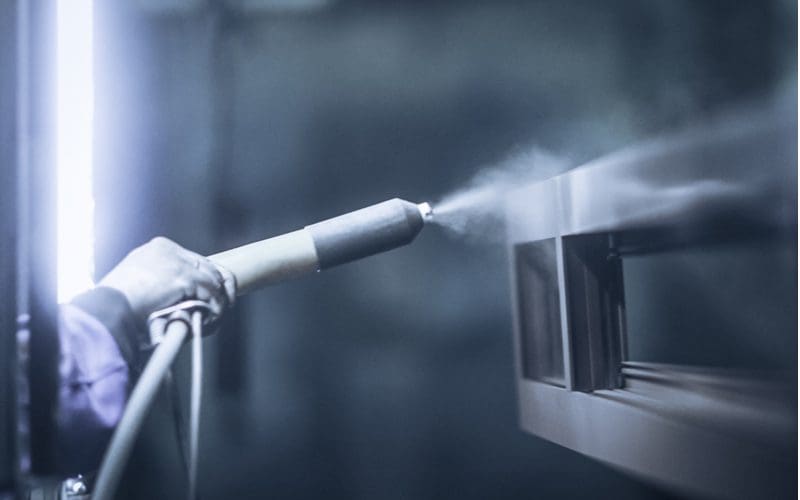
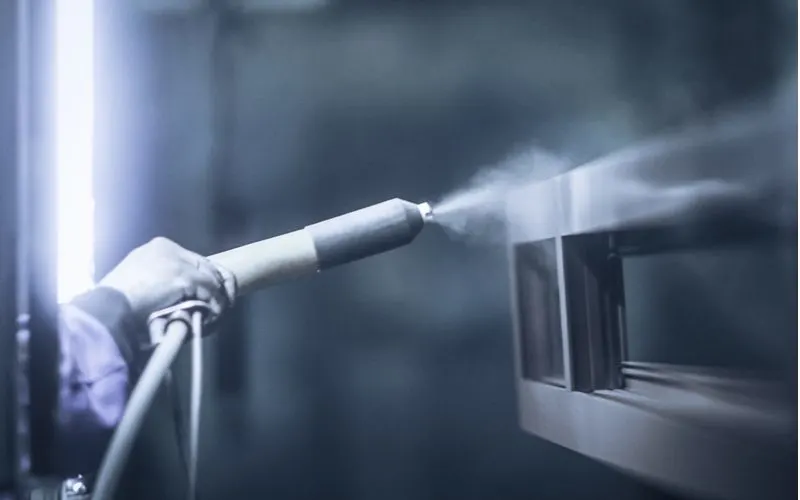
5. Spray a Uniform Coat of Self-Etching Primer

PakulinSergei/Shutterstock
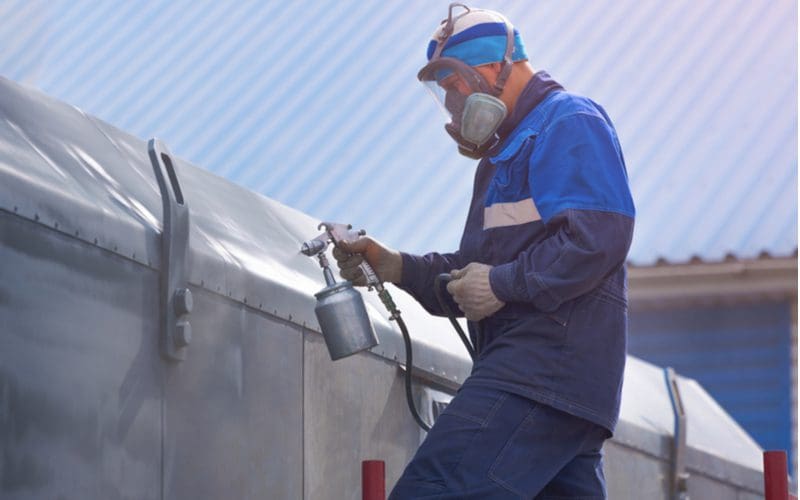
Shake your can of self-etching primer for about one minute to enhance the spray job. If you don’t, you’ll be expelling a lot of its propellant and very little paint, resulting in a prime layer that’s too thin.
Hold the can about eight inches away from the target. Spray a light coat in vertical or horizontal overlapping strokes.
Make sure to cover the entire surface lightly. If the object you’re painting has multiple sides, let one plane dry to the touch before proceeding to the next.
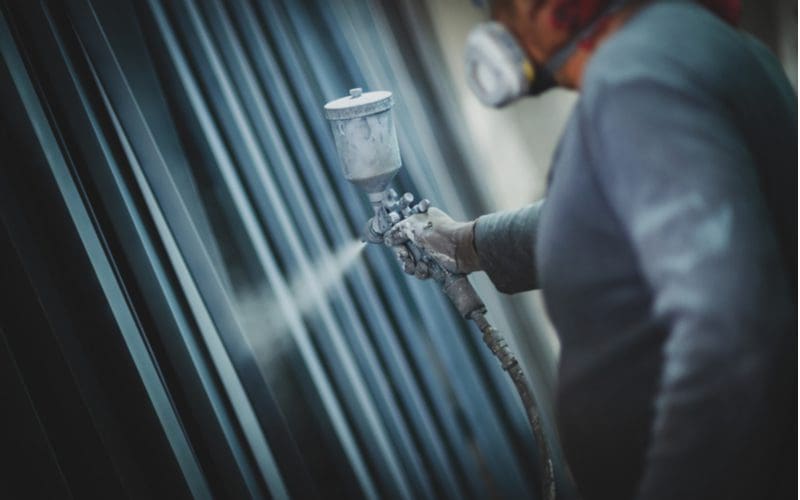
6. Add More Primer Coats

PakulinSergei/Shutterstock
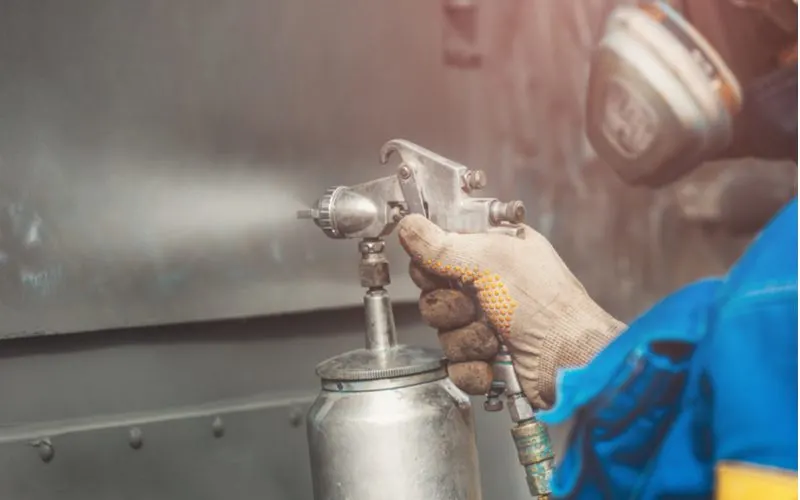
For the best results, apply two or three more coats of self-etching primer. Thin layers help the primer to cure appropriately. If you spray a thick coat at once, it might become tacky and peel off after drying up.
You may have to wait for up to 15 minutes for each coat to dry and one hour for the curing process.
Be sure to check the spray can for ‘between coats’ drying and curing times. Similarly, check whether the manufacturer has recommended the ideal number of coats to apply.
7. Smooth With Fine-Grit Sandpaper
ZikG/Shutterstock
After the primer dries and cures, observe the surface closely and decide if you like the finish. If you do, proceed to the paint application step.
If the surface has imperfections like scuffs, pits, or roughness, rub it lightly with 400-grit sandpaper or a finer one. Use a tack cloth to wipe the surface when done.
8. Select the Right Paint Type and Color

Olya Maximenko/Shutterstock
You can choose acrylic or latex paint since you have primed the aluminum surface. If possible, avoid glossy paint, as it will make imperfections more conspicuous. Instead, opt for a satin or matte finish.
Each paint type has its own unique advantages and recommended application areas, as highlighted below:
Pros of Acrylic Paint
- Suitable for indoor and outdoor use
- Unlimited range of colors
- Readily available in local stores
- Retains color pigments for years
- Contracts and expands, preventing peeling and cracking
Pros of Latex Paint
- Water-based, hence no chemical solvents
- Easy cleaning of the brushes and painted surfaces
- Dries very quickly
- Gentle, safer, and non-toxic
- Resistant to mildew and mold
- Available in multiple finish options
- Resists chalking
The bottom line is that you should choose paint labeled ‘outdoor’ or ‘exterior’ if the item you’re revamping is an outdoor piece.
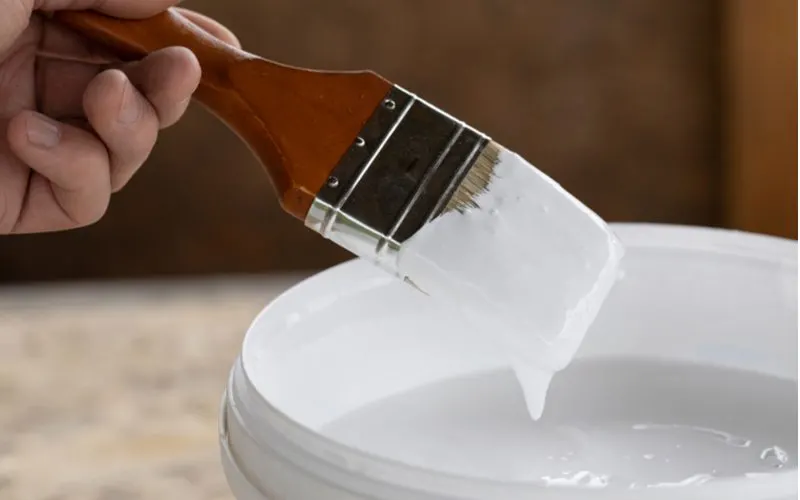
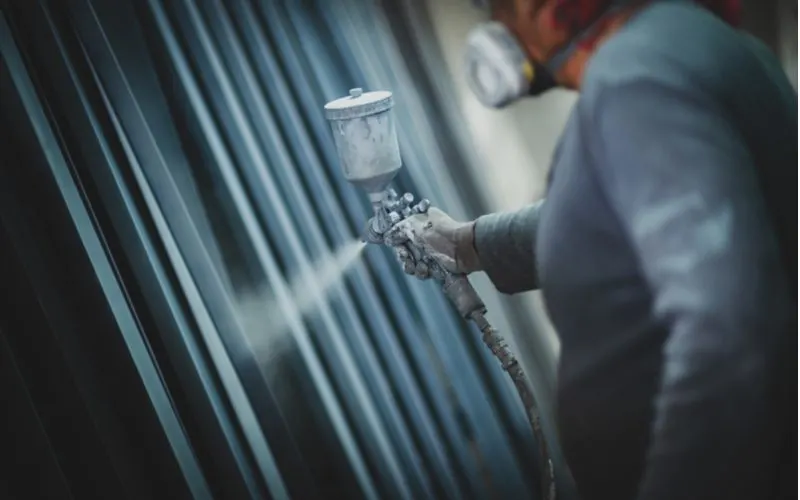
9. Apply a Thin, Even Coat of Paint
Anna Berdink/Shutterstock
Spray or brush the aluminum object with a light, uniform layer of paint in overlapping up-and-down or side-to-side strokes.
If you’re using a paintbrush, select one with synthetic fibers. Begin with the top and sides of the object before painting the bottom.
10. Add More Coats When the Paint Dries
Dizfoto/Shutterstock
Add two or three more coats, depending on the desired finish. The amount of time you have to wait between coats will vary with the paint type and quality.
You’ll need to wait for about 15 minutes between coats, but it’s advisable to check the manufacturer’s recommendation. You might also find information about the ideal number of layers for your aluminum item.
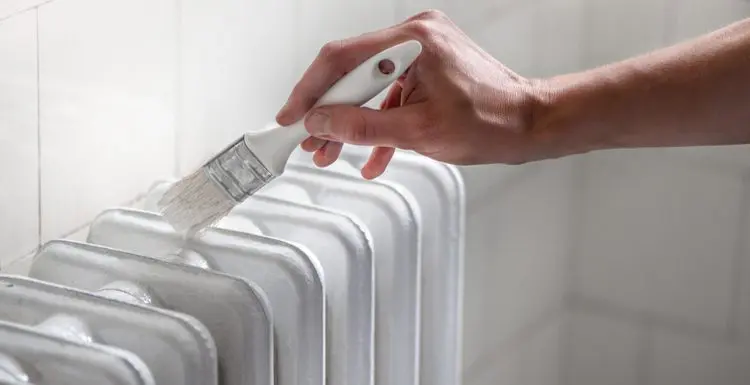
11. Apply Clear Enamel Sealer
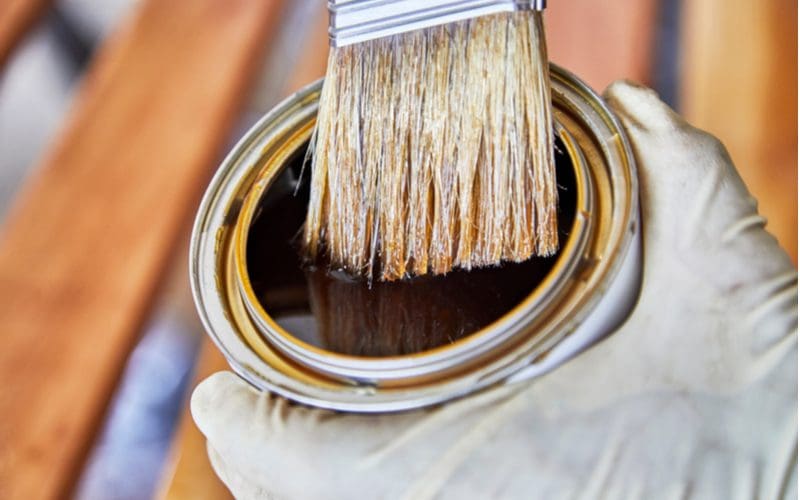

Pamela Au/Shutterstock
Allow the paint to dry and cure for at least 24 hours. Again, the time required for complete drying and curing depends on the paint type in use.
You might find that information on the paint can. Remove the masking tape for the entire object to attain the same finish.
Then, apply an enamel sealer with a spray can or brush, just like you applied primer and paint. Wait for up to 72 hours for the enamel to dry and cure.
However, it’s best to follow the manufacturer’s directions. If you haven’t removed the tape, leave them untouched until the final enamel coat dries and cures completely.
Things to Consider
Here are a few considerations to make for top-notch results in your aluminum painting project.
- Check the paint can for the ideal drying and curing duration
- Apply light primer and paint coats for proper curing
- Be sure to paint the item in a well-ventilated working area
- Don’t paint in a humid environment, or the layers will peel
- Always use a dust mask when sanding the metal surface
- Use a respirator mask when dealing with primer and paint
So, How Do You Paint Aluminum?
Cleaning and sanding the surface is essential for the primer and paint to adhere to the metal surface and cure properly.
Once you apply the final enamel coat, let it dry completely before using the item. Enjoy your new aluminum paint job.