Wondering how to remove a bathtub drain? You’re in the right place.
I used to work in the plumbing department at Menards, so I consider myself an expert in all things plumbing. Read on to learn the steps to take.
If you’re going to replace your tub, you need to know how to remove a bathtub drain. You might also need to remove the bathtub drain to replace it or even to remove a tough clog.
With plenty of DIY and professional plumbing experience, we’ve put together this complete guide to bathtub drain removal.


We partnered with Networx to help you find local plumbers in your area. Click to below to get a FREE quote.
Removing a Bathtub Drain: Summary of Steps
Removing the drain from a bathtub is pretty straightforward, and you don’t usually need any specialty tools.
You’ll need to identify the type of drain you have, remove the stopper, and then unscrew the drain basket.
And, if you don’t mind spending a few extra dollars, you could get a drain wrench to make things even easier.
How to Remove a Bathtub Drain in Six Steps
Removing a bathtub drain can be done in six steps. Below are all the steps you need to follow to get this job done.
Step 1: Identify Your Type of Drain Stopper
There are many different types of drain stoppers. That’s the part that prevents water from going down the drain when you want to fill the tub.
Since they’re all different, the first step is to look carefully at what you have so you can figure out the best way to remove it.
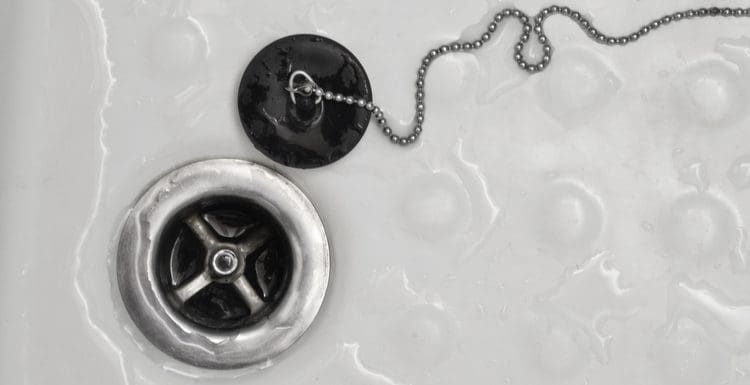
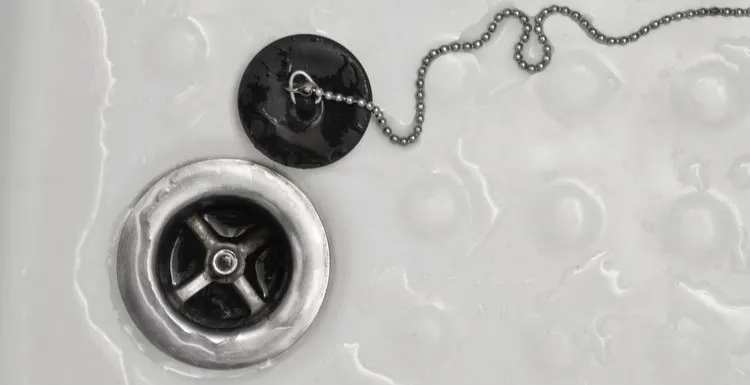
Many stoppers are quite simple. Some old-fashioned tubs have a stopper on a chain, making removal nothing more than a quick tug.
Other tub drains have a pop-up stopper, where you can use your toe to press it down and seal the tub, and then press it again to open the drain.
Pop-up drains almost always simply unscrew counterclockwise. Sometimes, your drain stopper might have a set screw that holds it in place, so if you can’t figure out how to remove the stopper, look around for a small screw.
Here’s a quick list of different stopper types to help point you in the right direction:
- Toe-Touch Stoppers: Usually unscrew
- Push-Pull Stoppers: Usually unscrew
- Lift-and-Turn Stoppers: Usually unscrew
- Chain Stoppers: Pull it off and set it aside
- Lever-operated Stoppers require dismantling the lever system
Some lever-operated systems are a bit complicated. But with a bit of patience, you can figure out how to remove the stopper fairly easily.
Oftentimes, the whole mechanism is attached to the faceplate at the overflow drain, so make sure to expose as much of the system as you can to investigate how it comes apart.
Step 2: Remove the Stopper
Now that you have identified the type of stopper that you have, you can remove it. Removal of the stopper will reveal the internal parts of the drain and the basket that threads into the tub drain.
So, getting it out of the way is required. Once it’s out, set it aside. If you’re planning to reinstall it, make sure to secure any loose parts.
I like to tape any screws or gaskets right to the stopper so I don’t lose anything. You might even want to consider doing a deep clean while it’s out of the tub.
Step 3: Heat the Plumber’s Putty
Around the drain on the floor of the tub, you’ll probably see a bit of tough sealant. Plumbers use putty to ensure a watertight seal when they install a tub drain. To soften up that putty and make things easier, you want to heat it up a bit.
To do so, you can use a hairdryer or a small torch. It won’t take much heat, so don’t go crazy. You could also heat it up by drawing a very hot bath, soaking it for a few minutes, and then draining the tub.
Just remember not to let the water sit unattended if you have little ones around. Drowning is the leading cause of injury-related death for children between the ages of one and four.
It won’t take long to warm up the putty enough to soften it, so it’s probably best to wait right at the tubside.
Step 4: Remove Any Internal Hardware
On the simplest drains, you can skip this step, as not every drain has internal hardware. Some drains are more complicated than others.
For example, if you have a trip-lever-style drain, you’ll need to remove the overflow drain’s faceplate to access the internals.
But the connecting hardware will likely come out as you remove the faceplate, as it’s usually all one piece. Other drains have a sleeve or cylinder that needs removal.
You’ll see it when you look down the drain. Just unscrew it with your hand. If it doesn’t move easily, there might be a small set screw you need to remove first. If it’s stubborn, use a pair of pliers.
If you’re struggling to get the internals out of the way, just take a break and look at things again. You’re probably missing a small screw that needs loosening before the stopper or hardware comes out.
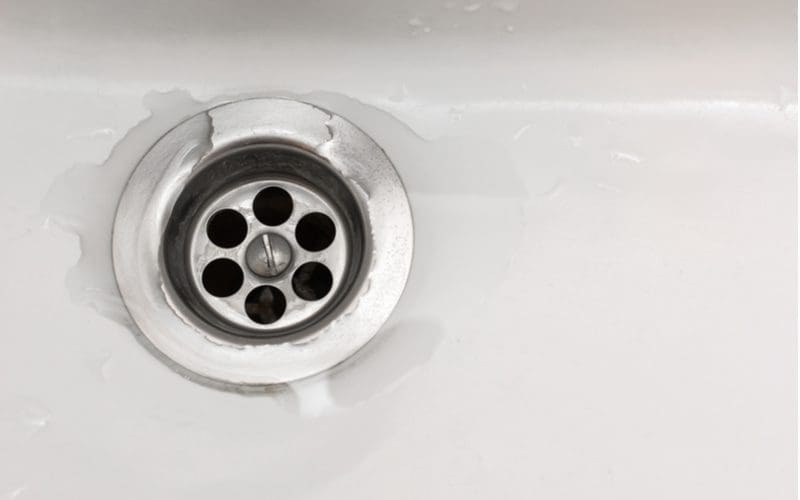
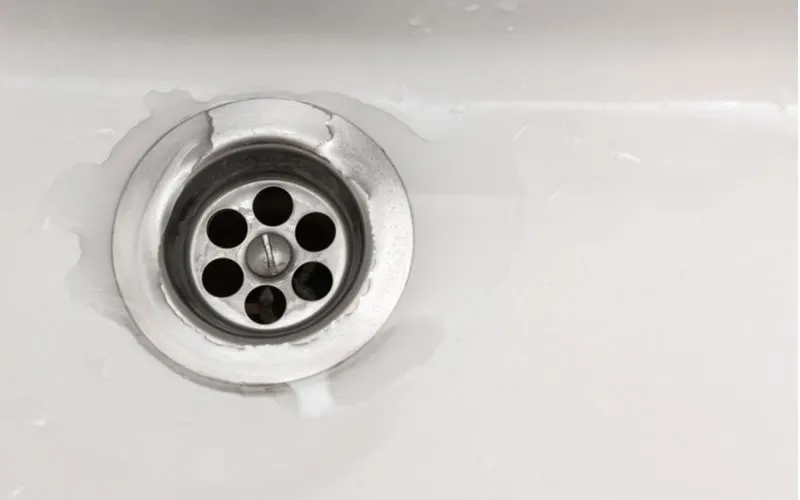
Step 5: Remove the Drain Basket
Once you’ve removed the drain stopper and any hardware inside the drain, it’s time to remove the basket. That’s the part of the drain that connects your home’s plumbing to the tub.
Sometimes, a plumber or parts guy will call it a drain flange. Look down into the drain. There will be a crossbar visible in the opening. If you have one, you can use a drain removal tool or a pair of pliers to grip the crossbar.
Whichever tool you use, make sure to get a solid grip. Start applying a gentle counterclockwise force. Increase the pressure steadily and gradually until the basket starts to turn.
It’s important not to jerk or bounce your wrench. Steady and even pressure will give the best results. Bathtub drains are often quite long, so be prepared to turn the basket many times to free it.
Step 6: Cleanup
With the drain basket out of the way, you can remove any plumbing putty left behind. Try not to let it fall into the drain hole.
If you’re removing the tub, you can move on to that task. Or, you can install your new bathtub drain.
Things to Consider: Important!
Tagwaran/Shutterstock
Drains can range from complex to quite simple, so keep in mind some important considerations:
- Check the drain diagrams; if you have access, they can reveal any tricks you need to know
- Be patient
- Use a drain removal wrench if you need to twist the basket really hard
- Don’t drop anything down the drain
Frequently Asked Questions
Still having issues figuring out how to remove the bathtub drain? Here are some tips that may help:
We partnered with Networx to help you find local plumbers in your area. Click to below to get a FREE quote.
So, How Do You Remove a Bathtub Drain?
So there you have it—how to remove a bathtub drain. In short, to remove a drain from your tub, identify the type of stopper and remove it, then remove all the hardware.
Now, you can heat up the old drain putty and twist the drain basket out with a wrench. Make sure to remove all the old putty and clean up.