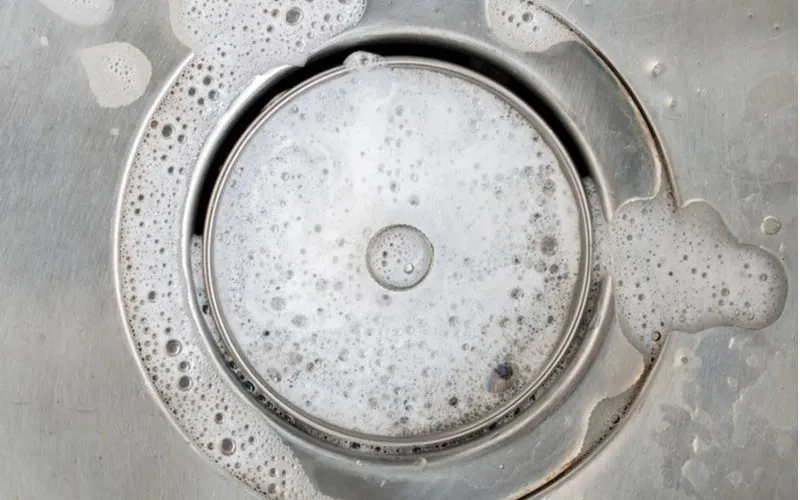
A malfunctioning sink stopper is almost always the result of a clogged sink.
Luckily, there’s an easy fix, so we’ll teach you how to remove sink stoppers faster than it takes to fill your sink with water.
How to Remove Sink Stopper in 7 Easy Steps
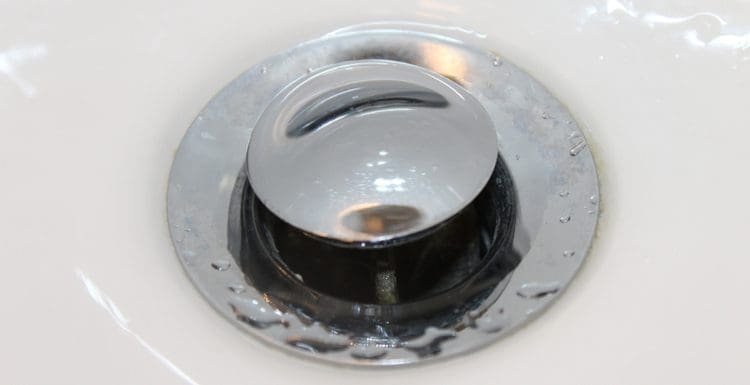
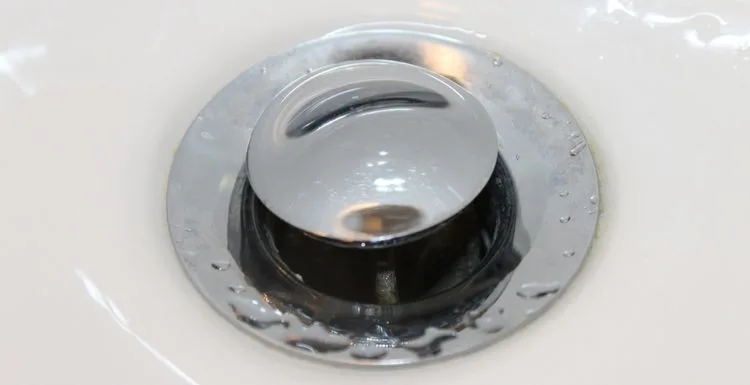
Some sink stoppers allow you to remove them by simply pulling up and twisting.
In other cases, you’ll need to head beneath your sink, unclip the plunger rod, and remove the pivot nut before you can wiggle out your sink stopper.
Ready to get your sick stopper removed? Roll up your sleeves and follow these easy steps.
Step 1: Attempt to Manually Remove It
No matter how much you love your tools, there’s nothing better than a quick fix when your sink is in SOS mode. So, depending on the style of your sink, you might be able to remove the stopper by hand.
Simply take hold of the stopper, lift it up, and gently twist it; the stopper should pull away without a problem. But if it doesn’t easily rotate in either direction, don’t push it—it’s time to pull out that toolbox.
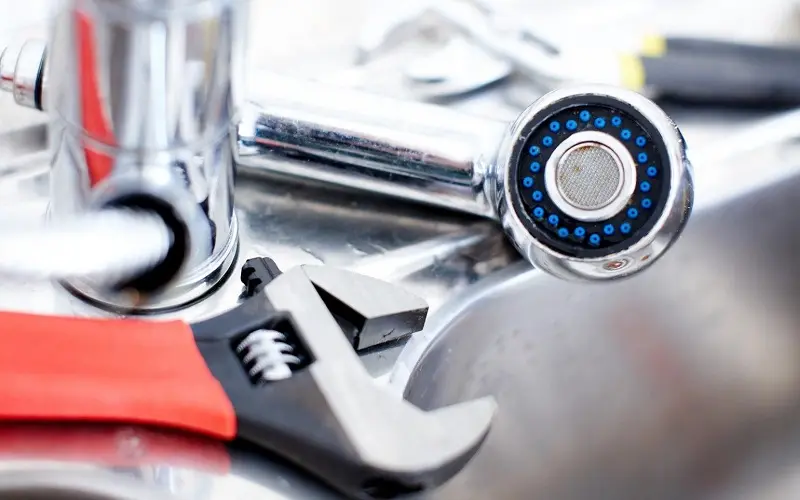
Step 2: Prepare Your Tools
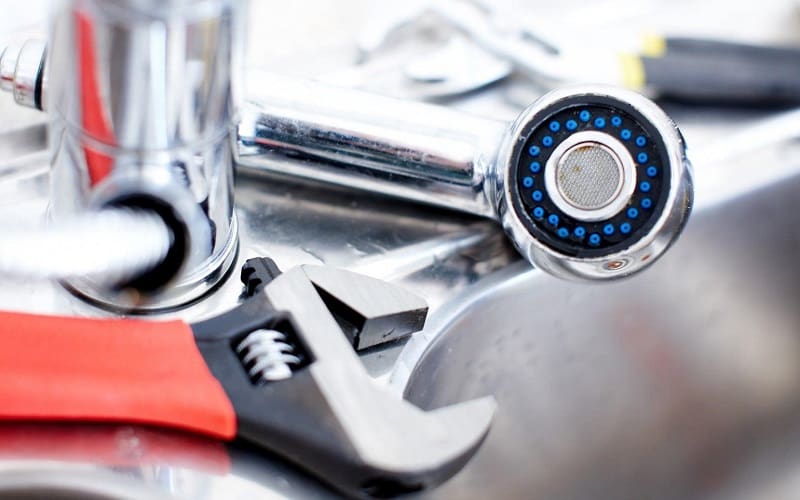
Constant/Shutterstock
To help you do this job as quickly as possible, set the following items beside your sink:
- Pliers or a wrench
- Bucket
- Flashlight
The pliers or wrench will help you loosen a tight pivot nut, while the flashlight will help you see what you’re doing.
A bucket isn’t technically necessary for removing a sink stopper, but you’ll be glad to have it should a leak happen.
You should also clean everything out of your sink. That’ll both make life easier if there’s a leak and give you better access since you’ll need to work under there.
Step 3: Unclip the Plunger Rod

Andrey_Popov/Shutterstock
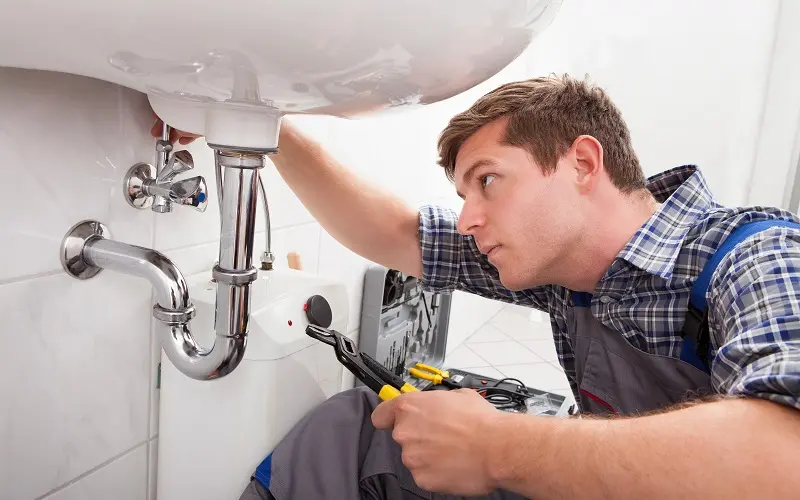
Now it’s time for you to crawl beneath your sink and look for a horizontal metal rod called a plunger rod. If you’re having trouble identifying it, look for a thin piece of metal with small holes punched into it.
The plunger rod sits at the bottom of that strap. Keep your attention at the intersection where the plunger rod and strap meet because a metal clip holds the two together. Squeeze the clip and remove it, noting the hole the clip was attached to.
If needed, mark the spot with a piece of tape so that you don’t forget. You’ll need to put that clip back on later, so make sure to stick it in a safe spot until we circle back to it.
Step 4: Get Your Bucket Ready and Remove the Pivot Nut
At this point, your bucket may, unfortunately, come in handy. So, we recommend placing it under your sink and working around it for this step. Follow the plunger rod to the other end (the opposite side from where the strap was).
You’ll encounter a pivot nut attaching the rod to your sink. Unscrew it with your hands. If it’s too tight to remove manually, pull out that wrench or pair of pliers for help.
Step 5: Return to the Sink

Jason Patrick Ross/Shutterstock
Your neck is likely sore at this point from cranking it around to fuss with the plunger rod, so we’ve got good news for you—you can stand back up and return to the faucet portion of your sink.
If you followed these steps correctly, you should be able to pull the sink stopper right out, giving it a gentle wiggle if needed to come loose. That’s especially the case if you have a clogged sink.
Step 6: Get Cleaning
We’re not going to lie—removing a sink stopper can get pretty gross, but it’s satisfying once you get it (and your sink) cleaned up. Below are some cleaning items that you can use to help:
- Rubber gloves
- Paper towels
- A small brush (a toothbrush will do—throw it out afterward!)
- Hair clog tool
- Vinegar
- Sink cleaning detergent
- Drain cleaner
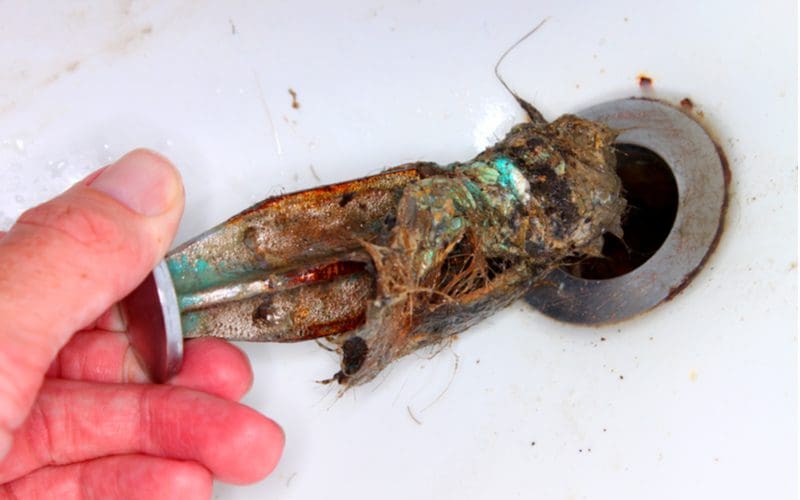
Let’s start with cleaning the sink stopper itself. You can expect to encounter hair and other debris wrapped around the stopper.
So, repurpose your bucket as a trash can and pull the big items loose. Then, use paper towels and a small brush to clean up the smaller grime.
Setting the sink stopper in some vinegar at this point is an excellent option to help remove any greasy residue. Then, use a hair clog tool to pull out—yes, you guessed it—hair from your sink’s drain.
You can also use a regular sink cleaner to clean what you can reach around the entrance of the drain hole.
Alternatively, for a deeper cleaning process, use some drain cleaner. Just be careful, because drain cleaners contain harmful chemicals for human health.
Step 7: Put It All Back Together

Milkovasa/Shutterstock
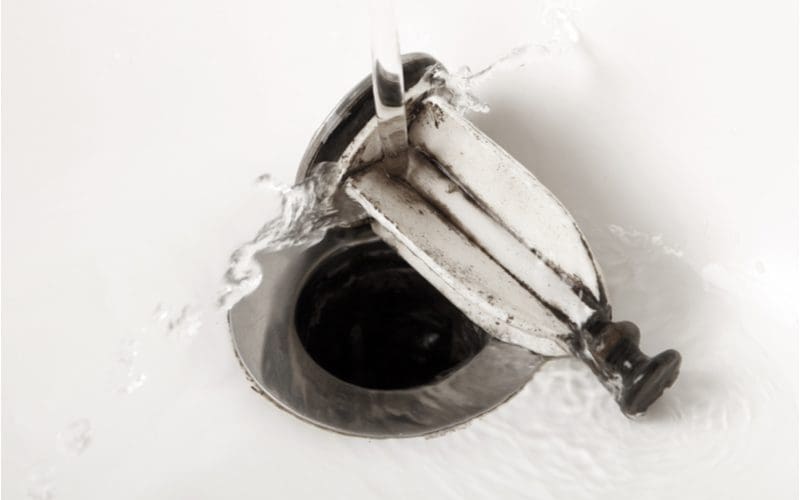
You’ve likely got a hunch about how to put your sink stopper back together, but we’ll walk you through it here just in case. To start, wiggle your squeaky-clean stopper back into its hole in your sink.
Then, head underneath your sink and use your hand, pliers, or a wrench to secure the pivot nut. From there, use the clip to attach the plunger rod to the strap. Voila!
Your sink stopper should be ready to use again. But just to be sure, move the stopper up and down using the lever by the faucet. If it moves like it used to before any clogging, you’re good to go.
Things to Consider
Now that you know how to remove sink stoppers, below are some tips to keep in mind:
- Be aware that water might come spraying out when you use the pivot nut, so using a face shield is helpful to prevent the possibility of pathogens accessing your skin.
- Wearing rubber gloves the whole time will help prevent you from coming into contact with icky sink water throughout the sink stopper removal process.
- Stay organized by using a tray for the small parts you’ll be working with.
- If you need to purchase new parts, consider bringing the old pieces to your local hardware store to ensure that you get the same kind.
- Stay on top of drain cleaning. It’s easier to remove a sink stopper when a wad of hair and debris isn’t holding it down from a lack of routine cleanings.
Frequently Asked Questions

Karuka
If you still have questions about removing sink stoppers, we’ve got answers.
So, How Do You Remove Sink Stoppers?
Removing sink stoppers is easy since you can technically do it without any tools, provided that the pivot nut isn’t too tight.
From there, you should arm yourself with rubber gloves and cleaning supplies to scrub both the stopper and drain before putting everything back together.