Wondering how to paint paneling? If so, you’re in the right place.
Painting an old wooden panel wall can breathe new life into your home. Read on to learn about the steps to take and things to consider before doing it yourself.
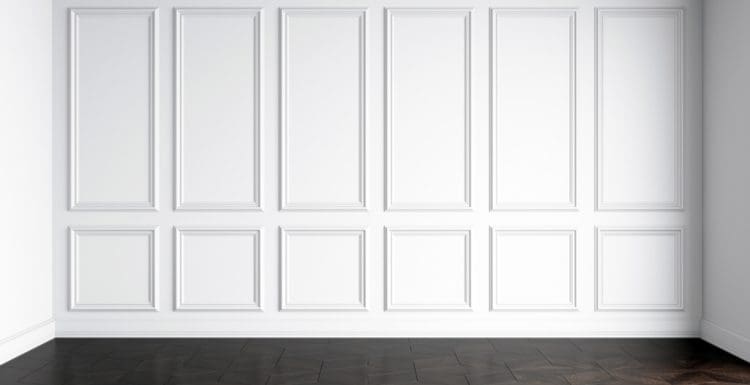
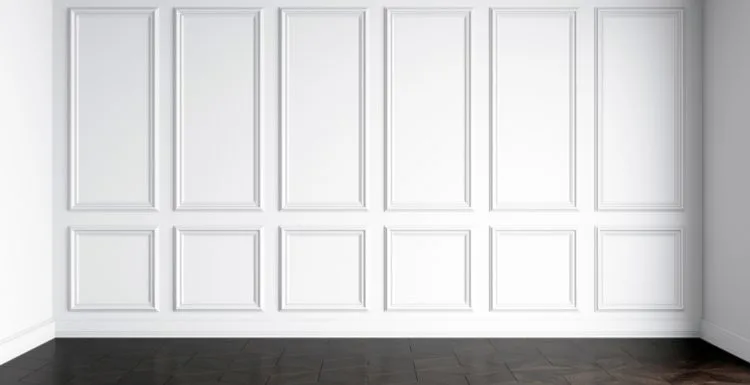
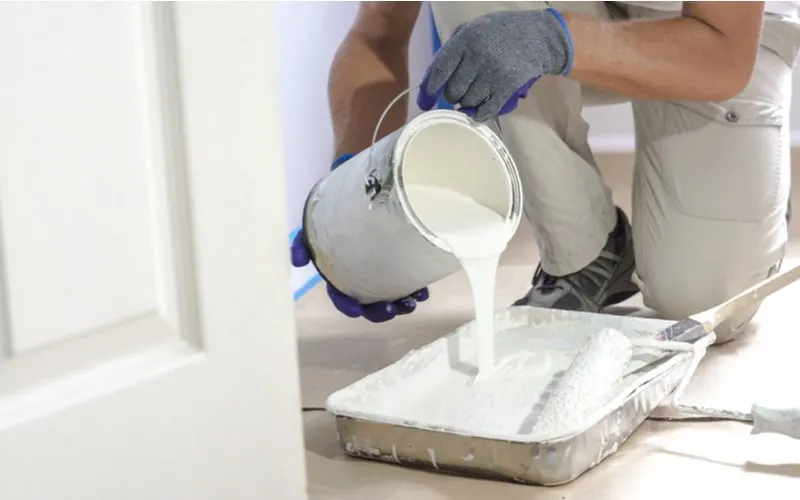
How to Paint Paneling in 7 Easy Steps

urfin/Shutterstock
When you do it right, painting your home’s paneling reinforces warmth and comfort while adding beauty to your space.
In addition, it means you don’t have to replace your old paneling. You can save money by following this process:
- Assessing the paneling
- Comprehensive cleaning of the paneling
- Filling and sanding the wood
- Caulking the trim
- Priming the wood
- Painting the panel
- Painting the trim
Before diving into how to paint paneling, it’s essential to have all the tools you’ll need for the DIY job. Without these tools, it’ll be impossible to do the job.
- Rags
- Caulking Gun
- Paintbrush
- Putty knife
- Paint roller (with foam roller covers)
- Wood Filler
- Caulk
- Wall paint
- TSP
- Sandpaper
- Trim paint
If you can assemble these, you’re good to go. Below is a breakdown of how to paint paneling with these tools and materials.
Step 1: Assess the Paneling
An assessment step is important for painting paneling. The results of this assessment will determine the type of products that’ll offer the best painting results. You’ll have to be patient while assessing the paneling.
Spend ample time figuring out the type of paneling you have. Paint layers, long-term use of cleaning products, and a polyurethane finish can hide the paneling’s true material.
Start by finding a spot where the edge of the panel is exposed. Sometimes you have to remove the baseboard molding or HVAC grate to assess the paneling.
If the results of your assessment show the paneling is fiberboard or composite, you’ll need to exercise caution while painting. The same goes for veneer, which is basically a thin wood layer.
Step 2: Cleaning the Paneling
The second step to painting your paneling is to wipe it clean. Over time, mold gathers on wood paneling. Dirt, cobwebs, and dust may also gather on the paneling if exposed to the elements.
These contaminants can prove to be a problem in the painting process. A damp rag will do for clearing any of these off the paneling’s surface. Residue from cleaning products and grease buildup on solid hardwood or veneer paneling.
Over a long time, these contaminants can create an external layer that stops paint from sticking to the paneling. You can remove this external layer with a grease removal solution.
If grime is the contaminant, you can clear off heavy layers of it with trisodium phosphate. If you don’t have access to TSP, you can find weaker alternatives like borax and acetone that’ll do the job.
It’s important to clean the surface of contaminants because their presence will prevent the paint from holding.
Furthermore, painting done on dirt will make the panels look low-grade. The paint will mix with clumps of dirt, making it difficult to achieve a flat and clean look.
Step 3: Sanding the Wood
When it’s time to fill and sand the wood, you need a putty knife. With the putty knife, fill up any crack or hole with wood putty. After adding wood putty, leave the wood paneling to dry completely.
When the wood putty is dry, sand every part of the paneling, from the surface to the trim. It’s best to use 150-grit sandpaper for this step. Sanding is important because it forces the removal of the sheen.
This creates a slightly gritty surface that will hold the paint. Focus on moving the sander around, and don’t push too hard. Once you have a semi-rough surface, wipe off the residue before using a damp cloth to wipe away the dust.
Sanding is not necessary for every type of wood paneling. For paneling that doesn’t need sanding, quality primers will stick to the old paint.
If the primer doesn’t adhere, it’s an indication that the paint will also not stick. In this case, you’ll need to sand off the old paint or finish.
Step 4: Caulking the Trim
Wherever there’s a hole or gap between the paneling, apply the caulk. You should also apply caulk between the panels and the trim.
There are different types of caulk out there. Buy a clear caulking that says “paintable” on the tube.
When you caulk the gaps, let it dry. Caulk manufacturers always have details about the drying process, so make sure to read the label closely.
Step 5: Priming the Wood
Here’s where you need the foam sponge roller. You’ll also need a brush for the priming process. Simply apply a thin layer of primer on every inch of the paneling. Make sure you have a brush handy if you’re using a roller.
The brush will get into cracks the roller can’t. Be diligent during this step, making sure to cover the entire surface. The best types of primers to use are water-based stain-blocking or oil-based primers.
These primers are the best because they prevent grease or stains from disrupting the job you’re doing.
If you’re dealing with knotty pine wood, ensure the primer you use can cover knots. Using the wrong primer will allow the knots to bleed through your paint.
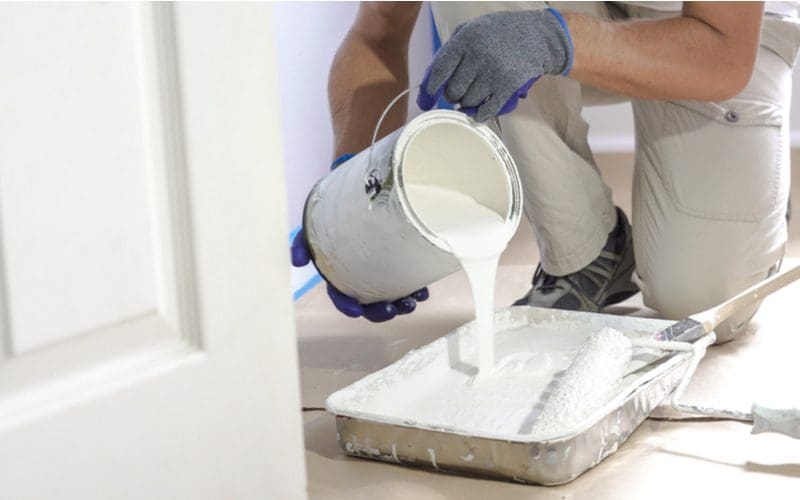
Step 6: Painting the Panel
The first stage of painting involves applying a thin layer of paint to the paneling’s surface. Start from the top and journey down.
During the painting motion, ensure you’re covering all the panel gaps. You should also immediately ensure there are no drips.
Use your brush to remove any excess paint. When the first layer of paint dries, apply the second coat. Follow the same process as you did with the first.
You shouldn’t try to skip out on the second coating. After priming and applying the first layer of paint, it’ll look like your work is complete.
You should, however, continue with the second coating. The second coating cements your hard work.
With it, you cover the paneling adequately, and you can be sure of its durability. The extra cost and time are definitely worth the durability you’ll get afterward.
Step 7: Painting the Trim
Painting the trim is the final piece of the equation. You can use a glossy finish for this, as it ensures the trim stands out.
Thanks to the glossy paint, you’ll also get a smoother surface in the end. Subsequently, it’ll be easy to clean the paneling.
This finishing process is, however, based on your preference.
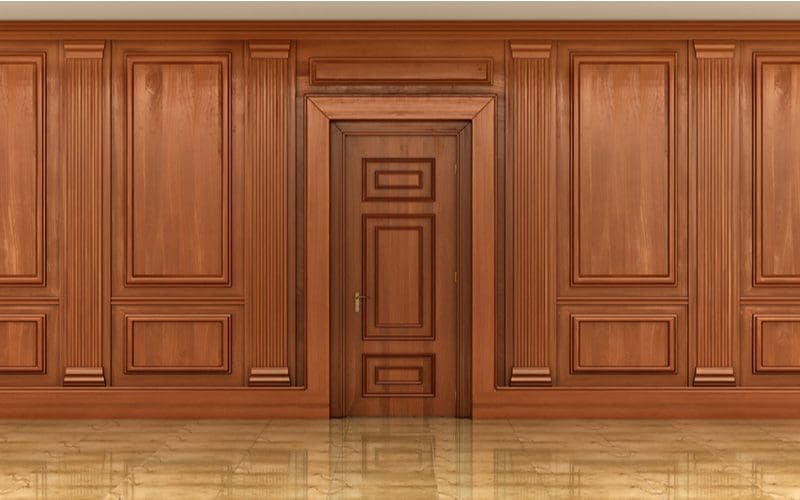
Things to Consider While Painting Paneling
RightFramePhotoVideo/Shutterstock
While learning how to paint paneling is exciting, there are some things you need to consider.
- The very first question you should ask yourself is whether you should paint or replace the panels. Although costly, there are situations where replacement is the ideal option.
- Repainting will save you money, but if you’ll have to repaint or work on the paneling again in the near future, it’s not worth it.
- Before you start working with paints and primers, make sure your body is covered. The chemicals that make up these products can be damaging to the skin.
- Gloves are essential, right from the moment you’re working with the TSP solution. Your hand shouldn’t be in direct contact with the chemical. Trisodium Phosphate poisoning can lead to a host of highly detrimental health issues.
- You should also always wear safety goggles. It protects you against the TSP solution. A pair of safety goggles come in handy in the event of a paint or primer splashback.
- Wear a long-sleeve shirt throughout the process. Don’t be tempted to roll up your sleeves. You should do everything you can to protect against splashes.
- If you’re not an “experienced DIYer,” it’s best to call on a professional. They’ll have the tools and experience to paint your paneling quickly and professionally.
So, How Do You Paint Paneling?
While painting paneling may be the job of a professional, you absolutely can do it yourself.
The process is straightforward, from cleaning to sanding, priming, and then painting.
Once you follow the instructions, learning how to paint paneling will seem natural to you.