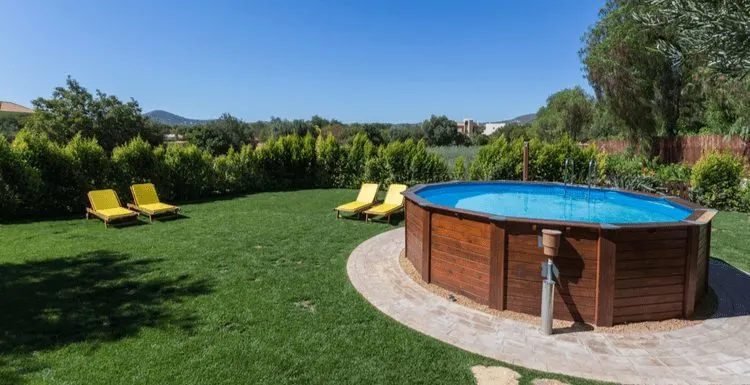
If you landed on this article, you likely have an above-ground pool. And you likely spent a pretty penny on it.
Leveling the ground evens the load on the sides and prevents an off-kilter pool from causing damage to your yard and home.
But how do you level the ground for a pool?
Don’t worry; our complete guide gives you the exact steps to take to have the most level pool base in the neighborhood.
How to Level the Ground for Your Pool Without Digging
If you’re attempting to construct a pool yourself, you likely know how complex the process can be.
From finding the right spot for your new pool to leveling the ground, the many steps involved in the process require knowledge and persistence.
Thankfully, there are industry-leading tips you can follow to make the process more efficient.
Use this guide to find the three best ways to level the ground for your pool without digging to save time and money.
Why Pools Need Level Ground
When constructing a pool, you are significantly altering the landscape of your backyard.
To that end, you’ll need to pay careful attention not to disturb the surrounding ground too much since this can impact your home’s foundation and the infrastructure surrounding your home—including your pool.
Pools need level ground so they aren’t off-kilter or lopsided, which could cause damage to the integrity of the pool.
We partnered with Networx to save you big money on your next home renovation project. And quotes are free!
Before You Start
Before you level the ground, you’ll need to take specific steps. Follow the strategies below for the best results.
Inspect the Yard and Find a Good Location
First, check your zoning laws to ensure you can install your pool with the given dimensions.
Then, you’ll have to examine the surrounding area to ensure you can place your pool where you want it.
Ensure that you have more than enough space to account for troubleshooting.
Clear Plants and Grass
Clear out any debris, plants, or shrubs in the general area.
You’ll also need to get rid of any grass before leveling the ground.
If you want grass or plants around the pool, you can eventually replant them.
Gather Materials
The right tools and equipment will make your pool installation as smooth as possible. Here’s what you need to level the ground:
- Sod cutter: You need this to clear grass, but it can be quite tasking to use. If you have a decent budget, consider getting a rototiller.
- Wide shovel: This is useful for removing rocks, debris, and roots that can damage the pool liner from the site. You’ll also need it to dig into bumps.
- A leveling device and a long wooden board: Use this to determine which areas on your pool site will require flattening or smoothing out.
- Wide rake: A wide rake will help you quickly smooth and level your pool site.
- Rolling tamper: This will help you compress the sand over the pool site. A lawn roller will work just fine in the absence of a rolling tamper.
How to Level Ground for a Pool
TristanBM/Shutterstock
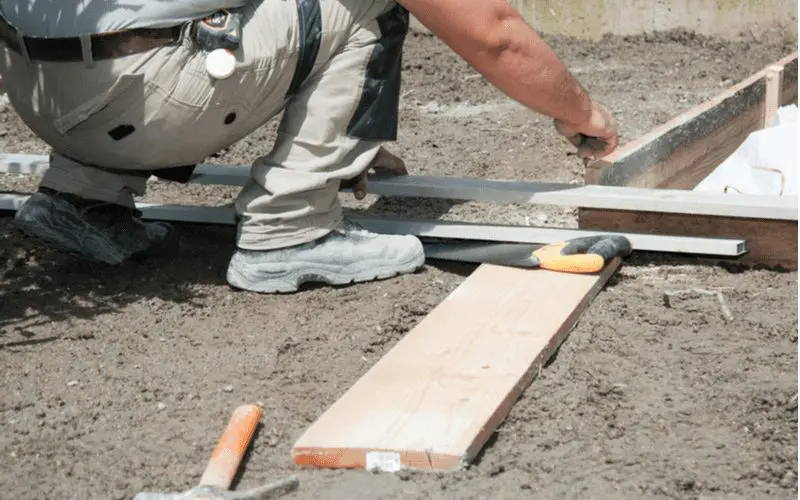
How to level ground for a pool is pretty straightforward if you know the steps to take. Here’s how to go about it:
1. Choose the Right Spot
Start by determining the best location to mount the pool. Here are some considerations when deciding the right spot:
- Flat ground: The flattest area of your backyard is an ideal spot to set up. Of course, leveling the ground for a pool usually requires some shoveling, but you can reduce your workload if you install the pool in the flattest spot in your yard.
- Underground structures: The last place you want to have your pool is on sewage or septic lines. You also want to avoid any underground power lines and cables.
- Shade: While shade around your pool is nice, it’s best to avoid big trees; they’ll drop leaves and dirt in the pool, creating unnecessary maintenance.
- Ample space around the pool: Choose a spot within the boundaries of your property with about two to four feet of space around the pool area. This gives easy access to the pool in all directions.
2. Clear the Pool Site
Once you map out the best possible location for the pool, get rid of all visible obstacles. Installing your pool without first clearing the site can severely damage the pool liner, regardless of how flat the surface is.
Make sure you remove debris, rocks, roots, and grass from the site. Doing this by hand is nearly impossible, and you’ll find that investing in a robotiller will be money well spent.
You can also kill the grass by covering it with a thick tarp for a week. The lack of water and sunlight will cause the grasses to wither. Then, you can easily rake it up.
3. Use Leveling Tools
Once you’ve flattened the base, you need to level it. Given that you’re dealing with hundreds (if not thousands) of gallons of water, it’s best not to just eyeball it.
Get one or more leveling tools to determine the high and low points in your chosen pool area. A laser or string level is best, but a long, straight wooden plank and a bubble level will also work.
Place the wood on the ground, and use the leveling device to determine whether the ground is flat enough. I can’t find a long enough board to cover the entire area.
No problem. Stakes and strings will work too.
Stretch those out from the center of the base, making sure the strings are tight. Use the level along the string to see if the ground is completely flat.
4. Flatten Out Bumps
Step 3 will highlight any areas that need work. Now, you need to level those bumps. It’s a pain, but it’s necessary. Instead of building up the area, we suggest removing dirt.
Digging into raised levels to flatten the bumps gives you a more structurally stable base for the pool than attempting to fill a lower area.
5. Compress the Soil
Once level, you need to compress the soil to give the pool a solid base on which to sit. Gently spray water on the soil for about an hour using a garden hose at low pressure.
Next, run a rolling tamper or lawn roller over the entire surface to compress the soil. Take your time on this step, as loose soil can erode and really skew your pool’s base.
6. Create a Smooth Layer of Sand
After leveling and competing the base, you need to lay a solid first layer. Get enough mason sand to create a smooth sand base (you’ll need up to a truckload).
This sand layer will protect the pool liner from any sharp objects you may have missed during the clearing process. You can order mason sand from a pool retail store, a local garden center, or any local landscaping supplier.
Once applied, use a rake to spread the sand and create a fine layer of at least two inches across the pool site. If there is a weak area, add crushed limestone to strengthen it.
7. Apply Treatment to the Pool Area
Spray toxic-free herbicides to prevent grasses from growing around the swimming pool area.
Also, treat the pool environment with friendly fungicides to stop fungus growth. Then give the chemicals about two weeks to settle before installing the pool.
8. Lay the Pool Base Protector
Next, you’ll lay the base protector before setting up the pool. The best option is to use a purpose-built pool pad, but a tarp will also work. Without this extra protection layer, your hard work will be wasted.
In addition to preventing possible puncture of the pool wall, the base protector also gives the pool an extra layer of insulation that keeps the water cool.
9. Install Your Above-Ground Swimming Pool
Finally, you can start setting up your above-ground pool following the manufacturer’s instructions. For example, a square Intex pool may have different instructions than an oval pool from another company.
Things can also be different if you are installing an inflatable pool for your kids. And the manufacturer will list any specific instructions they have for the base.
Three Best Ways to Level the Ground for Your Pool Without Digging
There are several ways to level the ground for your new pool.
If you don’t want to dig into the complex, frozen, or unyielding ground, use one of the three methods outlined below.
These methods include:
- Using crushed rock
- Using land grading
- Using masonry sand
Before leveling, you’ll need a system to measure the ground. Use a straight 2×4 that is as long as the radius of your pool. One end will mark the center, and the other can swing around to measure the ground and determine the level.
Using Crushed Rock
Source: dreamstime.com
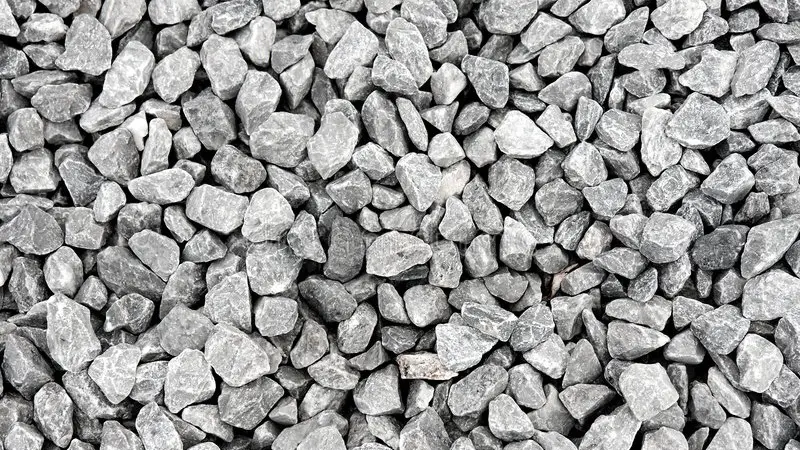
The first and best way to level the ground without digging is to use crushed rocks.
Limestone is an excellent choice for a crushed rock foundation since it compacts well and is relatively robust.
- Tamp the Dirt: First, you will tamp the dirt with a tamper, which you can rent at any hardware equipment rental. You can use a manual or gas-powered tamper. Use a rake to spread the dirt out and tamp it down with the tamper.
- Lay Down the Stone: Once you’ve chosen your stone, lay it down as levelly as possible, measuring it with your 2×4. Keep adjusting it as you go.
- Pack the Stone: Use the tamper to pack the stone down. Work your way around the circle, measuring your progress with the 2×4 and adjusting accordingly. Don’t worry if some of the rocks break; this is normal.
Remember that you need to adjust the rocks and pack them down again and again. You should be able to walk across your new foundation without feeling rocks move or shift around. This will ensure level ground for your new pool.
Using Land Grading
Source: holderexcavating.com
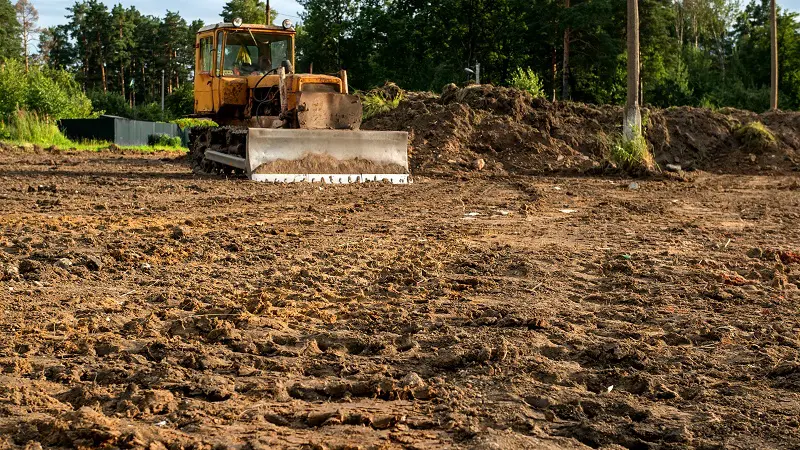
The second strategy you can use to get a level foundation for your new swimming pool is land grading.
Land grading involves using dirt as a foundation for your new pool. You’ll raise parts of the ground that aren’t level with new dirt.
Follow the process below for the best results.
- Rake the Ground: Use your rake to clear any debris, leaves, rocks, or dirt that is creating obstacles for your foundation. You’ll want to remove sharp objects to protect your pool (and your feet).
- Add Dirt and Tamp It Down: Spread out your dirt and tamp it down. Fill dips in the ground with extra soil, measuring your progress with your 2×4. Remember to tamp it down thoroughly so that it is densely packed.
- Water and Roll the Soil: Once you are finished, you’ll need to water the ground and roll the soil to make it perfectly compact. The water helps fill any gaps in the dirt, and the tamper will ensure that no part of your foundation is loose.
Using Masonry Sand
Source: nhnorthcoast.com
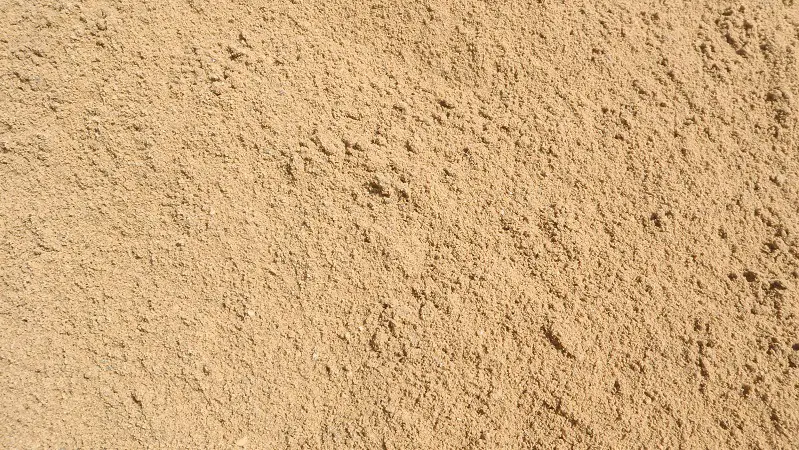
You can also use masonry sand to lay a new foundation for your pool.
Using masonry sand is much like using limestone or any other crushed rock. Repeat the above process with masonry sand by following the steps below.
- Tamp the Dirt: Begin by tamping the dirt with your tamper and checking it repeatedly with your 2×4. The dirt level should be at least two inches.
- Lay the Masonry Sand: Spread out a layer of masonry sand. Use masonry sand because it is compact and much more robust than other types of sand. You’ll need a two-inch layer of sand. Roll it out, wet it, and tamp it again. Continue to adjust as needed.
- Check and Adjust: You must repeatedly tamp the sand and readjust as needed. You must ensure that no part of the ground protrudes or exceeds level ground by over two inches.
Frequently Asked Questions
Varavin88/Shutterstock
How do I level my ground for a pool without digging?
You can combine crushed stone or crushed limestone and mason sand to level the ground without digging. First, you need to achieve anywhere between one to two-inch levelness using the crushed stone. Next, use the sand to flatten out the ground further.
How do you know if ground is level for pool?
The easiest way to know if your ground is flat enough to set up your pool is to use a leveling device together with a long wooden board, such as plywood. Lay the board on the pool site and place a leveling device on it to see whether the ground is level.
Can you put an above ground pool directly on grass?
You can put above ground pool directly on artificial grass, but doing so will damage the blades of the artificial grass due to the weight of the pool and the water. While some above ground pools can sit directly on your lawn surface, the chances of punctures and damages are high.
We partnered with Networx to save you big money on your next home renovation project. And quotes are free!
Conclusion
Some of these might seem unnecessary, but you made a big investment in your pool, and skipping any of these can cause property damage or injury.
Creating a foundation for your pool is easy, and you don’t even have to dig! Use one of the strategies outlined here, and remember to tamp the ground repeatedly to ensure compactness.
Remember that you’ll need to adequately prepare the area, check your zoning laws, and adjust your approach depending on your desired outcome.
You’ll have a solid foundation before you know it! Don’t feel like doing it yourself? Click the green button above to connect with a local contractor.
Even better? Quotes are completely free! So there’s no reason not to at least see what they’d charge.

