
Searching for a complete guide on how to drain a water heater?
If so, you’re in the right place. Our step-by-step guide shows you exactly how to do this easy task.
Read on to learn all you need to know.
Want to Know How to Drain a Water Heater?
Regularly draining a water heater is an essential part of keeping it in good condition. It keeps the tank free of sediment that can corrode and rust the tank and ensures your water heater works efficiently.
Keep reading for step-by-step instructions on how to drain a water heater. When it comes to home maintenance, draining and flushing your water heater may not be at the top of your list.
But it should be! This simple process should be done once or twice per year. The task is easy enough, but there are a few steps involved.
Many of us just don’t know how to drain a water heater. Water heaters receive cold water through a long dip tube that directs the water into the bottom of the tank.
Why It’s Important
Even clean water contains sediment—minerals like calcium and magnesium—and occasionally contaminants and rust.
Over time, that sediment settles and builds up on the bottom of the water heater tank and begins to wreak havoc.
Once that happens, you might notice any of the following problems:
- Less heating power (lukewarm water or limited hot water)
- Clogged pipes
- Failed heating elements
- Health problems for household members
- Rust in the tank
- Extensive rust that leads to leaks
The good news is that most of these problems can be fixed (and avoided entirely) with an annual drain and flush of your water heater.
Regularly draining your water heater will extend the life of your appliance and keep you from needing an expensive, premature replacement.
A Word of Caution
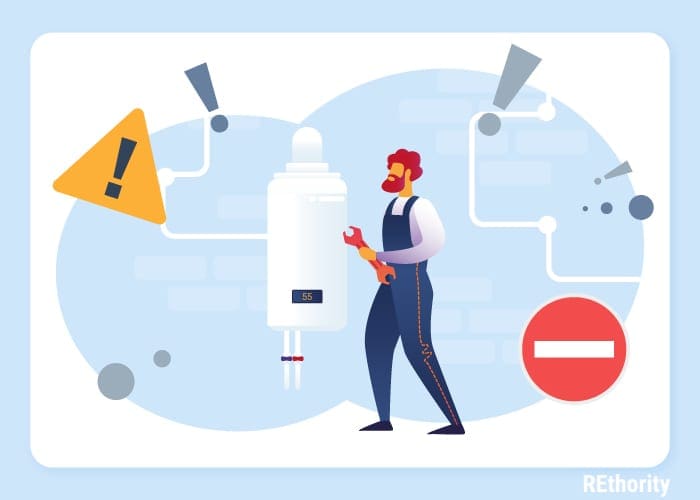

Draining a water heater is perfectly safe as long as you follow the correct order of steps. Don’t forget that you will be dealing with an appliance connected directly to a natural gas line or a large amount of electricity.
You should be careful and attentive when working around your water heater. If you feel uncomfortable performing any of the steps involved, go ahead and call a professional.
A plumber will be able to drain your water heater and check for any parts that might need to be replaced or adjusted along the way.
This needs to be done at least once per year, so bookmark this post or grab a notebook to write down the steps.
Draining your water heater can be done in under 30 minutes. We’ve got a few special tricks of the trade to share that will make this process even easier. Let’s get started!
A Short Overview On How to Drain a Water Heater
First, take a look at a quick summary and overview of the water heater draining process.
Quick Summary
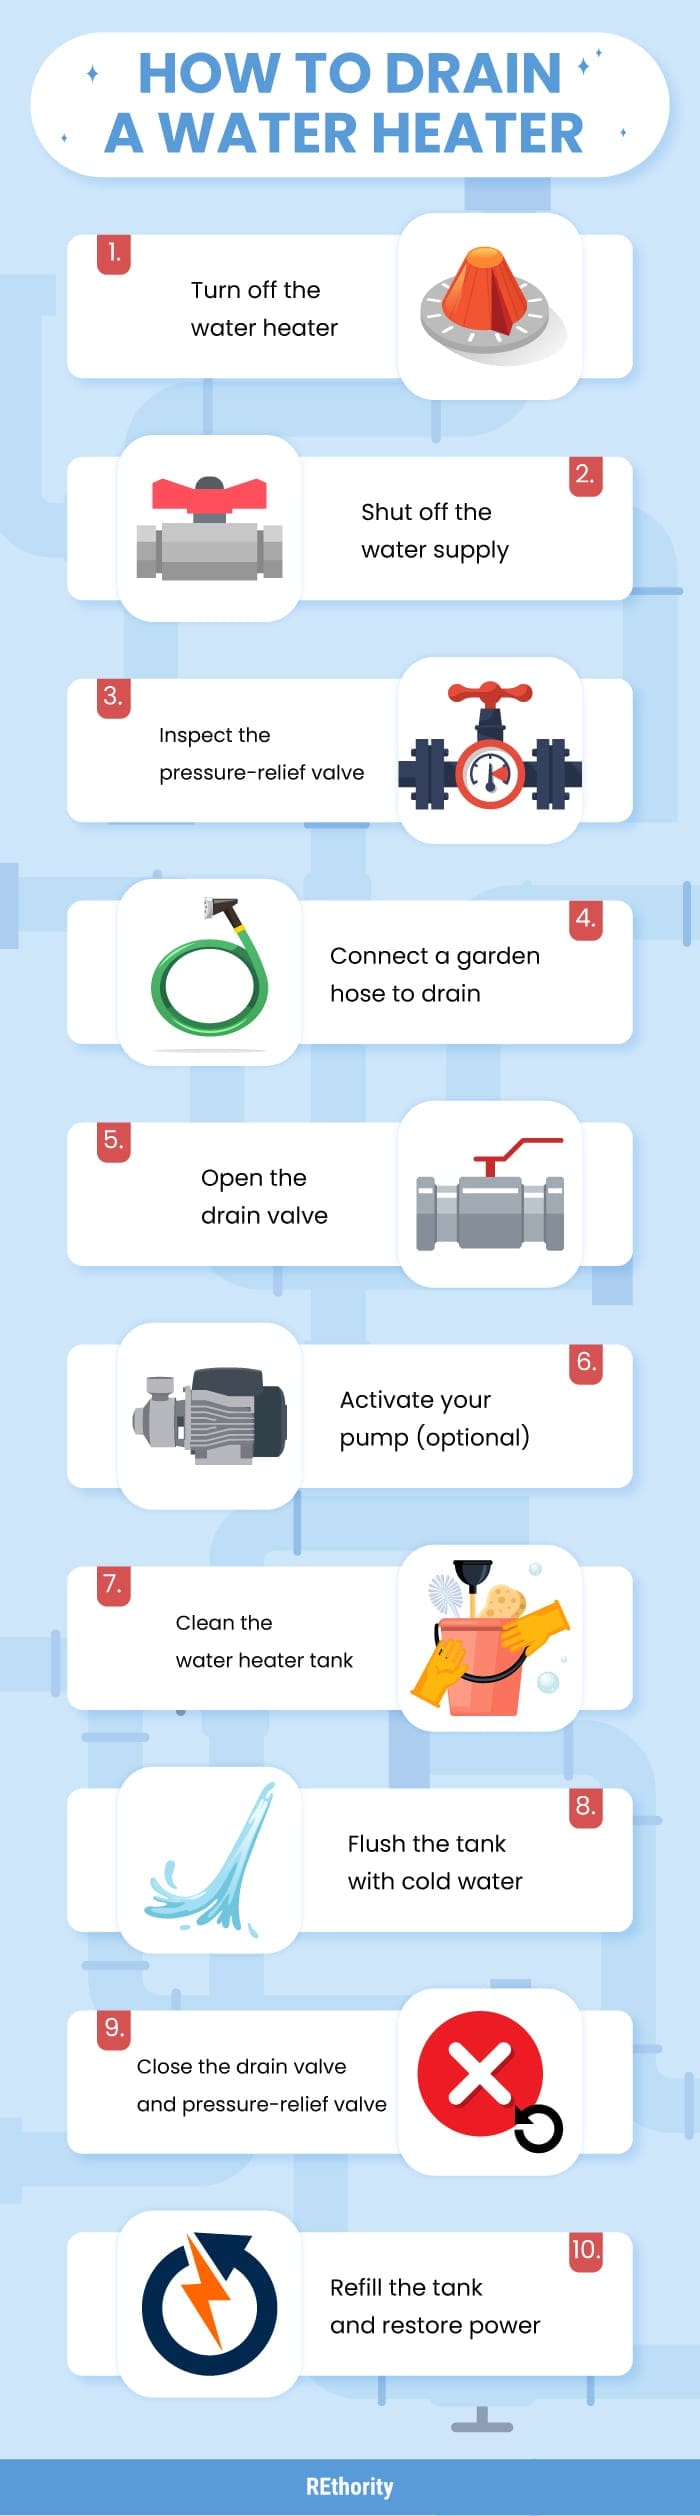
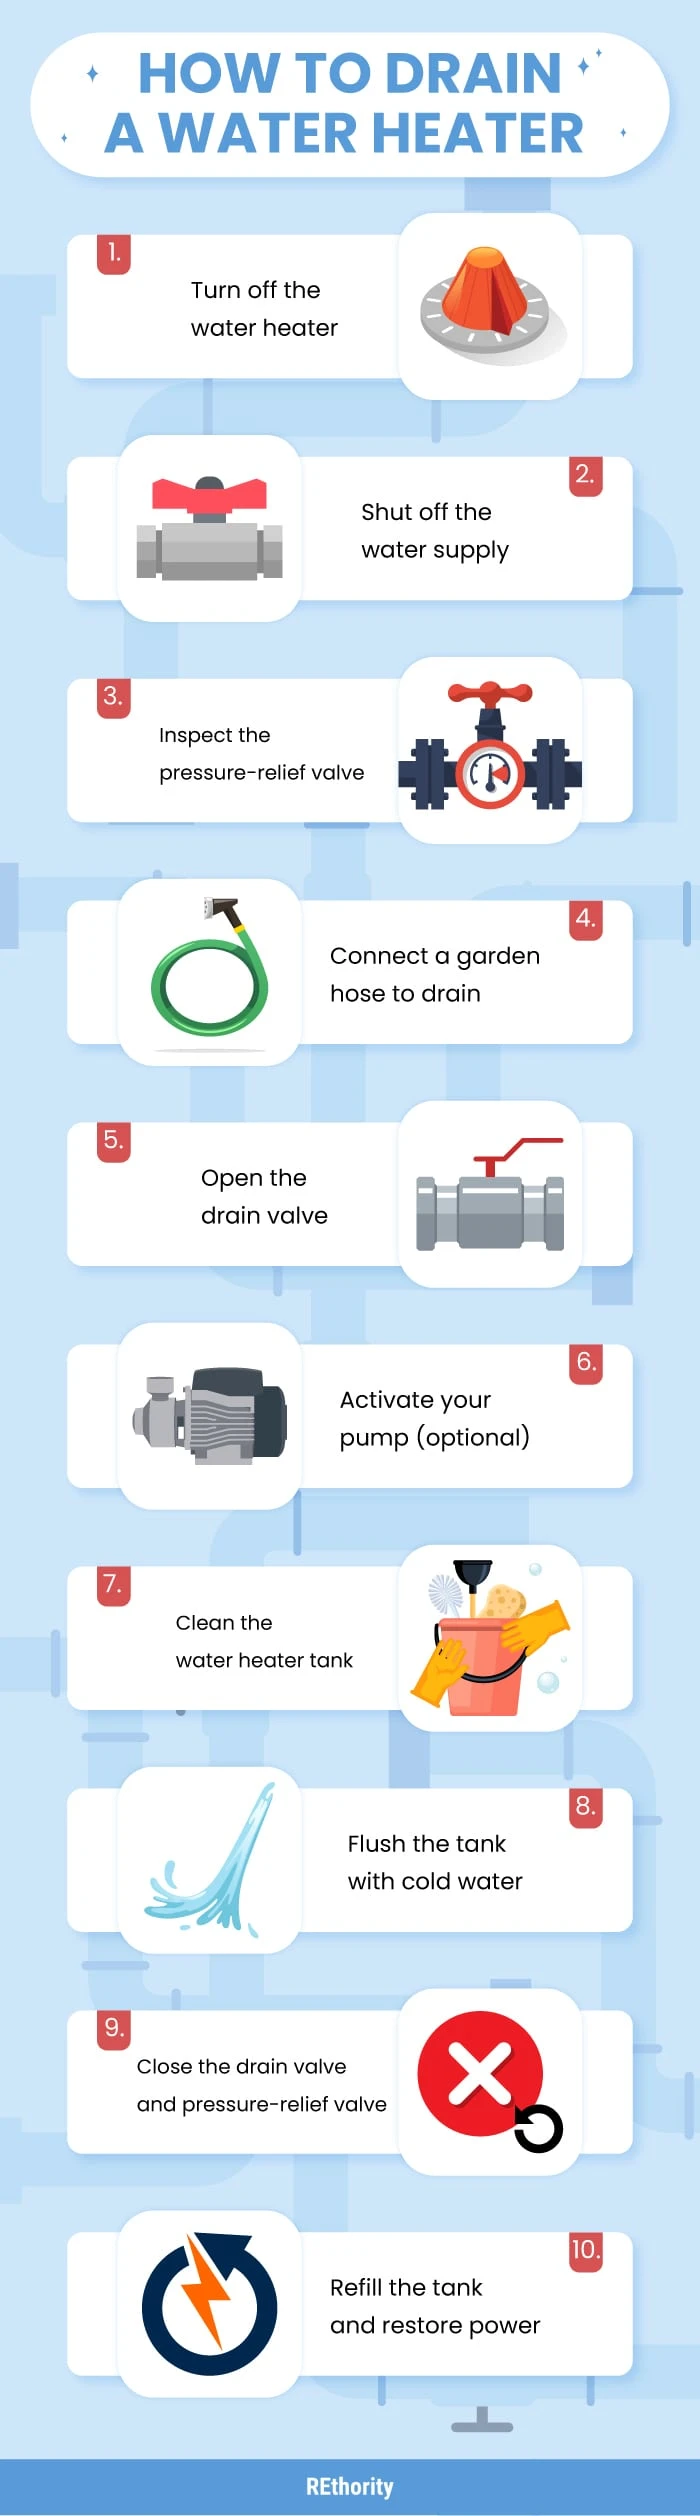
- Turn the water heater off
- Shut off the water supply
- Inspect the pressure-relief valve
- Connect a garden hose to drain
- Open the drain valve
- Activate your pump (optional)
- Clean the water heater tank
- Flush the tank with cold water
- Close the drain valve and pressure-relief valve
- Refill the tank and restore power
Ten steps might make this look like a complicated process, but it’s really not. You can do it in about half an hour. Here’s a look at the tools you’ll need to do it properly.
Tools Needed
- Garden hose
- Long screwdriver or dowel
- Long-handled cleaning brush
- Buckets
How to Drain a Water Heater Step-by-Step
1. Turn Off the Water Heater

The first step in any task concerning your water heater is:
- Turn it off.
- If you have an electric water heater, turn the water heater off at the breaker.
- If you have a gas water heater, shut off the gas at the gas line or move the gas knob to the pilot or vacation setting.
Don’t skip this important step. It’s a safety risk and could damage your water heater if you fail to turn the power off before beginning.
2. Shut Off the Water Supply

With the power to the water heater off, shut off the water supply. There are two ways you can do this. First, you can shut off the water at the cold water intake pipe above the water heater by using the valve.
Alternatively, you can shut off the main water supply to the house. It’s easier to turn off the water at the cold water intake pipe.
Once the water heater is off, you may want to give it a few hours to allow the hot water inside to sufficiently cool down. The hot water in the tank can remain burning hot for hours, and it won’t be easy to drain your tank.
If you must go ahead and start the process now, make sure to direct any of the scalding water away from anyone or anything it could harm as it drains.
It’s helpful to take a long, hot shower to help the tank’s water temperature decrease quickly.
3. Inspect the Pressure-Relief Valve

After the power and water supply are turned off (and hopefully, you’ve allowed the water to cool for a few hours), check the pressure-relief valve.
This important part allows the tank to release excess pressure so it doesn’t burst. It may need to be replaced, and it’s easy to inspect it to find out.
Flip open the lever on the pressure-relief valve located on the cold water supply line. Hold a bucket under the opened valve and listen closely.
Do you hear hissing air?
Do you see water dripping out?
If you do, that’s a sign that your pressure-relief valve is working as it should. If not, you’ll need to have the pressure-relief valve replaced.
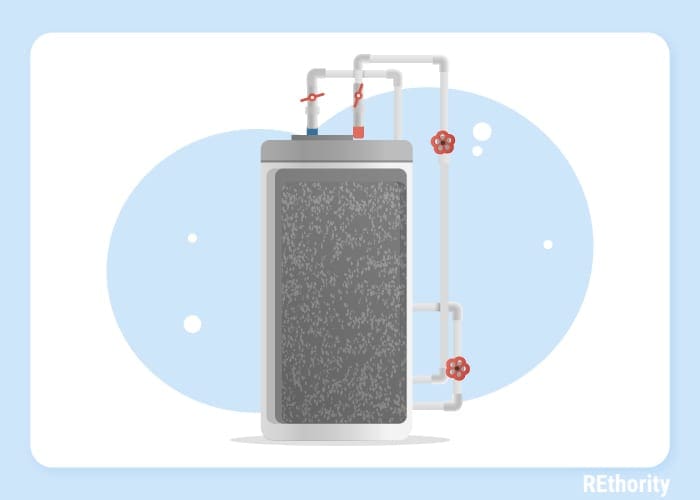
4. Connect a Garden Hose to Drain Valve
After testing the pressure-relief valve, you’re ready to connect a garden hose to the water heater’s drain valve. This is what you’ll use to drain the water.
The location of your water heater (the elevation, really) is important here. If your water heater sits low, like in a basement, you may need a pump and two garden hoses to help it drain.
If it’s not located in a low spot, one garden hose will be fine. Screw the garden hose connector to the opening at the bottom of the water heater tank near the drain valve.
Go ahead and run the hose to a spot outdoors where it can drain once you open the drain valve.
5. Open the Drain Valve

With the garden hose connected and running outdoors, you can now open the water heater tank’s drain valve. At first, you’ll have very little water draining from the tank because of the vacuum in the tank.
There are two ways to break the vacuum.
- Look for the nearest hot water tap (closest to the water heater). Turn it on to alleviate pressure in the lines and break the vacuum inside the tank.
- Look above the water heater for the hot water pipe. Remove one end of the pipe and pull it over to one side slightly. This will break the vacuum and allow air into the tank. Draining will go much faster once you do this.
Once you break the vacuum, the water should gush out of the water heater tank drain.
6. Activate Your Pump (Optional)

If your water heater is located in a low spot, like in your basement, it will need the help of a pump to lift the water up and out through the hose as it drains.
Now is the time to turn the pump on to prevent the water from back-flowing. If your water heater is not in a low spot, you don’t need to get a pump or worry about this step.
7. Clean the Water Heater Tank

Once the water is draining well from your water heater tank, let it run until the tank is completely drained. Now, you can take a few extra steps to make sure the tank gets nice and clean, free from all the sediment inside.
Turn on the cold water supply above the tank in short bursts to blow out any sediment buildup. Check the drain valve to see if it has become clogged with sediment during the draining process.
If the drain valve appears to be clogged, just remove it for now. Use a long screwdriver or dowel to fish around in the bigger opening and move any lodged sediment out of the way.
If you could get a long-handled, narrow brush to clean the tank with, now is the time to use it. Push the brush in through the opening where you removed the drain valve.
Pull it along the bottom and sides of the tank as best you can. Break loose as much sediment as possible during this step. The more you remove, the longer your water heater will last!
8. Flush the Tank with Cold Water
Once you’ve removed and dislodged as much sediment as you can, flush the tank with cold water. Put the end of the hose into a large bucket so you can see the water that will drain out.
Turn the cold water supply on above the water heater and let it run until the water coming out of the hose is clear.
For extra assurance, you can turn the water back off, use the brush again through the drain valve opening, and repeat the process until the flushed water runs clear.
Turn on the cold water inlet valve and allow it to run until the water coming out of the hose is clear.
If you disconnected the hot water pipe to break the vacuum inside the tank in step 2, you can now reconnect it.
9. Close the Drain Valve and Pressure-Relief Valve

If you removed the drain valve for easier cleaning, you can now replace it and close it. Close the pressure-relief valve as well. Disconnect the garden hose from the drain and place a bucket nearby.
If there’s a leak, you want to be able to catch the water. Turn the water supply back on above the water heater if you haven’t already.
If you do not have one of your hot water taps on in the house, turn one on and let it run until the water is coming out without air in the lines. Make sure all the hot water taps you turned on in an earlier step are turned off now.
10. Refill, Restore Power, and Finish Up

It’s time to finish up the job. If you have a gas water heater, relight the pilot light according to your manufacturer’s instructions.
If you have an electric water heater, turn the power back on at the breaker. Don’t restore power until your water heater has filled back up with water.
Electric heating elements will burn out if they are on without being fully immersed in water. Once you restore power, you should have hot water again in about an hour.
If Your Water Heater Leaks After Draining
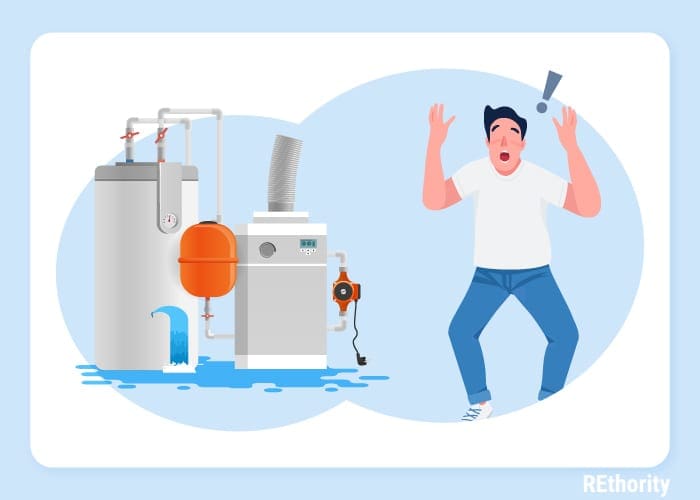

You might notice a leak after draining the water heater. If you do, check the drain valve to see if it is completely closed. Look for leaks around the spout.
If the drain valve did not close all the way, replace the drain valve with the correct part, or you can cap the hose threading to stop the leak.
If you want to go ahead and replace the drain valve (you’ll have to do it eventually anyway), look for one that exactly matches the drain valve you currently have installed. You can find simple instructions online for replacing a water heater drain valve.
Essentially, you’ll need to drain the tank again using the instructions above (no need to clean it or flush it again), remove the old valve with a wrench, and install the new one with Teflon tape around the threads to help keep it watertight.
Capping the valve is a temporary fix, but it will keep the valve from leaking onto the floor. You can purchase a metal or plastic cap for $1–$2 at any hardware or home supply store.
It will be the same type of cap you’d use for a garden hose. These caps contain a washer and form a seal over the opening when you tighten them with pliers.
Maintaining Your Water Heater

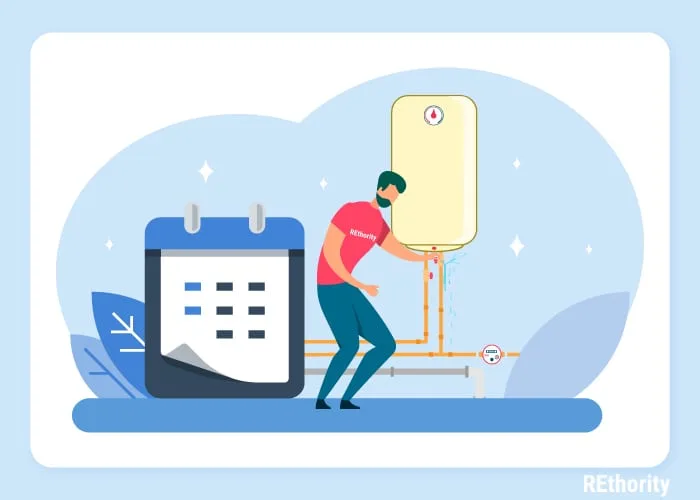
Now that you know how to drain a water heater, you should know how to keep it running efficiently and for as long as possible. To accomplish this, you’ll need to drain and flush the tank at least once a year.
If you notice any problems that indicate sediment may be building up again, don’t hesitate to drain and clean the tank. Some areas have harder water that may require more frequent draining.
Water heaters don’t last forever, usually about 10–15 years, even with regular maintenance. But regularly draining the tank and flushing it out to keep it free of sediment will extend its lifespan.
Taking small steps like draining the water heater once or twice a year will save you money on repair bills and part replacements and keep you from needing to replace a water heater prematurely.