
If you own a home, you’ll need to learn how to change the water heater element at some point.
Why not now? In this how-to guide, we’ll show you how to do just this. It’s easier than you think!

We partnered with Networx to help you find local plumbers in your area. Click to below to get a FREE quote.
Why Is Important To Know-How
Lukewarm water, limited hot water, or no hot water from your electric water heater are all signs that a heating element might need to be replaced.
Changing a water heater element yourself isn’t a difficult or time-consuming project.
It’s something every homeowner can learn how to do. By changing one or both of your electric water heater elements, you can say goodbye to cold or lukewarm showers.
First, we’ll talk about what water heater elements do and explain how to determine which of your elements has gone out.
Then, read our step-by-step instructions below to change the heater element on your water heater.
What Is a Water Heater Element?

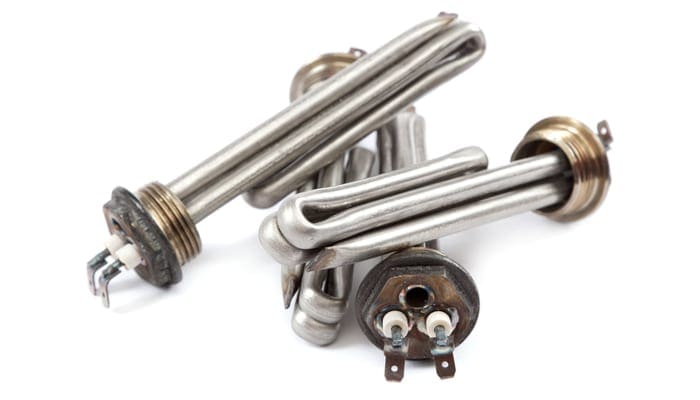
Afanasiev Andrii/Shutterstock
The water heater element is responsible for heating the water in your water heater tank. These electric elements are completely immersed in water to warm it up.
Electric water heaters use two of these immersion heating elements to get your water to the perfect temperature. One is located near the top of the tank. The other is near the bottom.
Lower Heater Element

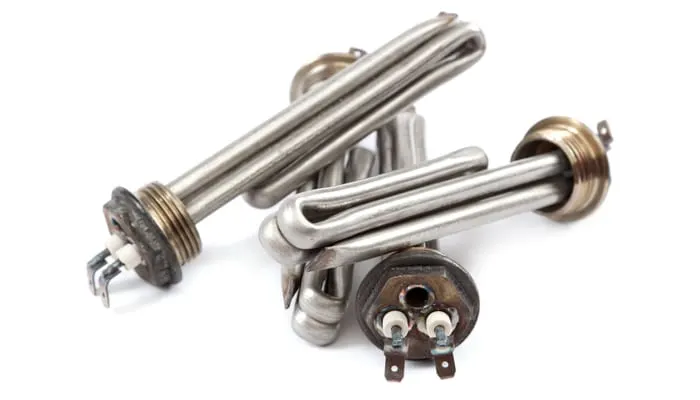
TrotzOlga/Shutterstock
The lower heater element is responsible for doing most of the work in heating up the water inside the tank. As new, cold water enters the tank, it comes out of a tube that dispenses the water straight to the bottom.
The lower heater element works hard to warm the colder water at the bottom of the tank to the right temperature and keep it from cooling down too much.
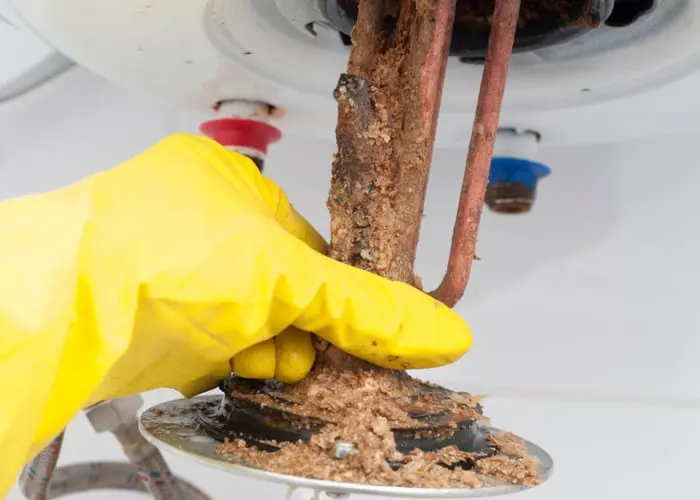
And since it’s at the bottom of the tank, it can get covered in normal sediment that settles to the bottom inside the water heater.
This can reduce the lower heater element’s effectiveness and cause it to stop working sooner than it should.
If you suspect that one of your water heater elements has gone out, it’s likely that it’s the lower element.
Upper Heater Element
The upper heater element doesn’t work as hard as the lower element. This is because it’s located at the top to “boost” the temperature of the already-heated water right before it leaves the tank to come out of the tap you’re using.
Instead of bringing 40 or 50 degree water all the way up to the temperature set on your water heater thermostat, its job is to ensure the water stays at 120, 130, or 140 degrees before it leaves the tank.
Since the upper heater element doesn’t work as hard or get subjected to as much sediment, it’s usually not the one that needs to be replaced.
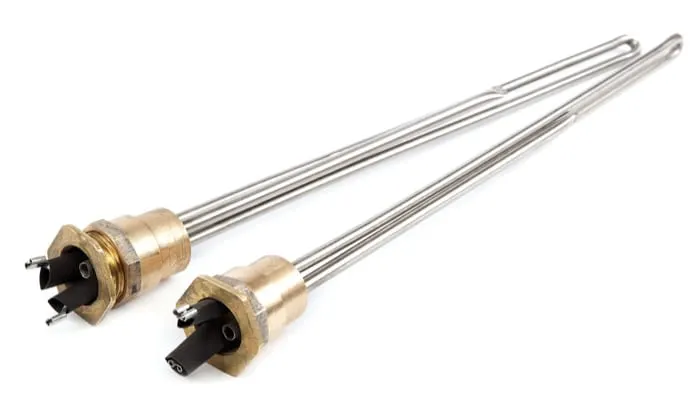
Screw-In Water Heater Elements
Your lower and upper heater elements will be one of two types. Screw-in water heater elements are by far the most common.
If your water heater was made less than 15 years ago, this is almost certainly the type of heater element you’ll have. Screw-in heater elements, like the name indicates, screw into place on your water heater.
Bolt-In Water Heater Elements
Bolt-in water heater elements are the second (and much less common) type. They are typically seen on older water heaters.
With bolt-in elements, you’ll notice that they are bolted in place with four bolts. Bolt-in elements can easily be converted to screw-in elements with an adapter kit.
Buying a Replacement Water Heater Element

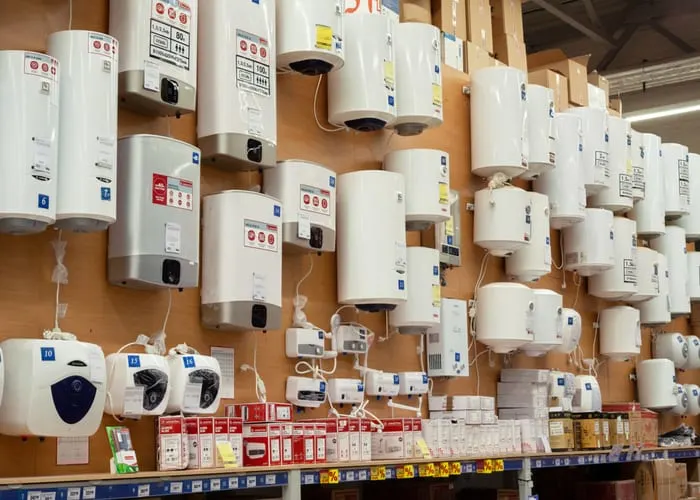
The first step to changing your water heater element is buying the correct replacement. You can always bring your old water heater element to a plumbing supply store to make sure you get the correct type.
You’ll need to select a replacement water heater element of the same style (screw-in or bolt-in) and voltage. You can choose a lower wattage than your current element has.
But be aware that it won’t heat water as efficiently. Voltage and wattage should be stamped directly on the element. Once you’ve gotten a replacement element, you can move on to the actual project: changing it out.
10 Steps To Change a Water Heater Element
Safety First! Safety should be your main priority when changing a water heater element. Electric water heaters are filled with water and connected to power—a potentially dangerous or deadly combination.
Follow the instructions below closely and in the correct order to minimize your risk. If you feel uncomfortable doing this project yourself, you can always call a qualified plumber to do it.
Materials Needed
- Garden hose
- Screwdriver
- Water heater element wrench
- Voltage tester
- Replacement heater element
- O ring
Gather your materials before you begin. You can find a water heater element wrench at a hardware store or online through sites like Google Shopping.
You might see them labeled as element tools. These make it easy to unscrew your heater element so you can remove and replace it.
1. Turn the Power Off
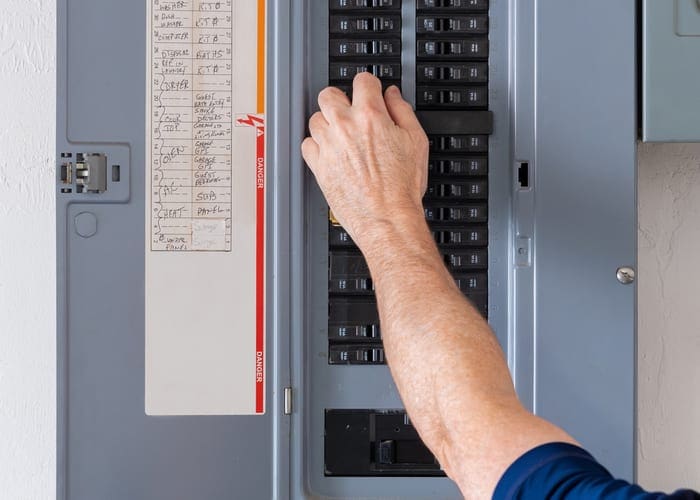

Locate the switch that is connected to your water heater on your circuit breaker. Flip the switch to the off position. Then use your voltage tester to ensure the power is off.
- Start by setting the meter at 120 volts.
- Touch one of the probes to one of the terminals, then touch the other probe to the water heater tank.
- If it’s off, you should see a reading of 0 volts. If you’re detecting voltage, you may have flipped the wrong circuit breaker switch. Do not proceed until you get a reading of 0 volts.
2. Check the Drain Valve
Once you’re certain there is no power going to the water heater, proceed by hooking your garden hose to the water heater’s drain valve. The drain valve will be located near the bottom of the tank. You’re not going to fully drain the tank yet.
This step ensures the drain valve isn’t clogged, so you can drain it in a moment. Once the hose is attached, lead the other end of the hose outside or into a large bucket. Open the drain valve and see if water comes out.
If no water comes out when the valve is open, you’ll need to unclog the drain valve. Once you’re able to get water to drain from the valve, you can close the drain valve for now.
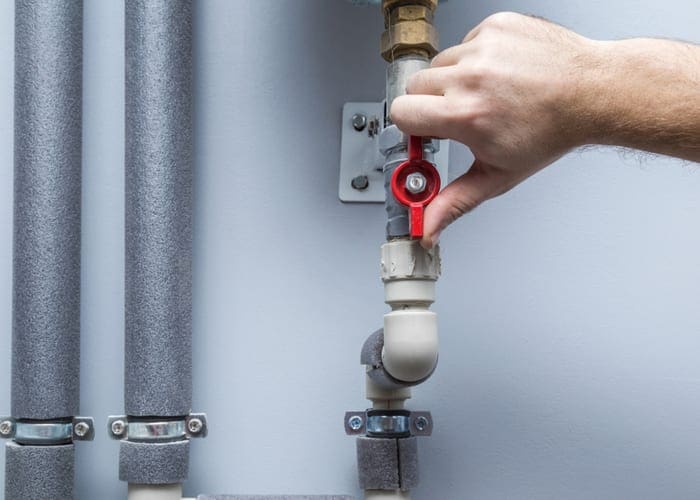
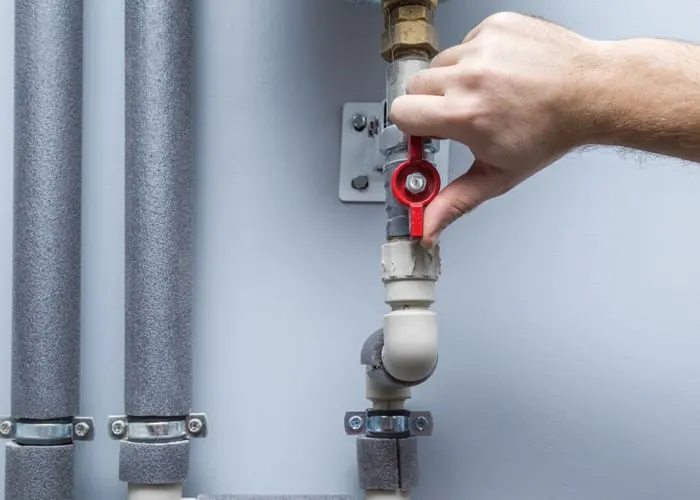
3. Turn off the Water Supply

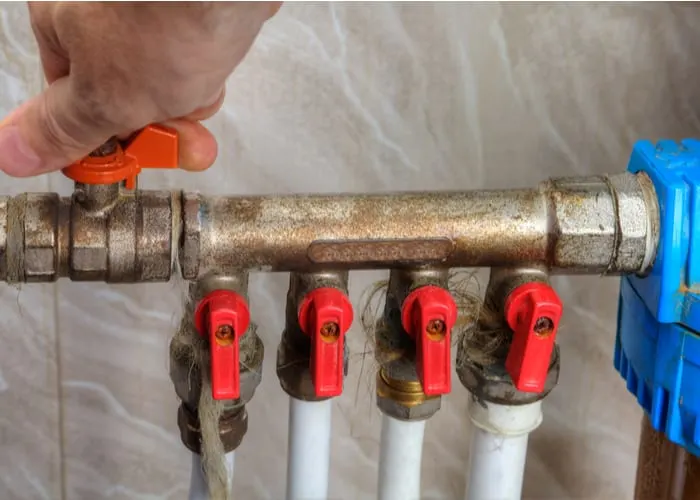
Now, you’ll need to turn the water supply connected to your water heater off. Close the cold water inlet valve located at the top of the water heater.
Have a helper turn the hot water tap at a faucet nearby on and leave it on while you work. This releases some of the hot water pressure from the tank.
4. Access the Water Heater Element
Use your screwdriver to take off the access panel cover for the heater element you need to replace. The one up top exposes the upper element, while the lower access panel houses the lower heater element.
You might see some insulation between the access panel cover and the thermostat. You can gather that and set it aside for now.
Remove the plastic cover over the thermostat. Before proceeding, use your voltage tester to once again ensure a 0 volt reading. Do not proceed unless there is a reading of 0 volts.
5. Loosen the Bad Water Heater Element

Afanasiev Andrii/Shutterstock
Loosen the bad water heater element in a counter-clockwise direction using your element wrench.
Fit the wide end over the exposed portion of the heater element. You can use your screwdriver in the small end to get additional leverage if it’s difficult to loosen.
6. Drain or Partially Drain the Tank
With your garden hose still in place (make sure the opposite end is directed outside or into a large bucket), you can drain or partially drain the tank. We recommend fully draining the tank, as this action should be done at least once per year.
This gives you optimal water heater maintenance. Open the drain valve to drain the water from the tank. For the average-sized water heater, this might take about an hour to fully drain.
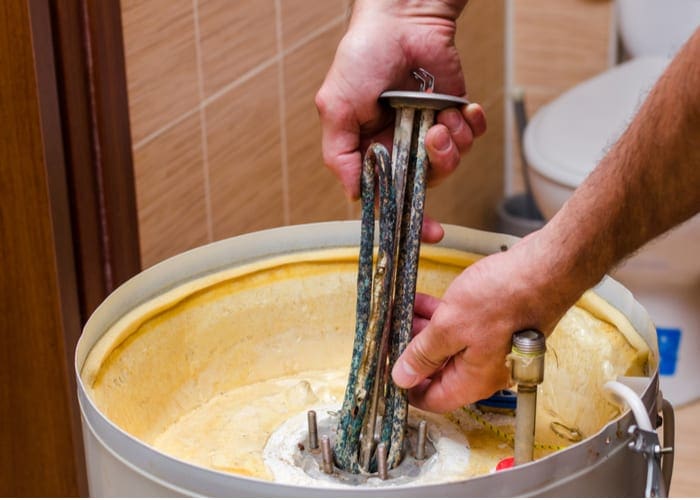
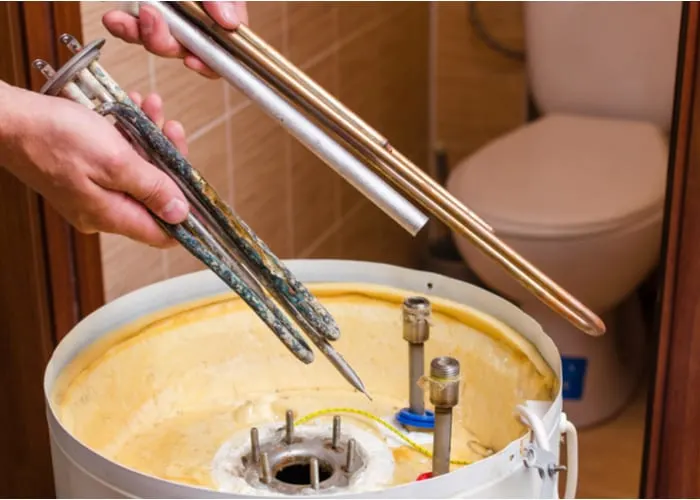
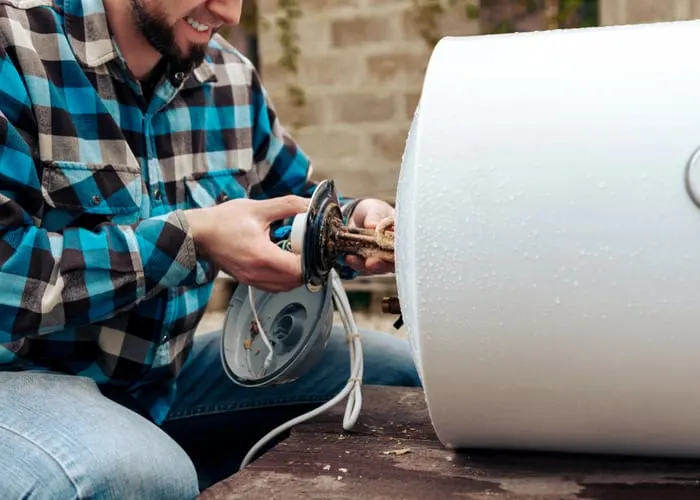
7. Remove the Bad Water Heater Element

Kuchina/Shutterstock
Once the tank is drained, you can disconnect the wires from the water heater element you want to replace.
Look for the rubber O ring that creates a watertight seal between the element and the tank. Take it off along with the element as you pull it out.
8. Change the Water Heater Element
Get your replacement water heater element and O-ring ready. Place the O ring over the threads of your screw-in heater element and secure it. Now, place the new element into the opening.
Then, turn it in a clockwise direction. Use your water heater element wrench to fully secure it and make sure it won’t leak when the tank is refilled.
9. Refill the Tank
FotoDuets/Shutterstock
With the new element installed, you can now refill the water heater tank. Close the drain valve at the bottom of the tank first. Turn the cold water inlet valve at the top of the tank back on.
You will hear some sputtering sounds from the hot water tap you turned on nearby. Leave the hot water faucet nearby until all the trapped air escapes through the pipes.
You’ll know when the air has been released because you won’t hear the sputtering or bubbling sounds from the faucet anymore. At this point, you can turn the hot water tap off.
10. Reconnect Wires and Turn Water Heater Power On
With the tank fully refilled, you can connect the heater element wires you disconnected from the old element to the new one. Make sure you connect the wires to the proper terminals.
Flip the circuit breaker switch back to the on position. This will allow you to take a look at the water heater and make sure it’s working with no leaks.
Replace the insulation and access cover, screwing the panel back into place.
Leave the water heater on for an hour before checking a hot water tap. If the heater element was the problem causing lukewarm, limited, or no hot water, your problem should now be fixed!
We partnered with Networx to help you find local plumbers in your area. Click to below to get a FREE quote.
Having Trouble Changing a Water Heater Element?

Steklo/Shutterstock
Changing a water heater element isn’t a difficult job, but you might run into some complicated problems along the way. If that happens, stop what you’re doing and contact a professional for help.
Some of the issues we’d recommend contacting a professional for include:
- Voltage reading is anything but 0 after flipping circuit breaker switch off
- Leaks from the water heater
- Difficulty locating the right replacement element
- Clogged drain valve
- Difficulty loosening old water heater element
- Replacement water heater element doesn’t fix the problem
A professional will inspect your water heater and ensure the proper part is replaced correctly.
If you have any difficulties while trying to change a water heater element on your own, don’t take the risk of making the problem worse.
Call a local plumber for help!