
Have you ever tried hanging heavy pictures without nails? It’s not quite as easy as it sounds.
Fortunately for you, we’ll show you the steps to take to do just this. Read on to learn all you need to know.
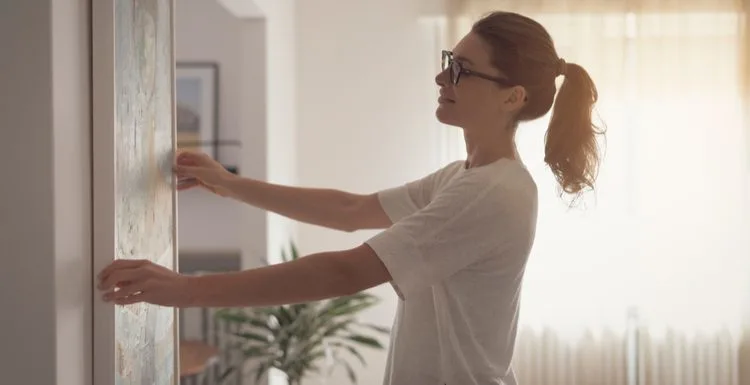
Thinking About Hanging Heavy a Picture Without Nails?
Kostov/Shutterstock
Have you ever thought about hanging heavy pictures without nails but were unsure how to go about it?
Well, you’ve found the guide that’ll help you get the job done safely and efficiently, so read on to learn how to hang heavy pictures without nails!
Hanging heavy pictures without nails is sometimes a tricky business since there are many different factors to consider.
However, there are several methods for hanging heavy pictures that do not involve the use of nails, and we’ll cover three of them in extensive detail in the following steps:
- Option 1: Command Strips
- Option 2: Velcro Strips
- Option 3: Press-In Hooks
How to Hang Heavy Pictures Without Nails In 3 Steps
Here are the three steps that will help you get your heavy pictures hung without nails:
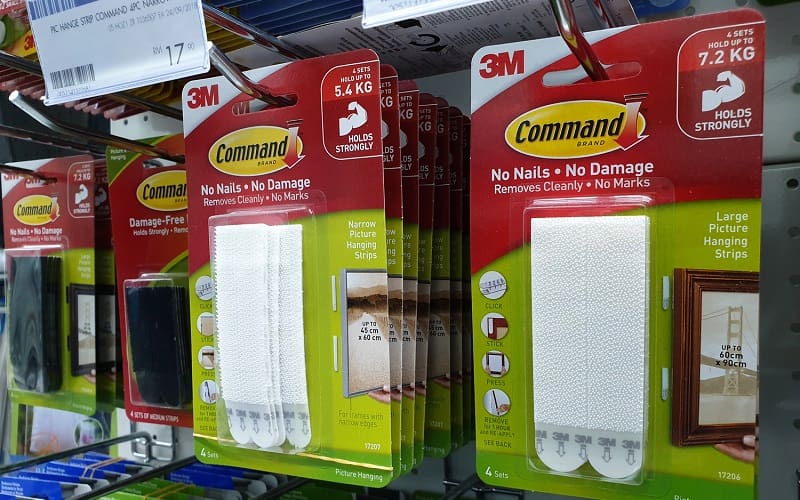
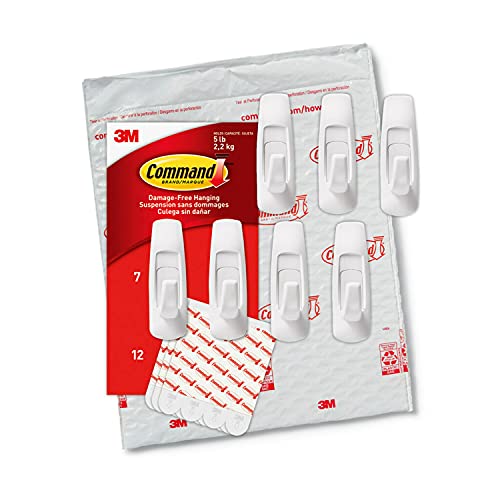
Option 1: Command Strips
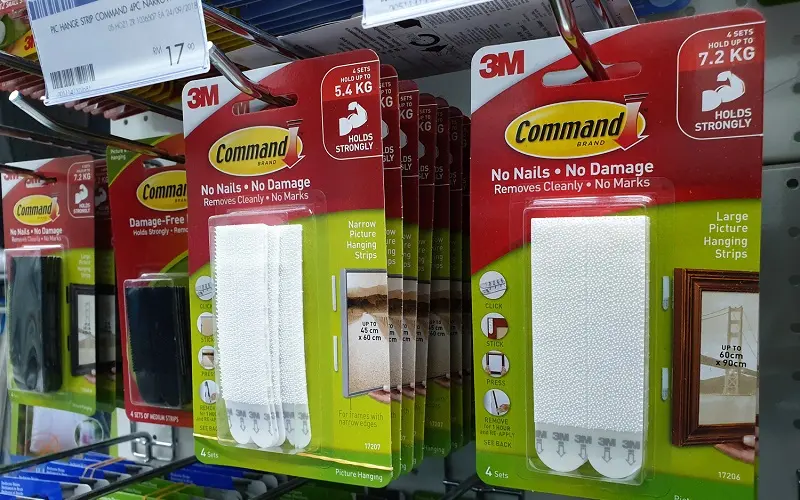
TY Lim/Shutterstock
Command strips are, without question, one of, if not the most popular, alternatives to nails when it comes to hanging pictures. The primary reason for this lies in their ease of use and effectiveness, as anyone can get them to work correctly.
And they do an excellent job of securing pictures to walls. Most people opt for smaller command strips, but if you’re going to be hanging heavy pictures, getting more sizable command strips is highly recommended.
Most well-designed heavy-duty command strips can hold upwards of 16 pounds per strip, so you will be able to hang most heavy pictures with just two strips.
Though you can also use more strips if needed,. To use command strips, remove them from their packaging and separate two strips by tearing them apart. Next, connect the two to perfectly align them, and then remove the liner from one side.
Take the side that no longer has the liner and stick it onto the frame of whatever picture you are hanging. Do not apply the strips to the fabric, paper, or other soft surfaces of a picture!
Only use them on the frames themselves. Once the strips are on the frame, remove the liners from the other side and press the picture frame against the wall. Hold the frame in place for thirty seconds to secure the strips on the wall.
Then remove the frame from the strips and press the strips against the wall with your fingers for another thirty seconds. Afterward, wait an hour to let the command strip’s adhesive settle in before reapplying your picture to the wall.
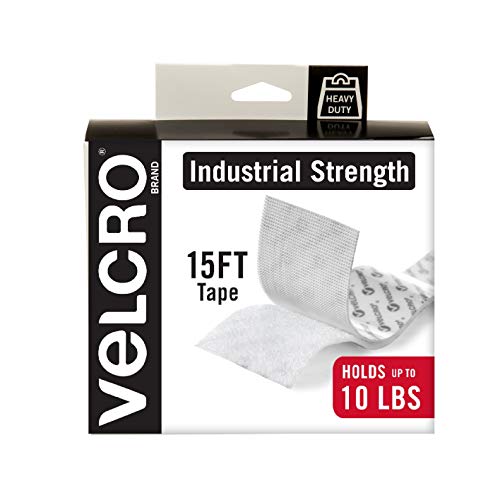
Option 2: Velcro Strips

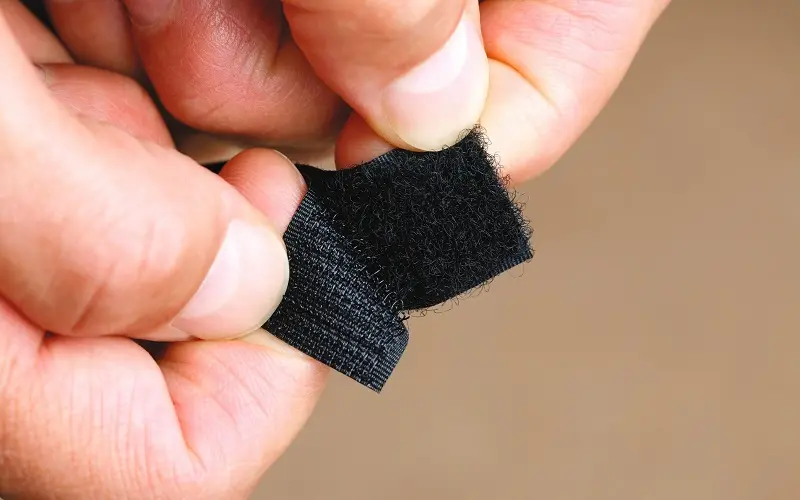
Brian A Jackson/Shutterstock
Velcro strips are another excellent way to hang heavy pictures without nails. Like command strips, Velcro strips come in several different sizes, and each size can hold different amounts of weight.
Because of this, you will want to buy a size that will support the amount of weight you are trying to hang, though generally, strips that can hold up to 15 lbs are an excellent place to start.
Once you have your desired size of Velcro strips, the first thing you will want to do is prepare the wall you will use them on.
Using a dry cloth, wipe your wall down a few times to ensure there’s no dirt on it. You can use a partially wet cloth, but if you do this, you will have to wait a bit for the wall to dry before using your Velcro strips.
That way, the strips will be more secure once you put them on the wall. Next, attach the frame-side Velcro to the four backside corners of your picture’s frame, and then attach the wall-side Velcro to the back of the frame-side Velcro to connect both together.
You could use only one Velcro strip in the center of the picture frame, but putting Velcro strips in the four corners offers more long-term stability. Now you can put the picture frame on the wall.
However, before you do, consider using a line-level tool to make sure your picture is aligned correctly. The last thing anyone wants is a picture that’s tilted to one side!
When ready, press your picture against the wall you wish to put it on and hold it there for thirty seconds. After that, move the picture frame upwards to slide it off the wall without removing or damaging the Velcro strips.
If you do this correctly, you will remove the picture frame and leave only the wall-side Velcro strips on the wall. You can now set the picture down somewhere safe and use both your hands to press the wall-side Velcro strips into the wall.
Do this for another thirty seconds, and then let the strips sit for at least an hour before you hang your picture back on the wall.
This last step is an important one, as if you hang your picture back on the wall too soon, the strips will not have enough time to properly settle, and therefore their adhesive won’t be as strong.
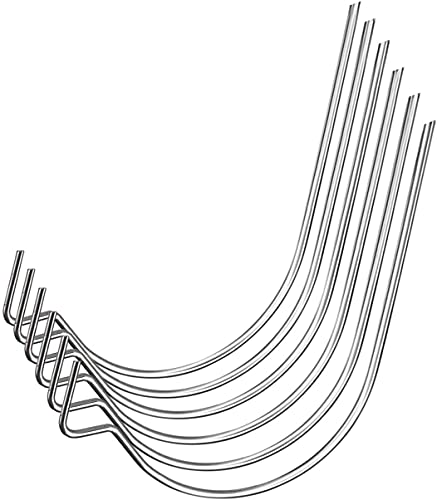
Option 3: Press-In Hooks

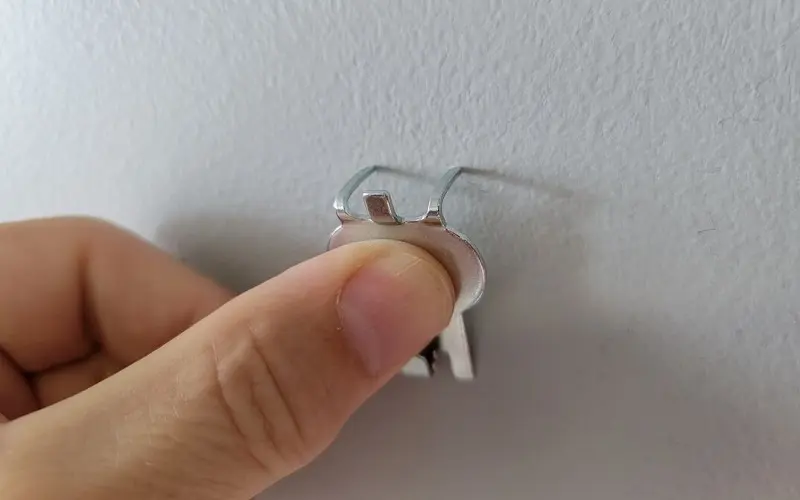
Image/3m.com
While heavy-duty command strips and Velcro strips do work great for hanging heavier pictures without nails, you might find yourself needing an alternative.
If this is the case, press-in hooks are more often than not the way to go, as they are just as easy to use as the previous two options.
The one downside is that adhesive hooks leave a small hole in whatever wall you use them on. So, if you’re avoiding using nails to prevent making holes in your walls, then stick to the command or Velcro strips.
To decide on the right press-in hooks, look for ones designed for use without extra tools like nails or screwdrivers. Press-in hooks can hold between fifty and 150 pounds, depending on the type of hook, so be sure to read up on what hook you want before making any purchases.
Before putting any hooks in your walls, take some time to ensure their placement is proper. That way, you won’t accidentally put a hook in the wrong spot and then have to make a new hole entirely.
If you plan on using more than one hook for a single picture frame, you need to have the hooks aligned properly to prevent your picture from tilting when it’s hung.
For this, you can use a line-level tool, ruler, or some other method that can provide you with accurate alignments. Using the curved end of a hook, push through your drywall and press until the hook is against the wall.
Now, you’ll have to twist the hook to lock it in place, or else it will remain wobbly and unstable when you go to hang your picture frame on it.
Additionally, if you intend to use multiple hooks for one picture, ensure that you leave the proper amount of space between each hook. For example, measure your picture’s width and evenly divide it up, even between however many hooks you have.
Doing this will prevent the weight of your picture from being unevenly distributed between each hook and will make your hooks last longer as a result.
Things to Consider

Creo2/Shutterstock
Now that we have covered three of the best ways to hang heavy pictures without nails, let’s go over some tips that you’ll want to be mindful of, regardless of your method of choice!
- Using more strips or hooks than you think you might need is always better than using less, as being too conservative might put your picture at a greater risk of falling.
- Always take the extra time to clean your walls before using Command or Velcro strips. That way, the strips will have a firmer grip on your walls for a longer period of time.
- Don’t get frustrated if you mess up at any point in the hanging process. If you see your picture tilting slightly, simply remove it from the hooks or strips and try the process again, but be more careful on your second attempt.
- Take your time for every picture, especially if you are new or inexperienced with hanging pictures on walls without nails.
- Buy multiple sizes of strips or hooks because buying only one size will leave you out of luck if that size does not support the weight of the picture you’re attempting to hang.
- Don’t forget that there are several methods for hanging heavy pictures without nails that do not involve using command strips, Velcro strips, or press-in hooks, so consider other options. However, the three methods we covered here are the most common, easiest, and most effective that you’ll find.
So, How Do You Hang Heavy Pictures Without Nails?

Lalandrew/Shutterstock
When hanging heavy pictures without nails, the hardest part is deciding whether you want to use command strips, Velcro strips, or press-in hooks. From there, all you need is a picture and a wall that you want to hang it on.
If you follow the steps covered in this how-to guide, you’ll see just how simple it is to hang heavy pictures without nails, and you’ll be hanging your pictures like a professional in no time at all!