Adding beadboard to your bathroom ceiling isn’t only aesthetically pleasing, but it can also help hide any paint damage from moisture and humidity.
Before you stock up on the materials needed and get to work, there are several things to consider when adding beadboard to the bathroom ceiling.
Beadboard on Bathroom Ceiling: Yay or Nay?
Radovan1/Shutterstock
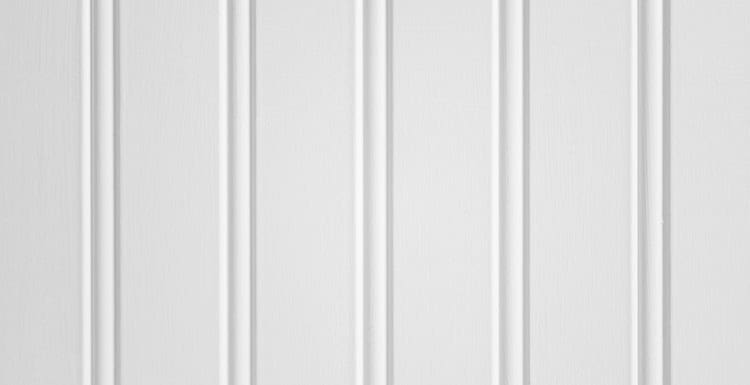
If you’ve paid any mind to interior design, you’ve probably heard about beadboard ceilings. They’re essentially wood paneling that lines the ceiling, adding a touch of elegance without being over the top.
Beadboards can help create a focal point in any room. Most people opt for this in their living rooms, bedrooms, or kitchens. Beadboards are long and thin planks of wood that fit together easily.
Once installed, they have a tongue-and-groove design that allows for a seamless finish. They have half-moon-shaped ridges that are called beads. These fit into one another, connecting the planks of wood.
Before installing beadboard on your bathroom ceiling, there are a few things you’ll want to consider. Thinking about these factors ahead of time will make the installation process as seamless as possible.
- Where to place the beadboard
- The type you’ll use
- If you want something simple or more creative,
Placement
While you can put a beadboard on only certain areas of your bathroom ceiling, you may want to consider adding it to the entire ceiling. This addition helps you achieve maximum humidity control in the bathroom.
Remember that most beadboard is sold in sheets four feet wide and eight feet tall. Before you place any beadboard on your ceiling, you’ll need to make sure that the dimensions of your ceiling can hold what you’ve purchased.
If there are some errors, you’ll need to install the baseboards first and then cut the beadboard to fit the tricky areas. Some people choose to go a different route and place the beadboard from the floor to the ceiling.
A beautiful way to do this is by putting it from floor to ceiling. This paneling allows you to connect the ceiling with the space behind your sink. It’ll also help with moisture prevention behind your sink.
Adding beadboards to your walls is often called wainscoting. They’re very similar and can accomplish essentially the same thing. Making sure to take in the aesthetics of your bathroom is essential. Different design choices can inflict different mood patterns.
Types of Beadboard
Beadboard comes in several different materials to use in various situations. You shouldn’t use all types of beadboard for a bathroom ceiling, though.
When shopping for beadboard for your bathroom ceiling, there are some materials you’ll want to avoid.
Traditional wood beadboard isn’t ideal because, while beautiful, it doesn’t assist with moisture prevention like other materials. You can use standard wood, but you’ll need to add high-gloss paint to ensure it holds up in the bathroom.
Plastic beadboard is a good option for your bathroom ceiling. It’s great because it’s waterproof by nature, so you don’t need to do anything but install it.
You may love the appearance of this material in your bathroom, but people typically use it outside since it’s not as aesthetically pleasing. The best material to use when installing beadboard on the bathroom ceiling is multi-density fiberboard (MDF).
Some people call this particle board, and it’s made with compressed wood pulp. It’s very inexpensive and moisture-resistant. The best part is that using wood stain or paint helps you make it whatever you want it to be.
Creative Beadboard Options
One of the best things about using beadboard is that you can get creative with it. Starting with the material you choose and then how you want to install it, there are several possibilities.
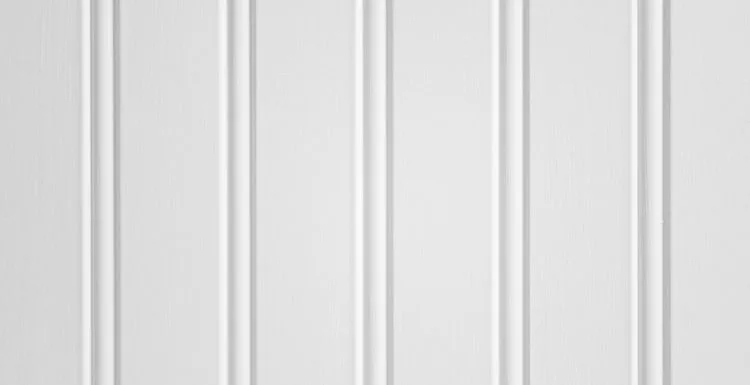
When you use classic white beadboard, you have the ability to paint it whatever color you want. You can go with a light color that creates a calming space or go for something darker and more modern.
The light colors help the room appear taller, and dark colors can create a more intimate and warm space. If the idea of painting isn’t appealing to you, another way to make your beadboard more creative is to change the direction of the boards.
The slight change in order adds a subtle detail that can make the ceiling feel more appealing. You can go the traditional route and place the boards vertically. Other popular designs include chevron and herringbone, which you may want to consider as well.
Depending on how you want the beadboard on the ceiling to come out, you may need to hire a professional. Sometimes, their expertise is necessary when adding more creative touches and making your life stress-free.
Hiding the Seams or Not
You’ll want to decide if you’re going to hide the seams or not. You don’t have to, but there are reasons you may want to. It can help reduce the collection of grime inside the boards.
When putting the beadboard on a bathroom ceiling, you’ll want to keep it as clean as possible. Hiding the beadboard seams helps avoid gathering debris and dust inside the grooves.
Preventing the dust from gathering can prevent mold from growing.
How to Install Beadboard on Your Bathroom Ceiling
Beadboard was a typical decorative style from the Victorian era, but it’s still popular today. You can use it with almost any interior design aesthetic you want. People use it for farmhouse designs, French country, nautical, and more.
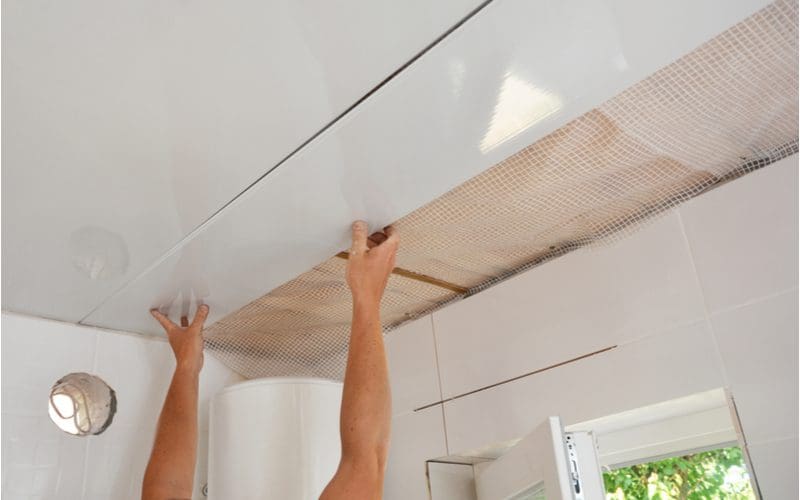
While the best method to install beadboard is to hire a professional, that’s not the only option. Here are the steps for installing beadboard:
- Make a guideline of where the planks will go
- Measure everything thoroughly
- Install the baseboards
- Apply adhesive to the back of your first plank
- Install the first beadboard plank
- Repeat the above two steps when you install every panel
- Prep the corner
- Install the cap rail
- Touch up anywhere that needs it
- Apply caulk
Frequently Asked Questions
Here are the most important questions and answers about beadboards.
Is beadboard moisture-resistant?
Yes and no. Some beadboard materials are more moisture-resistant than others. Traditional beadboard has authentic wood, which isn’t very moisture-resistant.
To achieve a more moisture-resistant finish, you’ll need to use high-gloss or satin paint on top. If you don’t want to go through the process of adding high-gloss or satin paint, going with MDF or plastic beadboard is the best option.
These materials are more moisture-resistant than traditional wood. Plastic is much more water-resistant, but the aesthetic aspects are lacking.
Can you use beadboard in the shower?
The short answer is yes. You can use a beadboard in the shower. As we mentioned earlier, different types of beadboard are better for bathroom use, and that extends to the central area of the bathroom and your shower.
If you plan to use beadboard in your shower, you won’t want to use traditional wood. It will rot, and then you’ll have another problem on your hands. The best beadboard that you can use in your shower is a plastic or vinyl material.
It looks like wood but is a moisture-resistant alternative to classic wood. While MDF beadboard is excellent for your bathroom ceiling, using it in the shower isn’t ideal since it’s made with wood particles.
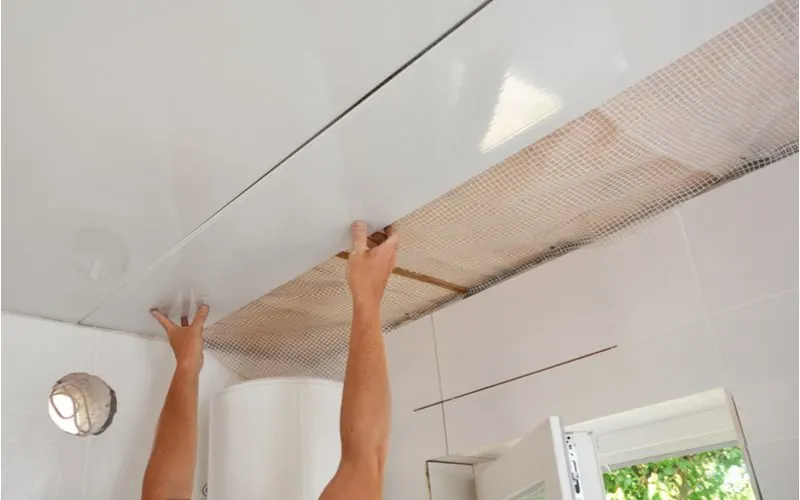
Does beadboard install over popcorn ceilings?
Yes! You can use beadboard to cover up those popcorn ceilings you may still have. While popcorn ceilings were the standard in many homes back in the 20th century, they’re some of the biggest eyesores in homes now.
They were a cost-effective and quick way to fix imperfections in the house and reduce noise. The issue is that now that they’re out of style, removing this texture paint can cause more headaches than not. Now, you can use beautiful beadboards to hide them without going through the hassle of removing popcorn ceilings.
The best part? Installing beadboard over popcorn ceilings doesn’t require any more effort than installing beadboard on flat surfaces.
Are there different widths of beadboard?
Technically, yes, there are different widths of beadboard. While there are some variations in widths, they’re not overly dramatic, like you may want.
Most individual planks only vary about three to four inches in thickness. The idea when using beadboard is to give a narrow plank appearance. That’s why you won’t find a considerable variation.
If you need something broader, you’ll want to go with something known as wainscoting and not beadboard. Beadboard and wainscoting aren’t the exact same, but many people use them for similar home projects.
Are shiplap and beadboard the same?
No. Shiplap and beadboard aren’t the same thing. They’re both wall treatments that use wood or similar products to add texture to walls, but they’re different.
Beadboard fits together with alternating patterns of thin planks and shallow valleys. It typically comes in white, but you can paint it to make it whatever you want. Shiplap usually covers the entirety of a wall with a smooth horizontal pattern.
There are no grooves in shiplap. It isn’t confined to a particular kind of wood and has a little bit more versatility than beadboard. Most people use shiplap when decorating rustic or farmhouse-style homes.
How much does a sheet of beadboard cost?
Truthfully, it depends. It can vary depending on the type of beadboard you choose and where you’re purchasing it from. Medium-density fiberboard (MDF) is more affordable than authentic wood, so the prices will vary.
If you’re purchasing MDF, it will cost anywhere from $0.50 to $0.75 per square foot. If you’re interested in authentic wood, the price will rise. You can expect the natural wood to cost at least double what MDF would.
In addition to the cost of the beadboard, you’ll need caps and baseboards. They help seal the job and make it look more professional.
These materials are typically sold in ten-foot sections. The cost of these items ranges from $0.30 to $2.50, depending on what you choose and where you get them from.
Can I hide beadboard seams?
You can hide beadboard seams. Some people prefer their beadboard ceilings to have more patterns, and others prefer a more uniform look.
If you do, hiding the beadboard seams is the way to go. The best way to hide the seams is to use wood putty. You’ll spread the wood putty into the grooves to hide the beadboard seams. As you apply it, you’ll feather the putt outward using a putty knife.
Using these tools will allow for a seamless finish. Something to keep in mind is that if you have a lighter-colored beadboard, you’ll see the outline of the planks, but the source will be smooth.
Should You Install Beadboard on the Bathroom Ceiling?
Whether you install beadboard on your bathroom ceiling is ultimately up to you. It’s pretty simple to install, and it can be one of the best ways to spruce up your bathroom on a budget.
Plus, it can hide any paint and ceiling damage from moisture. So, should you install beadboard?
If you’re looking for a great way to improve the look of your bathroom, yes.