
Wondering how to restore cabinets? You’re not alone. Plus, when’s the last time you’ve needed to pull out that knowledge?
Don’t worry, we’ll cover all you need to know in our complete guide to restaining cabinets below.
Why Restain Your Cabinets?
Are you done with the old and ready to update with the new? When the time comes for an update in your kitchen or bathroom, it’s no secret that restaining your old cabinets makes a big difference in the overall look and feel of the space.
But how do you properly restain cabinets? Below is a step-by-step guide on how to restain cabinets the right way that can fool anyone into thinking you hired a professional to complete the job. But first, here’s a great primer on restaining cabinets without sanding.
That’s right—no sanding is required! However, for the sake of being thorough, we’ve kept this step in our guide below.
While restaining cabinets can seem like a daunting task, using the right tools and techniques can ensure the job is done efficiently while making your cabinets look brand new.
In a nutshell, you’ll need to:
- Remove all cabinet accessories
- Sand down the old stain
- Apply wood conditioner
- Stain the wood
- Roll on a polyurethane finish
Let’s get started!
How to Restain Cabinets in 5 Steps
Step 1: Remove Cabinet Accessories

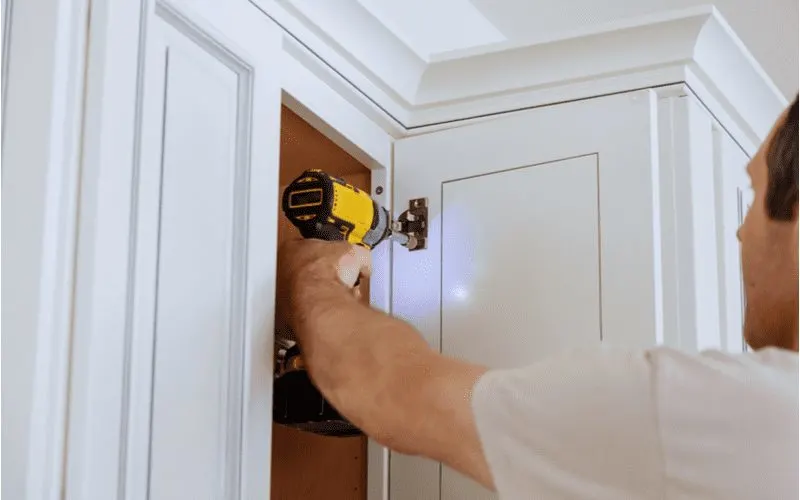
Ungvar/Shutterstock
The first step to restaining cabinets is to remove all cabinet accessories. This step includes taking out all drawers, removing handles and hinges, and any shelving inside the cabinets you want to match the outside surface.
If your drawers are not on a track, you can slide the drawer all the way out for easy removal. However, most new cabinet designs include a track for the drawers to allow easy sliding when opening and closing.
If your cabinet drawers are on a track, the two most common ways to remove the drawer are to take out the track or to derail the sliding wheels.
- Removing the track: Take a look at the hardware holding the track in place. If screws hold the track in place, locate the proper screwdriver and begin taking these screws out. Be careful to support the areas where screws were removed so the drawer does not fall.
- Repeat the process: Continue this process until you’ve removed all the screws. If there is a different method of holding these drawers into place, you may have to contact the company you purchased the cabinets from to determine how to remove the tracking properly.
- Derailing the wheels: Derailing the wheels of the drawer from the track is simple. Open the drawer as far as it will go. Then, grab the sides of the drawer and lift while simultaneously pulling the drawer towards you. This method should remove the rails from the track, causing the drawer to come right out.
Once all the drawers have been removed, inspect the cabinet handles and hinges. Locate the necessary screwdriver to remove the screws holding handles and hinges in place.
Begin removing these screws making sure to keep all screws with the appropriate handle or hinge, so you’re not searching for them when it comes time to reassemble.
An easy way to ensure all screws remain with the proper handle or hinge is to place the set in a plastic bag and set it aside for future use.
The final cabinet accessory to remove is the shelving. It’s common to stain the inside of the cabinets when restaining the outside to keep a uniform look.
Not all shelving is removable, so ensure you inspect the shelving before attempting to remove it. Most removable shelving is removed by simply lifting it off the bottom of the shelf and pulling it out of the cabinet.
Step 2: Sand Cabinets

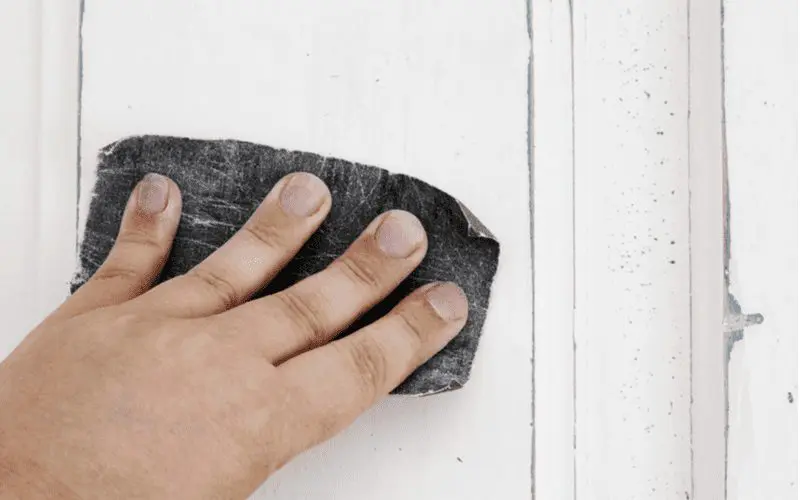
Nathings/Shutterstock
Once you’ve removed all the accessories from your cabinets, it’s time to break out the sandpaper. Sanding the cabinets ensures the new stain absorbs into the wood, giving you that smooth, mirror-like finish.
The best way to ensure a good sanding of the cabinets is to use a sanding block or electric sander.
While you can sand the cabinets using regular sandpaper, using a sanding block or electric sander to help get to those hard-to-reach areas gives a more even sanded surface, not to mention they are a lot easier on your arms and hands.
When sanding, make sure to sand in the direction of the wood grain. If you sand against the wood grain, it can leave scratches and cause the surface of the wood to be rough, ultimately defeating one of the reasons for sanding the wood in the first place.
Keep in mind that if you’re removing paint from your wood cabinets via sanding, it can release fumes into the air that may contain lead and other toxic chemicals. It may be in your best interest to wear a mask while sanding the wooden cabinets.
Step 3: Apply Wood Conditioner


Antoniodiaz/Shutterstock
A wood conditioner, also known as a pre-stain conditioner, is necessary to ensure an even stain coat. The conditioner provides a coating that soaks into the wood to help keep a more uniform look when the stain is applied.
If you do not use a wood conditioner, the first coat of stain can seep deep into the wood, resulting in an uneven look as some areas will have a more condensed stained area than others. Therefore, the wood conditioner is necessary to give your cabinets a professional, uniform look.
Use a brush or cloth to apply the wood conditioner to your freshly sanded cabinets. Let the conditioner remain in the cabinet for up to 15 minutes.
Then wipe away any excess product with a dry cloth. Use a paint thinner or mineral spirits to clean the products used to apply the wood conditioner or any wood conditioner spills. Begin staining the wood cabinets within 2 hours of applying the conditioner.
Step 4: Stain
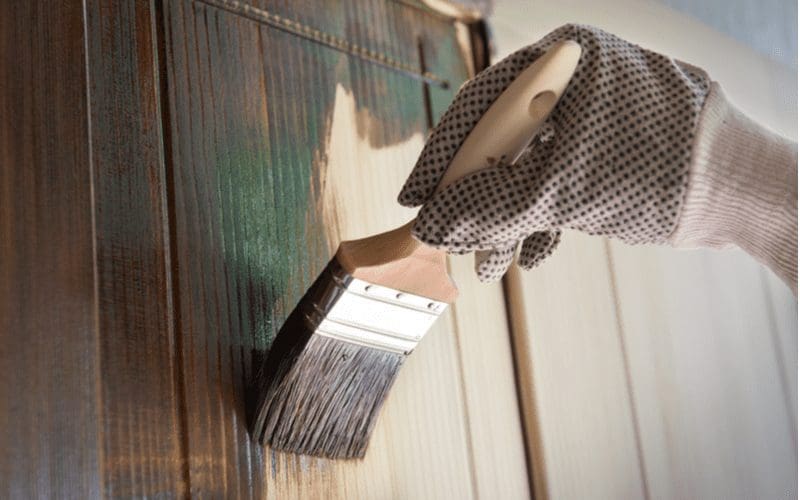
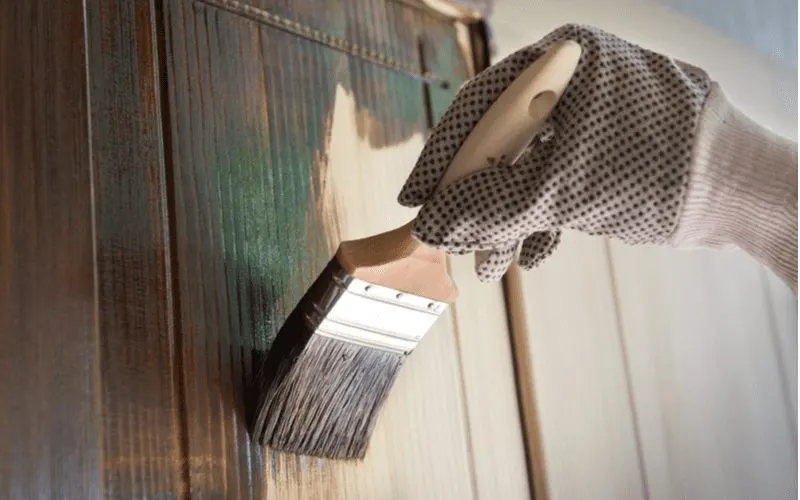
Fotokostic/Shutterstock
After the wood conditioner is applied, it’s time to begin staining. To start, you want to ensure that you have adequately stirred the stain that you’ll be using. Mixing the stain helps distribute contents that may have settled while the color was sitting idle in its canister.
If you don’t stir the stain well, you may experience uneven coating and differing levels of darkness. Using a rag or cloth, gently apply the stain to the wood by wiping it with the grain of the wood.
While it makes for a more even-looking coat, wiping with the grain isn’t necessary as long as you apply enough stain to cover the entire area.
However, you want to ensure you’re not overstaining with the first coat. It’s nearly impossible to remove the stain without having to start the process over. So it’s vital to stain in lighter coats while ensuring complete coverage of the area.
Apply as many coats of the stain as needed to get the darkness and color you desire. Ensure the previous coat of stain has dried before applying an additional coat.
Certain wood stains contain toxic chemicals that can cause various health consequences. If the stain you’re using does not clearly state that it’s non-toxic, it most likely contains toxic chemicals.
To limit exposure to these harmful chemicals, ensure you’re staining the cabinets outside where fresh air is circulating.
If you can’t remove the cabinets and take them outside, limit the time spent inside while the toxins are in the air. If swallowed, wood stains can be poisionous. Contact your local emergency service or poison control center if this occurs.
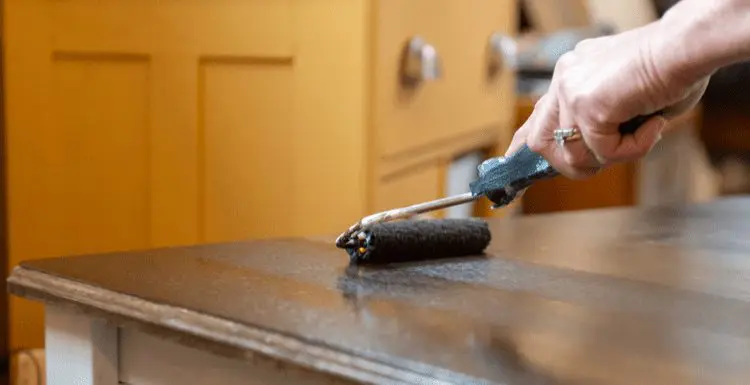
Step 5: Finish With Polyurethane

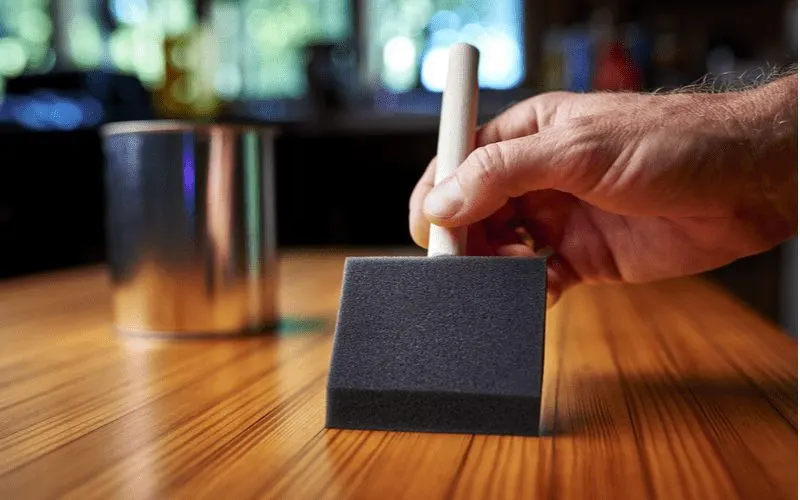
Brian Goodman/Shutterstock
Once the stain is the desired color, let it dry completely before finishing with polyurethane. Polyurethane is a plastic material used to provide a smooth and protective finish to your cabinets.
While the stain gives the wood cabinets the desired color and look, the polyurethane ensures that the look will last and remain protected from everyday wear and tear. To apply the polyurethane finish, use a high-quality brush and brush with the grain.
Start with a light coat and apply additional coats as needed. Be sure not to overbrush, as this can cause streaks in the finish. Drying times will depend on the brand of polyurethane used. The product packaging will provide this information.
Things to Consider
Restaining cabinets can be a time-consuming task. However, it’s vital to understand that to get quality-looking cabinets, time and attention are necessary. It’s also imperative to understand the do’s and don’ts when it comes to staining cabinets.
Things to do:
- Remove all cabinet accessories, such as drawers, hinges, handles, and shelving.
- Sand the cabinets using a sanding block or electric sander.
- Apply wood conditioner to ensure even staining.
- Stain the cabinets using a rag or cloth.
- Use a polyurethane finish to protect the finish.
Things Not to Do:
- Do not breathe in the dust produced from sanding painted cabinets.
- Do not wait longer than 2 hours to apply the stain after adding the wood conditioner.
- Do not apply thick coats of stain to the cabinet.
- Do not inhale the stain toxins for long periods.
- Do not apply the polyurethane finish before the stain has dried completely.
So, How Do You Restain Cabinets?
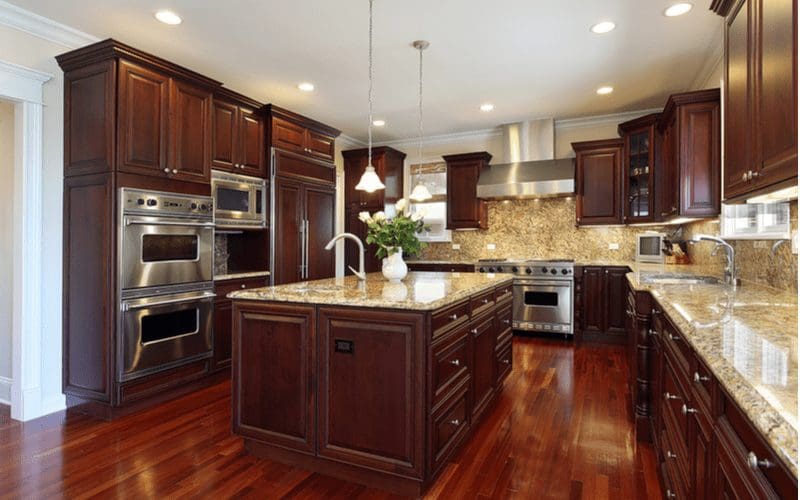

Pics721/Shutterstock
The best way to ensure you’re restaining your cabinets in a way that looks clean and professional is to start with the removal of all cabinet accessories.
Then, sand down the cabinets, apply a wood conditioner for a mirror-like finish, stain using light coats, and apply a polyurethane finish to protect the finish.
By following these steps, your restained cabinets will look brand new in no time.