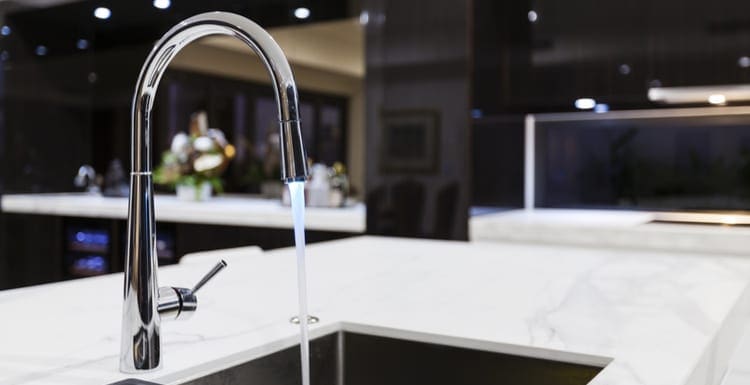
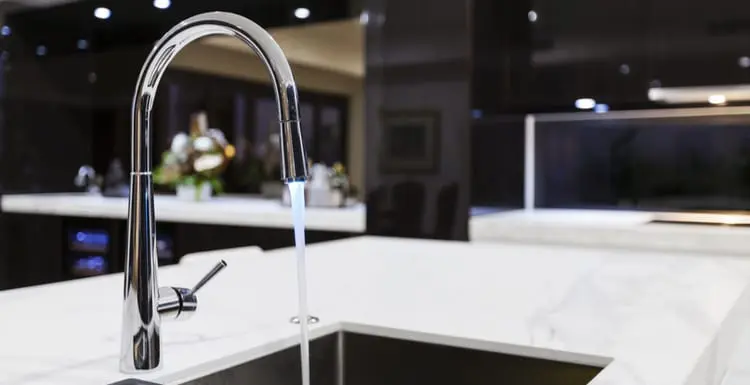
If you’re experiencing low water pressure in your kitchen sink, you might be able to fix it yourself with our guide.
A few possible problems often cause low pressure.


We partnered with Networx to help you find local plumbers in your area. Click to below to get a FREE quote.
How to Fix Low Water Pressure in Kitchen Sink
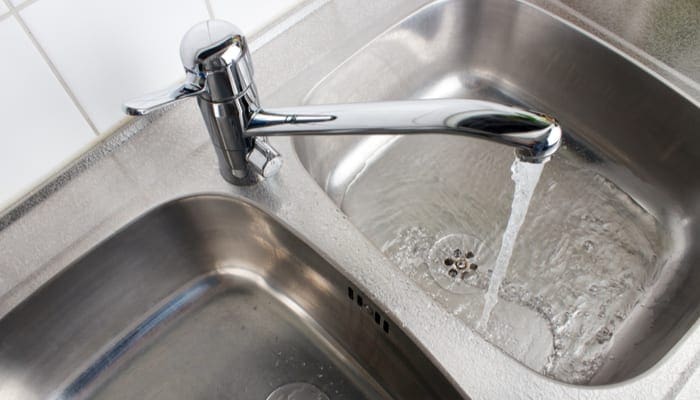
First, you should know that the sink is the basin that catches the water. The faucet is actually what likely has low water pressure, as that’s what the water flows through.
That’s a common mixup. Don’t worry — many people confuse the two. But that’s a technicality more than anything. Regardless of the term, there are some common (and easily fixed) problems for low pressure in kitchen sink faucets.
These include water valve position, kinked water supply hoses, blocked aerators, blocked cartridges, or clogged pipes. We’ll show you how to diagnose and fix the problem on your own.
And we’ll also outline on when it’s best to call a plumber. Keep reading to discover what’s causing low water pressure in your kitchen faucet, how to diagnose the problem without a plumber, and what steps to take to fix it.
Low Water Pressure in Kitchen Sink Faucet: Possible Causes
Water pressure in your kitchen faucet can be reduced due to several factors. Fortunately, it’s easy enough to determine which problem is the culprit behind your kitchen’s low water pressure.
Below are a few different reasons you may experience low water pressure in kitchen faucets.
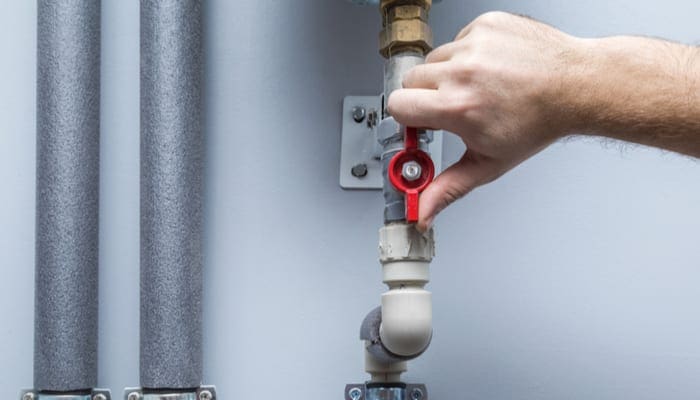
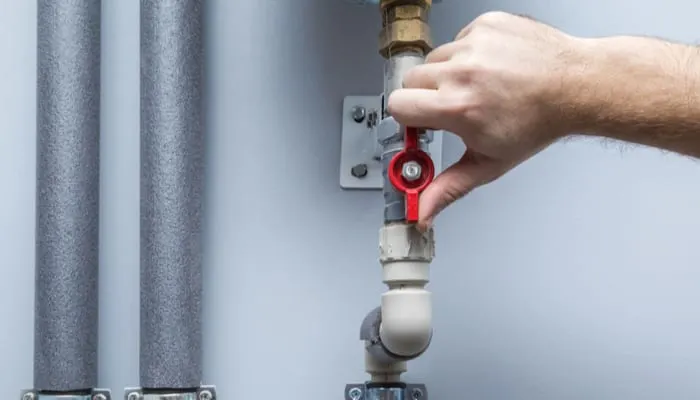
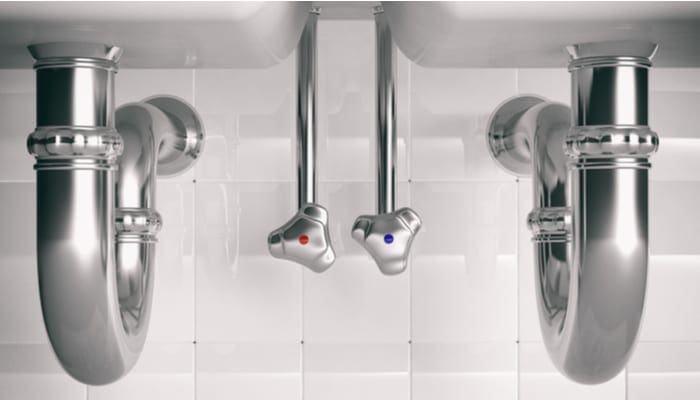
1. Water Valve
FotoDuets/Shutterstock
Sometimes, the problem can be something simple, like a partially shut water valve. It is easy to check to see if this is the cause of your reduced water pressure in the kitchen faucet.
Locate the water valves under the kitchen sink and make sure they are both fully open. One valve controls hot water, and the other controls cold water.
If one or both is partially shut, it explains the decreased water pressure in your kitchen faucet. Once you’ve opened them both, try the water again and see if the pressure has been restored.
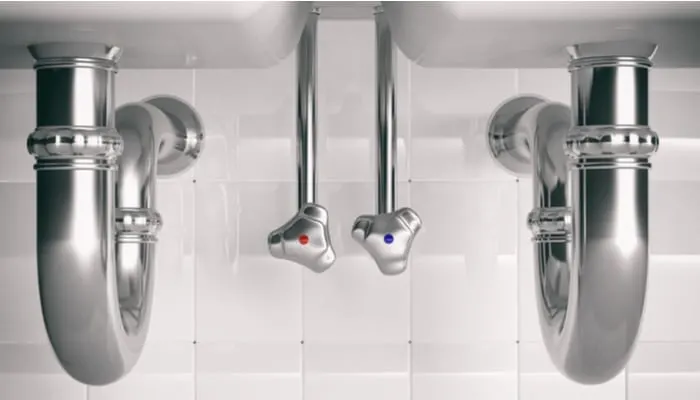
2. Water Supply Hoses
Rawf8/Shutterstock
If both the hot and cold water valves were open and didn’t seem to be the problem, the solution may still be under the sink. Locate the water supply hoses under your kitchen sink.
Are they kinked or being squeezed between objects under the sink? A kinked water supply hose would reduce the water pressure considerably.
But unkinking it should immediately restore the water pressure. Make sure the hoses are unkinked and away from objects, then try the faucet again.
3. Aerator

Grigvovan/Shutterstock
Another possible problem that can cause low water pressure in kitchen sink faucets is a clogged aerator. The faucet aerator helps regulate the stream of water to reduce splashing.
But over time, it’ll accumulate mineral buildup from calcium and limescale. This is especially true if you have hard water. It can also have a buildup of bacterial growth due to water trapped in the aerator over time.
Whether the cause is mineral or bacterial, any debris clogging your kitchen faucet aerator will reduce water pressure in that faucet only. You’ll need to remove the aerator and inspect it to see if this is the problem.
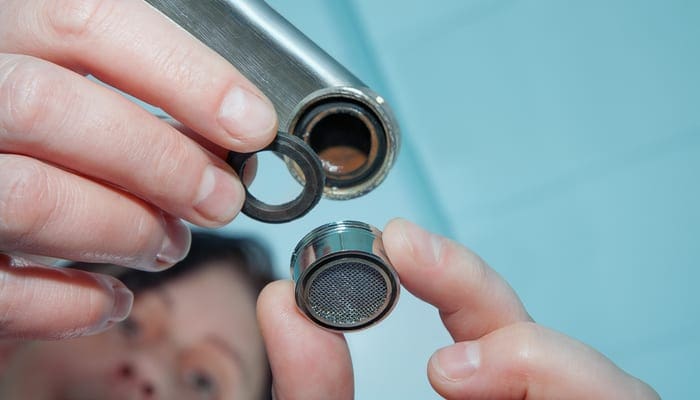
Removing and Cleaning the Aerator

Marcel Derweduwen/Shutterstock
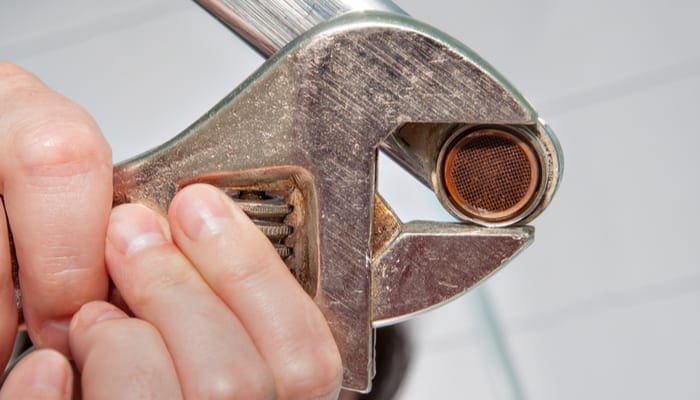
The aerator must be removed from the faucet for easier access. Try turning it to the left, but if it doesn’t turn, you may need to grab some pliers.
A washcloth wrapped around the aerator will prevent the finish from being damaged by your pliers. Once you’ve successfully removed the aerator, plug the sink to prevent losing any part of the aerator down the drain.
The outer part of the aerator will come apart from the inner section. You’ll be taking off the washer, flow restrictor, mixer, bushing, and sleeve.
Be Careful and Mindful


Marcel Derweduwen/Shutterstock
It’s helpful to lay each piece of the aerator on a paper towel in the same order you remove the parts so you can put it back together properly. Each part needs to be cleaned with vinegar to help remove the mineral buildup that may be on it.
If you can see the problem is bacterial instead (look for black, green, orange, or rusty-colored growth), use a bleach solution to clean the parts. We recommend one part bleach to ten parts water.
Once all the aerator’s components are cleaned and the debris is visibly removed, put it back together and install it on the faucet again. If this didn’t fix your low pressure problem, it could be a blocked cartridge a bit further down the plumbing.
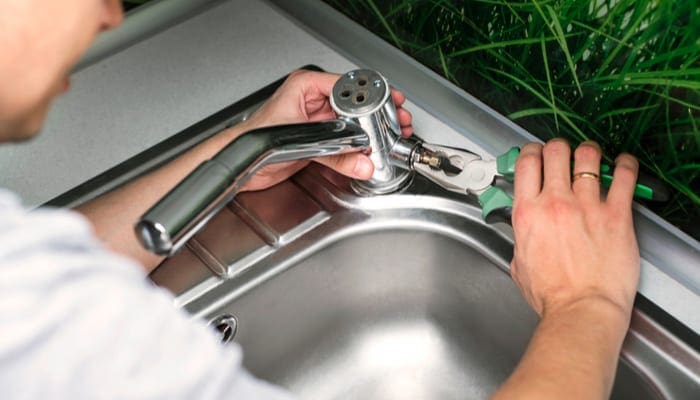
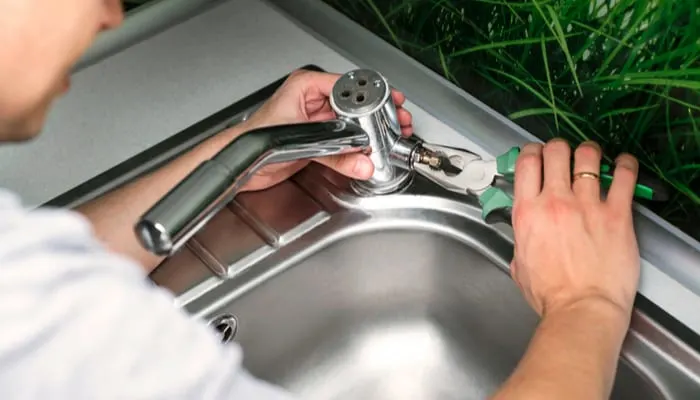
4. Blocked Cartridge

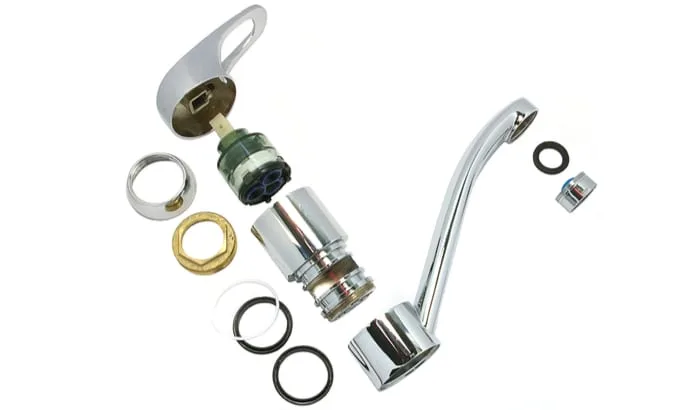
Michy/Shutterstock
Note: Not all faucets are cartridge faucets. If yours uses two separate knobs or levers for hot and cold water, you have a compression faucet and can skip this section. Before you begin checking for a blocked cartridge, read through the steps below.
It’s not a difficult job, but there are many parts involved, and you may end up taking the faucet assembly apart unnecessarily if the cartridge turns out not to be the source of low water pressure. If you’re in doubt, call a professional to do this job for you.
Check the Cartridge
To check for a possibly blocked cartridge, you need to shut off the water supply to the faucet. Once you’ve turned the knobs to shut the water off fully, let the faucet run for a bit to let the remaining water drain out.
Once no more water is coming out, stop the sink with a plug. As you work, lay each piece on a towel in the order you’ve removed it for easy reassembly. The faucet lever is held in place with a screw that may be covered by a small cap.
Remove the Cap
Pry the cap up (a screwdriver can be handy here) and unscrew the faucet handle, lifting it to remove it from the assembly. You’ll see a plastic retaining unit.
Grab a pair of pliers to remove it from the faucet assembly, lifting straight up to take it off. You might see a small, staple-shaped retaining clip once you’ve removed the retaining unit.
Pull the Cartridge
Alena TS/Shutterstock
You can easily pull this out with a pair of needle-nose pliers. With the retaining clip removed, you should be able to use your pliers to pull straight up on the cartridge (it will look like a smaller tube sticking up from the faucet assembly).
Look for mineral buildup on the cartridge. If you see calcium or limescale, soak the cartridge in a half water, half vinegar solution for a few minutes, then scrub it with a toothbrush.
Replace It With a New One
If you see that the cartridge looks scratched or worn, you can take it to a local hardware store to get the correct replacement. It’s a good idea to remove the O-ring at the bottom of the assembly and bring it along with you to get a new, correctly sized one to install.
Once you’re ready to put it back in place, slide the cartridge down into the opening on the faucet, making sure to keep the tabs on the side aligned with the notches on the faucet opening.
Reinstall the Parts
Reinstall the parts in the order you removed them, then turn the water supply valves back on to see if the cleaned or new cartridge fixed your problem. If it didn’t, the problem may be further back in your plumbing system – a clogged pipe.
5. Clogged or Leaky Pipe
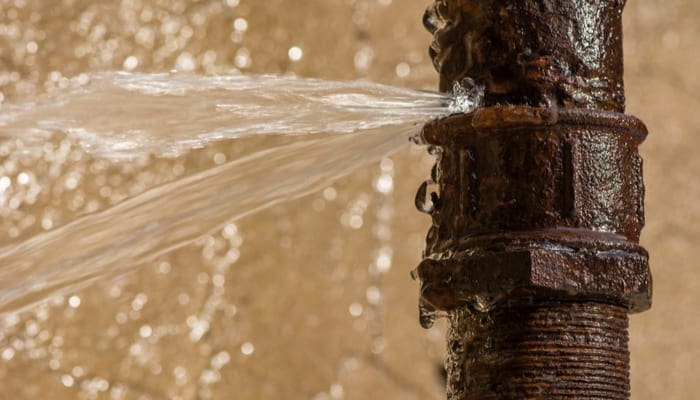

IanRedding/Shutterstock
If neither the aerator nor cartridge is responsible for your low water pressure in the kitchen sink faucet, you may be dealing with a clogged or leaky pipe.
The water pipe that leads to your kitchen faucet could have debris, mineral buildup, or sediment preventing the normal flow of water.
Call a Plumber
If there are leaks in the pipe, the water flow won’t be as strong because much of the water will be lost through the leak. A plumber can inspect and fix your clogged or leaky pipes.
Especially if you have an access point for your kitchen sink (most homes do). Be careful if you decide to inspect the pipes yourself.
Rusty pipes with the debris clogging them removed could result in new leaks, and snaking a plastic pipe could cause cracks or breaks in the pipe. This is better left to a professional.
We partnered with Networx to help you find local plumbers in your area. Click to below to get a FREE quote.
What Else Causes Low Water Pressure in Kitchen Sink Faucets?

Ari N/Shutterstock
If the above possible causes for low water pressure in your kitchen sink faucet don’t seem to be the problem, there are a few possible reasons you’ll experience this drop in water pressure.
When to Call a Pro


LightField Studios/Shutterstock
Still wondering about “low water pressure in kitchen sink faucet?” There are some easy fixes that can be safely and affordably done without a professional. First, take the following steps:
- Open all water valves
- Straighten kinked supply lines
- Check and clean the aerator
Each of these simple steps may fix you low kitchen water pressure problem. If not, calling a professional can save you time and money in the long run if you’re not sure what the problem might be.
We partnered with Networx to help you find local plumbers in your area. Click to below to get a FREE quote.
Still Have Low Water Pressure in Your Kitchen Sink Faucet?
If the problem is with your pipes, faucet cartridge, or newly added water outlets, it’s best to call a professional to avoid causing further damage or purchasing parts you may not need.
Additionally, if your entire home is experiencing reduced water pressure, the problem may be much bigger and require a plumber’s expertise to be properly fixed.
DIY plumbing repairs can save you money initially, but if you purchase the wrong parts, cause additional damage, or replace things that weren’t broken, you could spend more than you would if you called a plumber.
As with all home and appliance repair projects, don’t be afraid to take on a project that you feel confident in doing, but when in doubt, call a professional.
Resources: