
Wood is an attractive, cost-effective, and environmentally sustainable building material.
However, wood is susceptible to moisture damage. Read on to learn how to waterproof wood with different types of sealers.
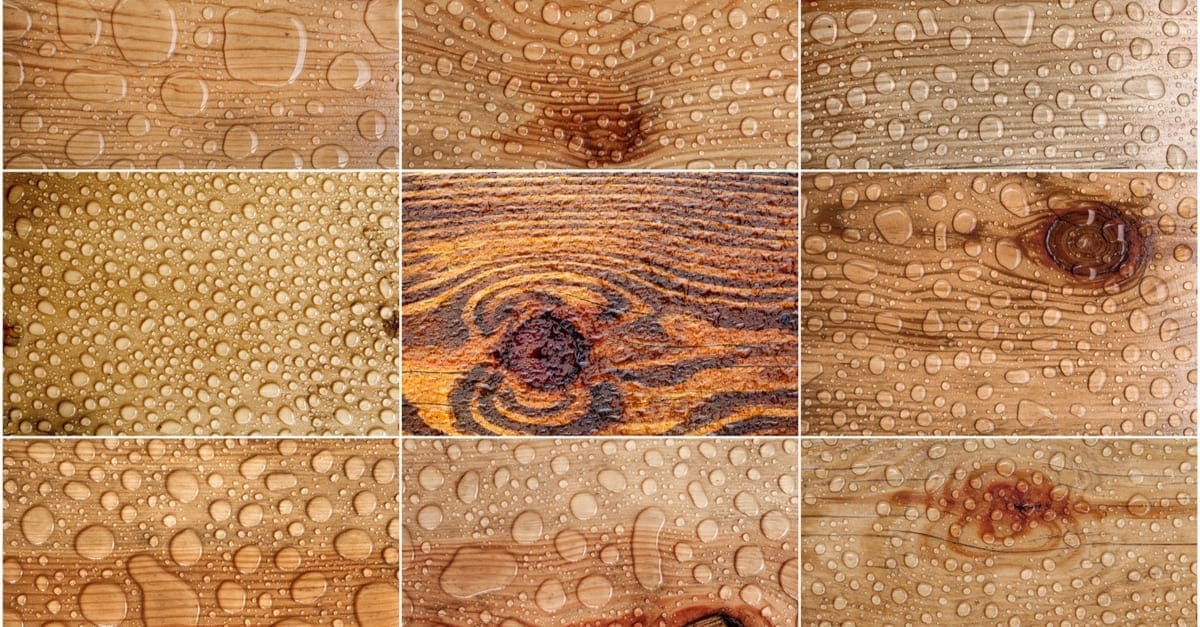
Why Bother Waterproofing Wood?
Water and dampness can cause wood warping, shrinking, mildew, and rot. Staining or sealing the wood helps prevent this from happening.
Waterproofing wood is an easy job that almost any do-it-yourselfer can handle.
You can waterproof almost anything made of wood. Decks, outdoor furniture, and wooden countertops are some popular waterproofing projects.
Three Waterproofing Materials
There are three different types of waterproof finishes you can add to wood. Each wood protector has advantages and disadvantages.
Tree and Nut Oil
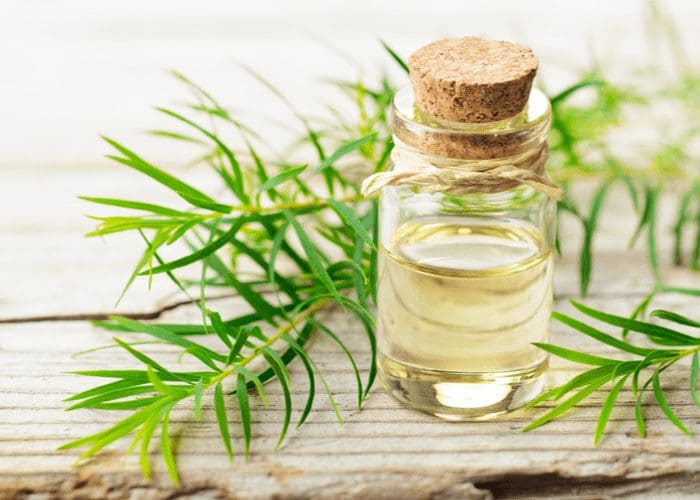
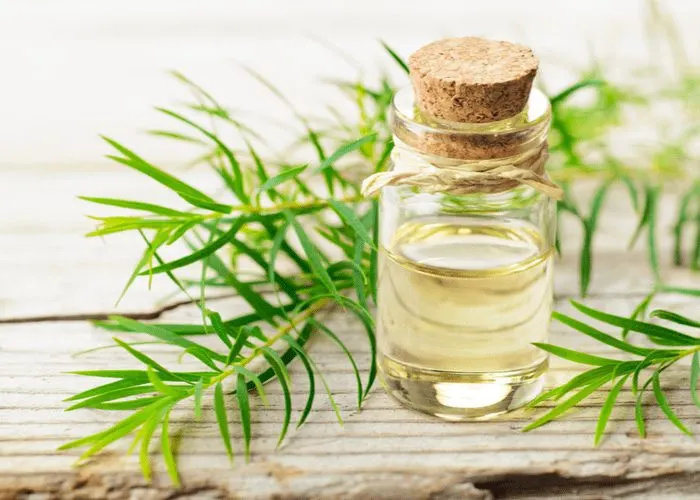
Amy LV/Shuterstock
Oil finishes can protect and enhance the appearance of all sorts of wood. Linseed oil, tung oil, and walnut oil are three oils often used for waterproofing.
Of these three, linseed oil is the most commonly used waterproofer. It is inexpensive, sold everywhere, and suitable for a wide variety of projects.
You can buy linseed oil in either boiled or raw form; either can protect the wood from moisture.
However, you should use natural linseed oil on countertops or anything that comes in contact with food, because the boiled variety is toxic.
Oils can be used in their pure form. But some DIYers purchase pre-blended oils. These are easier to apply and also will dry faster.
If you prefer, you can also blend waterproofing oil yourself. Use a mixture of one part oil, one part polyurethane, and one part mineral spirits.
Water or Oil-Based Stain
Stains come in many different varieties, including water and oil-based. They are also rated for use on exterior wood or interior wood. And they come in different colors as well.
Oil-based semi-transparent stains are a good choice for many projects. Choose interior or exterior based on the project’s intended use. Consider lighter stain colors to waterproof wood that will stay indoors.
Sealers (Polyurethane, Varnish)


Taurusphoto/Shutterstock
Sealers or sealants are often used on previously finished wood. It’s essential to remove all the previous finish before applying a wood sealer.
Sealers may be labeled for use on decks, fences, furniture, floors, or marine equipment such as boats. Three common types of waterproofing products are polyurethane, lacquer, and varnish.
- Polyurethane is best for light-colored woods. It is available in water-based form, simplifying cleanup.
- Lacquer is often used on furniture. Thin it with lacquer thinner and plan to apply several thin coats.
- Varnish also makes an excellent furniture finish. Clean up requires turpentine, however, so it’s a little messier.
Some sealants are supposed to be applied with sprayers rather than brushes. They may also vary by drying time. Check the label to find one that suits your needs.
It’s important to avoid shaking or vigorously stirring any type of sealer. This can make bubbles appear in the sealer, which will make it hard to apply smoothly.
The best choice between oil, sealer, or stain depends on the wood being waterproofed, the environment, and the intended use for the wood.
For instance, light-colored woods often look best with semi-transparent stains. Soft woods benefit from the extra protection of a sealer.
Waterproofing Safety
Before starting your waterproofing project, attend to your safety. At a minimum, you’ll want thick rubber gloves to protect you from potentially harmful chemicals in the finishes you’ll be using.
Also, consider using eye protection to ward off splashes. And if you’re using an electric powered sander to prepare the surface for waterproofing, protective glasses or goggles are always a good idea.
Having adequate ventilation can be a concern with some sealers and stains. These products may contain chemicals that give off toxic vapors.
Read the labels and, if necessary, work outside or in a well-ventilated place. If ventilation is poor, consider using fans.
Fire is another potential risk. When improperly disposed of, oily rags can catch on fire by themselves, spontaneously combusting without any open blaze or spark. Let oily rags try before disposing of them and store or re-use them.
How to Waterproof Wood
As with many painting-type projects, preparation is key. Preparation for any sort of waterproofing project is similar, no matter what type of waterproofing you are applying.
The process of applying waterproofing materials is different depending on the type of waterproofing material, however. Follow the below steps to waterproof wood.
1. Preparation
Start preparing the surface by removing any major imperfections. You can flatten out rough spots with a file, scraper, or rough sandpaper.
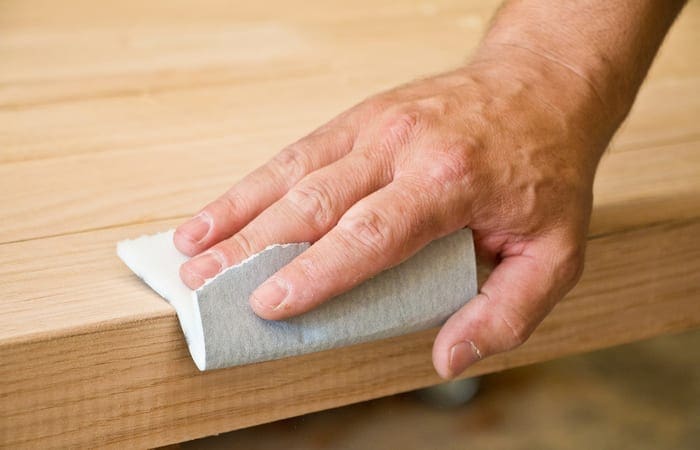
Marco Zamperini/Shutterstock
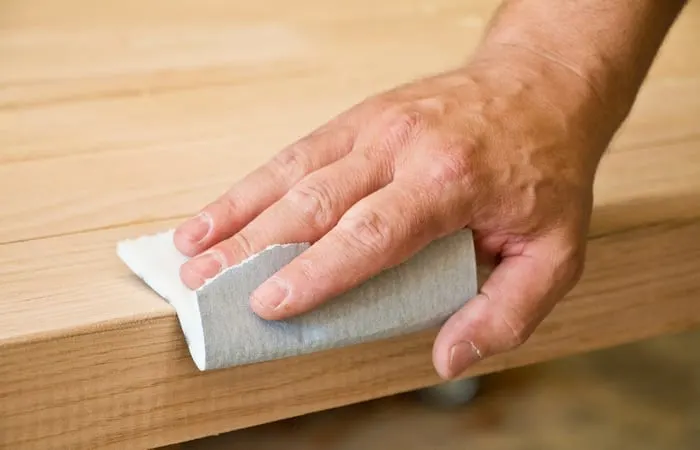
Once the surface is even, sand it with fine-grit sandpaper. A 220 grit sandpaper is likely to be a good choice. Always sand in the direction of the wood grain.
You can use a block of wood and strip of sandpaper or an electric palm sander for most projects. Belt sanders, while handy for wood floor refinishing, can damage other objects being waterproofed.
After sanding the surface smooth, wipe it down with a cloth to remove dust. You may also go over it with fine steel wool to give it a silky surface.
2. Application

Hikki/Shutterstock
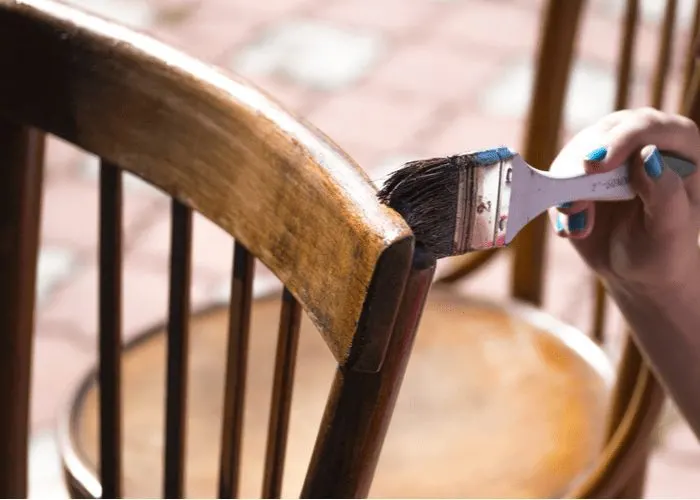
Preparing wood is similar to any type of waterproofing material. However, the application is different depending on whether you are using oil, stain, or sealer.
Oil Waterproofing. Apply oil waterproofing with a cloth rag or natural bristle paintbrush. After applying one layer, let it soak in. You may need to reapply to any dry spots.
After applying the first coat, let it dry. Read the label to find out how long to wait. It could be a couple of hours or the next day before it’s ready for another coat.
Before applying the second and subsequent coats, wipe the wood with fine sandpaper and a clean rag. Plan on two or three layers, although you may do more to get the look you want.
Stain Waterproofing. Prepare the surface as usual. Apply stain waterproofing with a paintbrush. Try to apply it evenly. After you have a coat on, cover the stain and let it dry for a few hours.
Wipe off any excess and sand lightly with fine sandpaper. Wipe again with a cloth to remove dust. Apply the second coat and let it dry. It may take longer to dry than the first coat.
When the wood feels dry to the touch, prepare for the third coat. Use the same process with this final coat. Be careful not to put too much on, though.
Dry, wipe, sand, and wipe again. Then brush it on evenly. It may take several days for the wood to completely dry and be ready for use.
Sealer Waterproofing. Prepare the wood surface as usual – scrape or rough sand, then fine sand and wipe down. If the surface has been previously finished, be sure to remove all the old finish.
Read the label on the sealer to see whether it should be applied with a brush or sprayer. Try to apply when temperatures are approximately room-level to avoid over-fast drying.
Spray or brush on evenly. When you have the first coat on, wait several hours to let it dry. Then sand lightly with fine paper or fine steel wool and wipe down the surface with a cloth.
You may apply up to three coats with some woods such as pine and cedar. Harder woods such as oak and mahogany may need only one coat.
Allow several days for the waterproofing to completely dry before using. You may need to re-apply after a few years.
Waterproofing Wrap-up
Waterproofing is a great way to boost wood’s beauty and durability.
It’s a popular DIY project many homeowners complete without any previous experience.
And it will improve the life and appearance of decks, fences, furniture, and other wooden objects and fixtures.