

Wondering how to soundproof a door? If so, you’re likely annoyed.
But don’t worry—we’ve got you covered. We’ll show you the steps to take so you can get back to enjoying peace and quiet in your home.
How to Soundproof a Door in 6 Easy Steps
Whether you’re building an at-home recording studio, need to reduce the sound coming into your home office, or are simply searching for a peaceful night’s rest, soundproofing your doors can make a big difference to the noise levels in your home.
Fortunately, it can be done in six easy steps:
- Gather your materials
- Install weather stripping
- Replace the threshold
- Install a door sweep
- Reinforce or replace the door
- Apply acoustic caulk
Doorways, in particular, are an easy way for sound to travel throughout the house.
When tackling a soundproofing project, they’re the first place to start. After all, to achieve the quiet you’re aiming for, you need to employ a variety of strategies.
Step 1: Gather Your Materials


ifong/Shutterstock
For any soundproofing project, you’ll need a few simple tools.
These include:
- Awl
- Hammer
- Nails
- Screwdriver
- Tin-snips
- Metal-cutting blade
- Caulk and caulk gun
- Pry bar
- Measuring tape
Many of these tools you might already have on hand. If not, a quick trip to your local hardware store will ensure you have them available for future projects.
Once you gather your materials, you can get to work soundproofing your door.
Step 2: Install Weather Stripping


Audrius Merfeldas/Shutterstock
An effective way to soundproof a door is to apply an additional seal to spaces where sound can permeate.
Weather stripping is an effective soundproofing tool because it creates a seal around the door that prevents noise from entering.
It comes in various forms, including rubber, foam, silicone, and metal, each with its own level of durability and reliability.
Metal weather stripping is the preferred choice of most soundproofers. It not only lasts longer than other options but also keeps out water and bugs.
To install metal weather stripping:
- First, remove any old weather stripping. This means removing the old nails or prying the old adhesive loose.
- Then, measure the perimeters of the doors you want to soundproof. Add an extra 10% to accommodate for waste or mistakes.
- Unroll the weather stripping and mark off your measurements before cutting to the appropriate length with tin snips.
- Once you make the correct cuts, apply it tightly along the doorjamb on the side of the door with the hinges.
- Nail the weather stripping to the doorjamb at the top and bottom of the strip. (If yours doesn’t come with pre-punched holes, you can use an awl and a hammer to punch your own.) Ensure the nails remain flush with the metal so you don’t damage the door.
- Repeat until you’ve installed it around the entire door.
Note that the weather stripping should be thick enough to press tightly between the closed door and the doorjamb without prohibiting the door from closing.
Step 3: Replace the Threshold
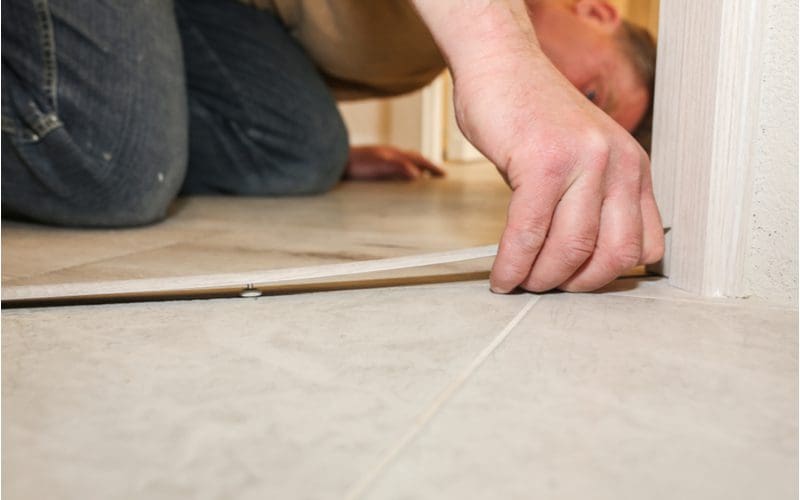
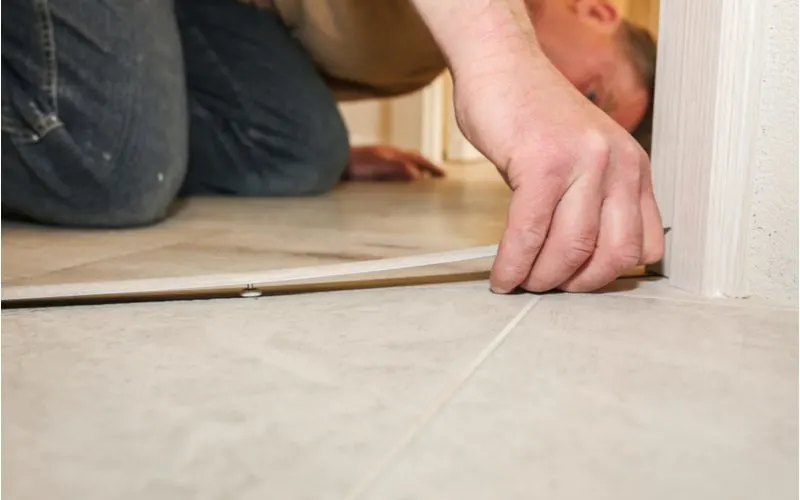
Only_NewPhoto/Shutterstock
Your door’s threshold is the transition edge that rests between the floor and the bottom of the door. When new, this piece succeeds in keeping out bugs and weather while also keeping out sound.
It’s also in a highly trafficked area. And with time, it can wear down, allowing sound to enter.
To replace the threshold of an interior door:
- Remove the old threshold by pulling up the existing nails and chiseling or prying the threshold up.
- Use your measuring tape to measure the doorway for the new threshold.
- Fit the new threshold into the allotted space using your previous measurements. Make sure the piece you’re working with is an inch or two longer than the width of the door frame, so you can cut it to the door’s exact specifications.
- Attach and secure the new threshold by sliding it underneath the doortops and doorjambs.
- Tap the new threshold into place with a hammer or rubber mallet.
This soundproofing method takes between 2 and 3 hours, depending on the number of doors you need to upgrade and your chosen threshold material.
Step 4: Install a Door Sweep

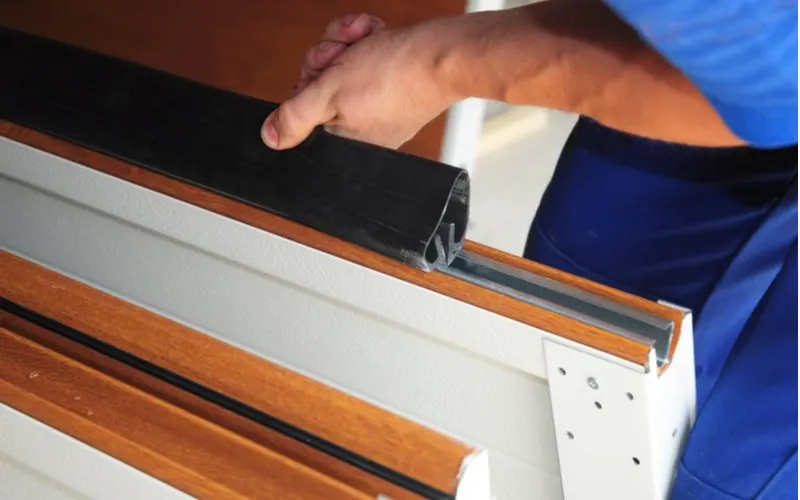
Radovan1/Shutterstock
Adding a door sweep to the bottom of your door is another inexpensive soundproofing solution—perhaps one of the best.
Typically made of a thin strip of metal or rubber, a door sweep provides a barrier between the crack at the bottom of the door and the floor.
There are a variety of designs and installation methods, including slide-on, snap-in, and staple-on. Research what door sweep style works best for your style of doors and how much work you’re looking to put into the project.
One of my favorite types of door sweeps is a draft blocker. These not only soundproof the door but also prevent cold drafts from entering your home in the winter.
Step 5: Reinforcing or Replacing the Existing Door

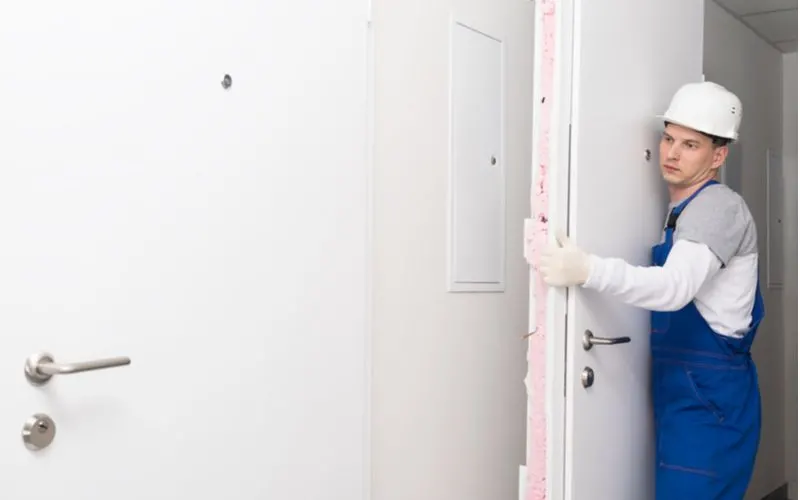
Aleksey Kurguzov/Shutterstock
Most interior doors in residential spaces are hollow. They’re a favorite among builders due to their low cost and simple design. Hollow-core doors are made from a thin layer of wood or fiberboard glued onto a plastic or cardboard interior.
True to their name, these doors are largely hollow. This allows sound to easily pass through them, making them a less than ideal option for a quiet home.
Soundproofing hollow-core doors can be done by adding a half-inch-thick piece of medium-density fiberboard of the same size and shape to the outside of the door.
Use an adhesive, such as soundproof glue, to attach the panel to the door for extra sound dampening. Another option is to attach a loaded vinyl mat or acoustic foam to the hollow core of the door.
Doing so requires taking the door off its hinges, removing the outer shell of the door, and adhering the soundproofing material to the inside. You can also use spray foam if you don’t want to take the entire door apart.
These solutions, while workable, won’t make your room as quiet as a tomb. If you’re looking for pure silence, replacing the door altogether with a sturdier option might be necessary.
Exterior doors are typically made of solid wood and are better equipped to absorb and block out sound.
Step 6: Caulk the Cracks

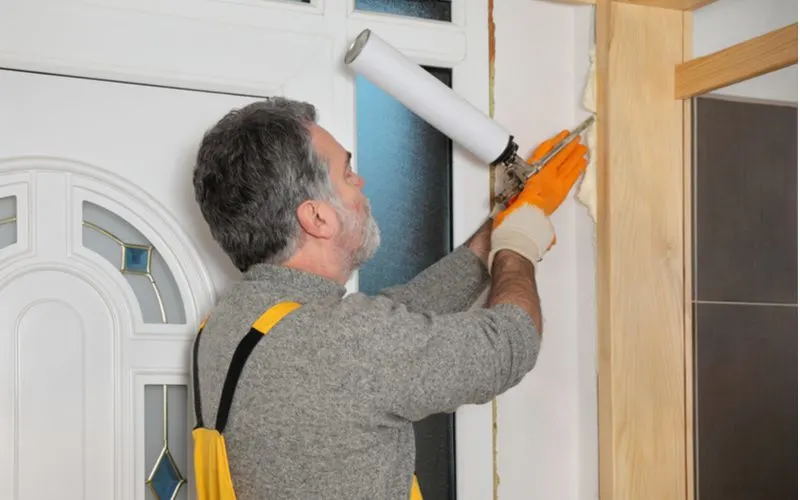
Sima/Shutterstock
If the methods mentioned above don’t work for your expertise or budget, consider alternate soundproofing methods, such as using acoustic caulk to seal cracks.
This relatively inexpensive option requires little experience and lets you seal visible cracks in the door, casing, or trim.
Acoustic caulk is a latex-based rubber material. It has noise-blocking properties that stop sound vibrations from trickling through cracks.
It won’t dry or crack like regular caulk, nor will it shrink with time and allow sound to pass through unobstructed.
To use acoustic caulk, simply:
- Clean the door and the surrounding walls. This removes dust and debris, allowing the acoustic caulk to stick better.
- Cut a small opening in the tip of the caulk gun.
- Place the end of the caulk gun above the crack you want to fill, and pull the caulk gun’s trigger. A gentle touch is needed here so the gun dispenses an appropriate amount of caulk.
- Fill the crack or hole with a small amount of caulk and smooth it out with your finger.
- Let it dry for 24-48 hours.
Applying acoustic caulk to your doors takes about 30 minutes.
Things to Consider
- Simply performing one of the steps above might not be enough to soundproof your door completely. For true silence, it’ll likely be necessary to complete multiple soundproofing projects on a single door.
- Depending on the number of methods you implement, soundproofing a door requires an upfront cost of between $100 and $2,000 per door. You might also have to buy new tools.
- Most interior doors are hollow, meaning sound passes through them easily. You need to reinforce the door with soundproofing materials from the inside out, or replace the door entirely with an exterior model made of hardwood.
- If all of this sounds like too much of a hassle, various soundproof kits are available for purchase at your local hardware store. They come with the materials you need to quickly soundproof your door at an affordable price.
Final Thoughts


WAYHOME Studio/Shutterstock
Soundproofing a door requires implementing several different strategies. You need to address the door’s material, install weather stripping around its perimeter to seal it, replace the threshold, and add a rubber door sweep.
Additional materials, such as mass-loaded vinyl or soundproof blankets, can be hung on or around the door to further prevent sound from passing through.
If you take some of these simple steps, you’ll have a soundproofed door in no time and can get back to enjoying the peace and quiet.