Can you pour concrete over asphalt? Yes, you can pour concrete over asphalt. An asphalt driveway offers a solid base for the concrete.
However, the asphalt needs preparation to ensure proper bonding and decrease the risk of concrete cracking.
Topping an asphalt driveway with concrete is called “whitetopping.” It’s a common and cost-effective way to resurface worn asphalt surfaces.
Compared to resurfacing with a new asphalt layer, whitetopping can save up to 50% in costs.
Yet, it may require a little more work, as you need to ensure that the asphalt can support a concrete slab.
How to Pour Concrete Over Asphalt
Use the following steps to pour concrete over asphalt:
- Survey the condition of the asphalt
- Drill holes to increase drainage
- Prepare the asphalt for proper bonding
- Build and brace a frame for the concrete
- Level the surface that you want to pave
- Pour and level the concrete
You can complete these steps yourself or hire a professional. Hiring a professional ensures that the job’s done right, but it also costs more.
Keep in mind that if you make a mistake when completing it yourself, you may still end up paying more in the long run.
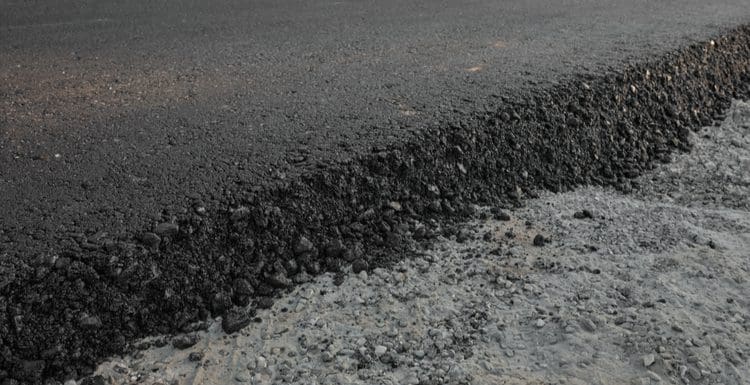
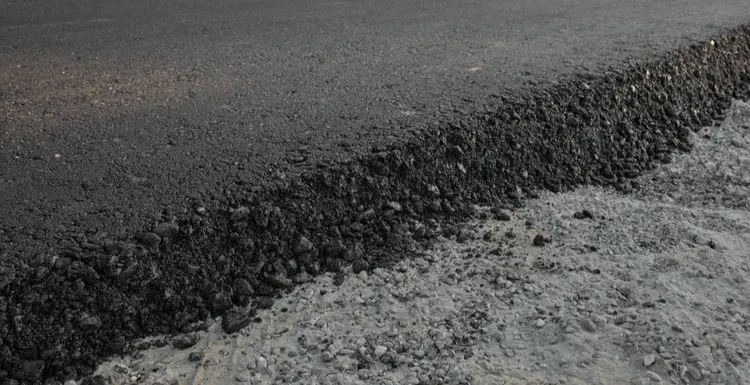
1. Survey the Condition of the Asphalt


Holiday. Photo. Top./Shutterstock
The condition of the asphalt determines whether you can pour concrete over it. Look for signs of any of the following issues:
- Large cracks
- Missing chunks of asphalt
- Buckling
- Thin asphalt
If the cracks are deeper than two inches and the asphalt has buckling or missing chunks, you’re better off removing the asphalt. The damage creates an unstable base, which decreases the life of the concrete surface.
Buckling is a sign that the asphalt sits on a subsurface that wasn’t correctly prepared. Cracks and missing hunks indicate that the ground is shifting.
If you pour concrete on top of asphalt under these conditions, the same conditions will eventually impact the concrete.
The asphalt also needs to be thick enough to support the concrete. Ideally, the asphalt should measure at least five inches thick. It should also sit on top of at least eight inches of gravel.
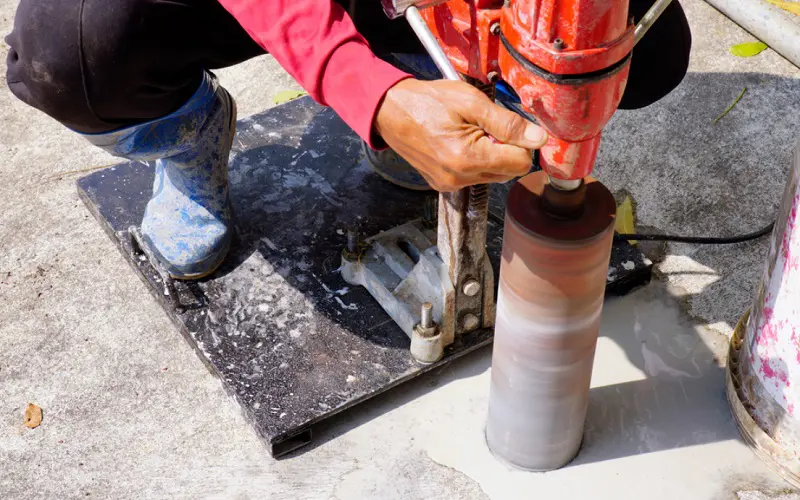
Drill into the asphalt to check the depth of the asphalt and gravel bed. If you drill and discover that the asphalt or gravel layer is too thin, you’ll likely need to remove the asphalt.
2. Drill Holes to Increase Drainage

KPhrom/Shutterstock
Drill holes in the asphalt to add drainage. A concrete surface needs drainage to prevent settling, cracking, and deterioration.
Concrete is typically poured over a gravel bed. The gravel provides the necessary drainage to protect the concrete. However, asphalt isn’t porous. It doesn’t offer the drainage needed for a concrete driveway, patio, or walkway.
Use masonry drill bits that measure at least 12 inches long. Drill holes across the surface in a grid pattern.
Space the holes about a foot apart. You may add an extra row of holes on the lowest sides of the asphalt as more rainwater drains toward the lower ends.
You can also add keyways to improve drainage and bonding. Keyways are small channels scored into the asphalt using a circular saw or an angle grinder. The channels help distribute water and hold the concrete.
3. Prepare the Asphalt for Proper Bonding
Concrete cannot bond to asphalt easily, requiring you to modify the surface. You can use a milling machine to mill the asphalt or mount rebar to the asphalt.
An asphalt milling machine can remove the top inch or two of asphalt. Milling leaves a rough, level surface for the concrete. You can hire someone to come mill the asphalt or rent a milling machine from a hardware store.
Another option for preparing the asphalt is to mount reinforcing bars (rebar). Drill holes into the asphalt large enough to insert rebar. Add rebar every 18 inches in a grid pattern, as with the grid pattern used to drill drainage holes.
The rebar should stand vertically and extend several inches above the asphalt and at least two inches below the asphalt. Add #4 rebar horizontally to connect the vertical rebar using rebar ties.
If you don’t add rebar to the asphalt, you’ll still need to build a framework out of the rebar before pouring the concrete. Securing the rebar to the asphalt increases its ability to keep the concrete fixed in place.
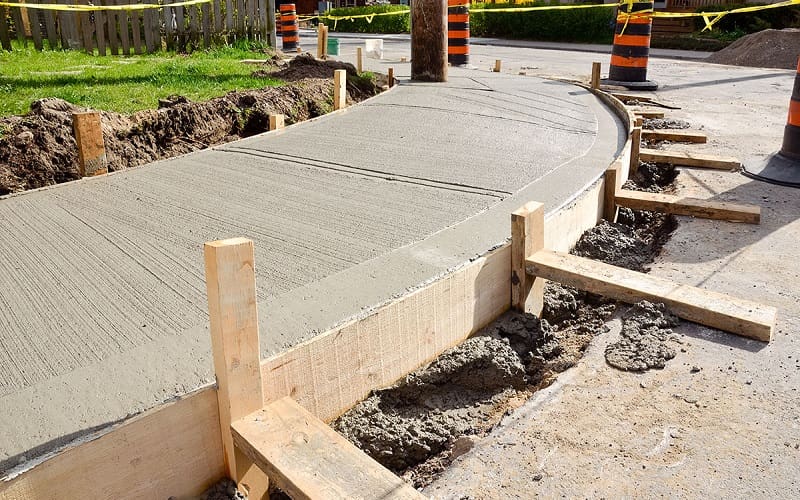
4. Build and Brace a Frame for the Concrete

Alison Hancock/Shutterstock
Concrete needs a frame to contain the concrete mixture. The sides of the frame are called concrete forms. Each form is built using two-inch-thick boards cut to length.
Start by adding square posts at each corner of the area that you want to pave. The posts should be at least a foot into the ground.
Cut a board to length and nail it to one of the corner stakes. Before securing the other end to a second corner stake, use a level to ensure that the board is completely straight.
Brace the outer length of the board with 2×4 stakes every 2 feet. Repeat this process for the remaining three sides.
5. Level the Surface That You Want to Pave
If your asphalt is in good condition, it should be level and ready for pouring concrete. However, adding several inches of granular fill helps the concrete form and provides increased stability after the concrete hardens.
Spread granular fill across the surface. Allow the fill to slope down along the edges, which allows the concrete to thicken around the sides.
At this point, you’d normally tie reinforcing bars (rebar) to the stakes to strengthen the concrete slab. If you decide to secure a rebar grid to asphalt as discussed in Step 3, you can skip this part.
Insert 0.5-inch-thick rebar vertically around the inner perimeter of the frame. Tie two bands of 0.5-inch-thick rebar around the perimeter.
Add a rebar grid on top of the surface, with the rebar spaced two feet apart across the length and width.
6. Pour and Level the Concrete
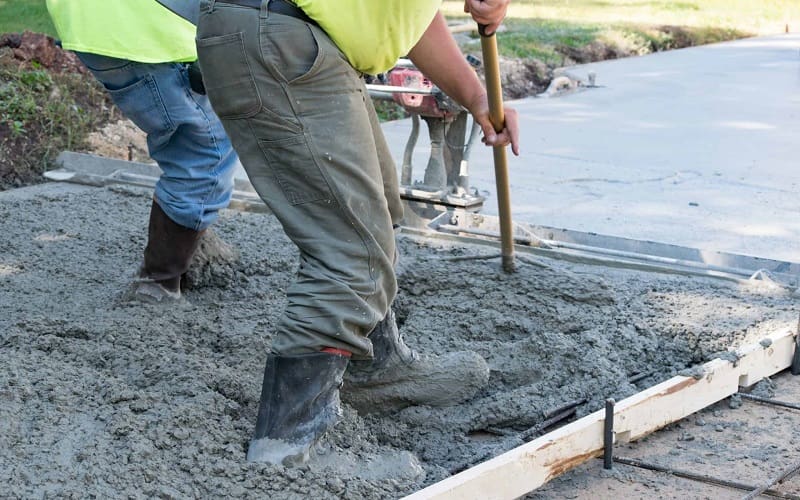

Stacy Ellen/Shutterstock
Avoid pouring concrete when rain is in the forecast. Wait for clear conditions. If possible, allow the concrete truck to back up directly to the concrete frame.
After the truck pours the concrete, start dragging a straight 2×4 across the top. The 2×4 helps level the concrete. Continue making passes with the 2×4 until the concrete is evenly filled across the surface and level.
Use a bull float to smooth the top of the concrete. Only perform three or four passes with the bull float. As you drag the float across the top, you may notice that water emerges from the concrete and sits on the surface.
Wait for the water to dissipate before continuing to smooth the surface with the bull float.
Round the edges of the concrete using an edging tool. You should also cut control joints to reduce the risk of cracks. A control joint is a seam cut across the width or length of the concrete using a groover.
Wait for the concrete to harden enough to support your weight.
Use foam insulation as kneeling boards and smooth the surface with a steel trowel. Allow the concrete to completely harden before you remove the frame and braces.
So, Can You Pour Concrete Over Asphalt?
Before pouring concrete over asphalt, inspect the asphalt for damage.
If the asphalt is severely damaged, cracked, buckling, or too thin, you may need to remove it before paving. If the asphalt is in relatively good condition, you can either mill it or drill holes to increase bonding with the concrete.
For the best results, consider hiring a professional.