
Painting cinder block walls isn’t hard when you’re armed with the right tools.
They’re a common feature in basements and garages, but they often look overly industrial or unfinished.
You can change that with six easy steps.
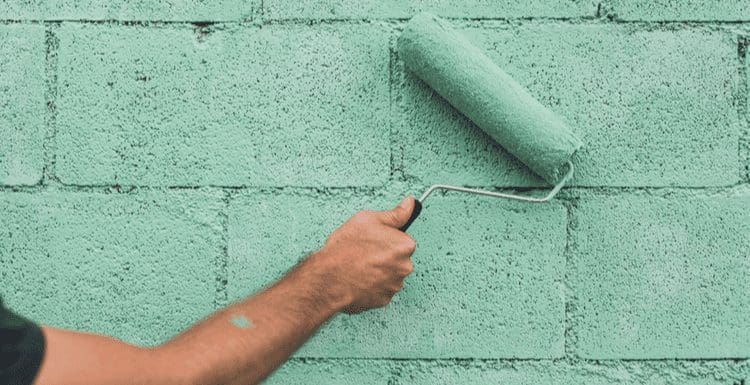
How to Paint Cinder Block in 6 Steps
Salivanchuk Semen/Shutterstock
Painting cinder block surfaces might be tedious, but it doesn’t have to be a challenge.
Adhering to the following six steps will help ensure a smooth painting process and the results you want to see.
Let’s dive deeper into the six steps that will result in a smooth, lasting paint job.
Step 1: Gather Your Supplies

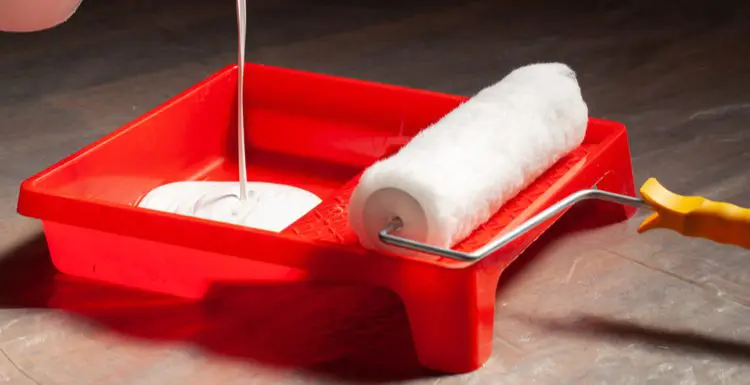
Omphoto/Shutterstock
As with any home improvement project you plan to undertake, you need the right supplies to paint a cinder block wall successfully. The tools and materials that will make your life easier include:
- Power washer
- Wire brush
- Acrylic caulk
- Putty knife
- Painter’s tape
- Drop cloth
- Paintbrush
- Concrete sealer or primer
- Exterior latex masonry paint or acrylic house paint
You might not use all of these supplies, and that’s alright. We’d rather that you have more materials than less. For me, there’s nothing more frustrating than running to the store mid-project.
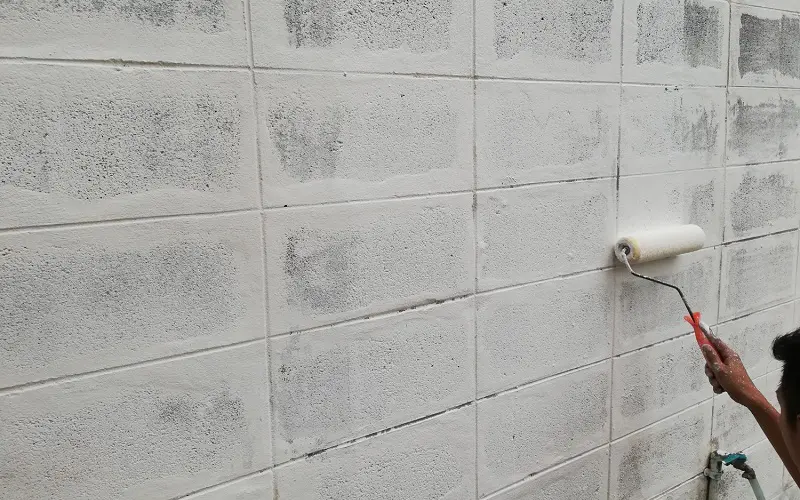
Step 2: Clean the Wall

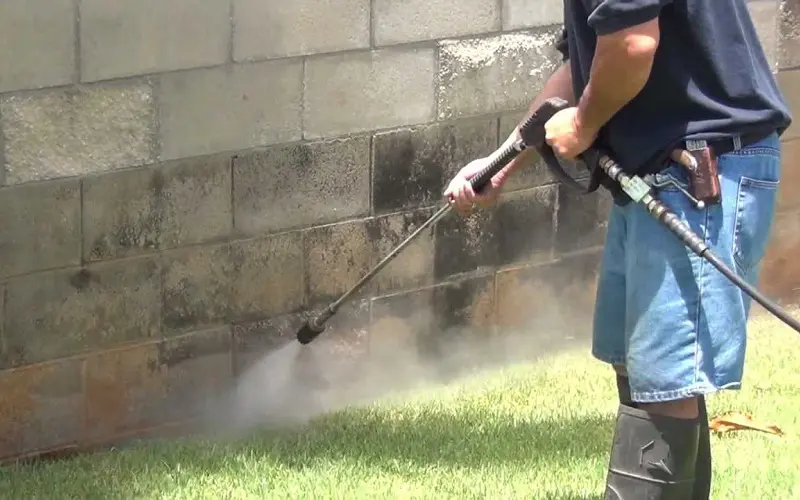
Image/Twitter.com
Once you’ve collected the necessary materials, it’s time to prepare your work surface. You’ll need to remove any remaining paint from a previous coat. After that, you’ll need to clean the surface thoroughly.
A power washer is the fastest method to both remove old paint and clean the wall. If any sections of the wall give you trouble, scrub them with the wire brush.
If you can’t use a power washer, begin by cleaning the wall with a dry rag. Doing so will help remove loose dust and dirt. From there, fill a bucket with soapy water. Use a scrub brush on the area you intend to paint.
Waiting for the wall to dry completely is vital, so take a break between this step and the next. You may want to dedicate a day to this step and leave the area to dry overnight. If you’re working in an enclosed room, a dehumidifier can help speed up the process.
Step 3: Fill the Cracks
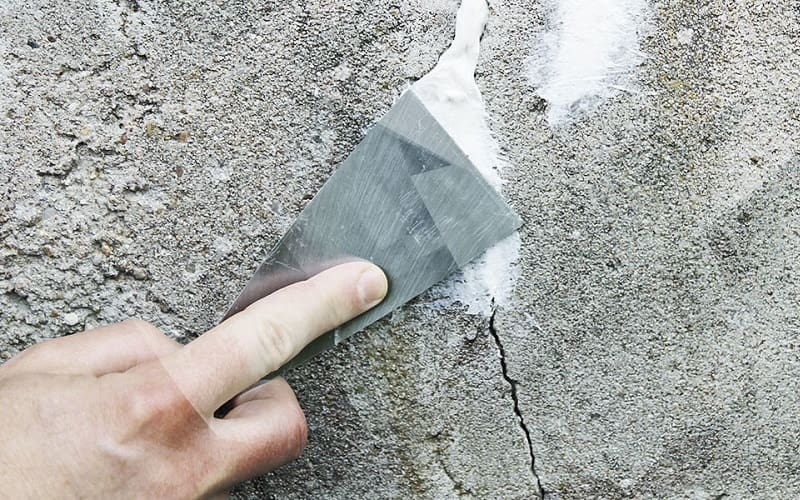

Image/semin-plaster.com
When your wall is dry, inspect it for cracks. If you don’t see any, that’s excellent news. You can skip to the next step. If you do see cracks, keep reading. Here’s where the putty knife and acrylic caulk come into play.
Fill in any sizable cracks with the caulk, then use the putty knife to smooth it flush with the wall. Let the caulk dry.
If, after it dries, the caulk has shrunk or pulled away from the edges of the crack, apply more caulk and smooth it down. Once again, wait for it to dry.
A brief note: While some cracks are cosmetic, others are structural. If you’re concerned about the wall’s stability, mainly if it’s part of a building’s foundation, it’s best to contact a professional. They will perform an inspection and can tell you more.
Step 4: Seal or Prime

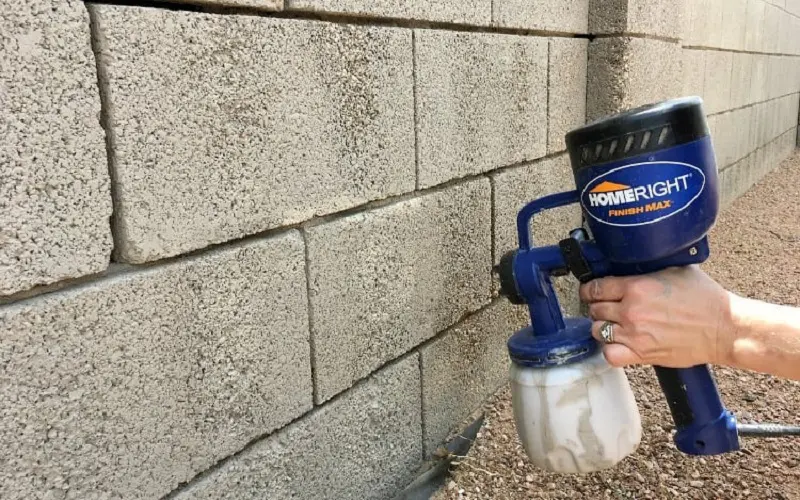
Image/Pinterest.com
When you’re sure the wall itself and any caulk you’ve applied are dry, it’s time to seal or prime the cinder blocks. Doing so is essential, so don’t skip this step. Concrete is porous, meaning it can hold moisture.
If you leave the cinder blocks you’re painting unsealed, that moisture can damage the coat of paint you’re going to apply. Before you get started, consider whether you’re in an area where you’d like to avoid paint drips and streaks.
If so, tape off the edges of the site you’re painting. Then, spread a drop cloth on the ground. With that done, apply a thin coat of either concrete primer or concrete sealer to the wall. Use a primer or sealer explicitly intended for concrete.
Using a broad paintbrush can help you apply a smooth coat of primer. The amount of time the sealer or primer takes to dry depends on the brand you selected and how thick a coat you applied. Always follow the directions that come with the sealer you purchased.
Expect the primer to take at least four hours to dry. That means it’s time for another break. While you may not want to drag the painting process out any longer than necessary, leaving the sealer or primer to dry overnight might be the most convenient option.
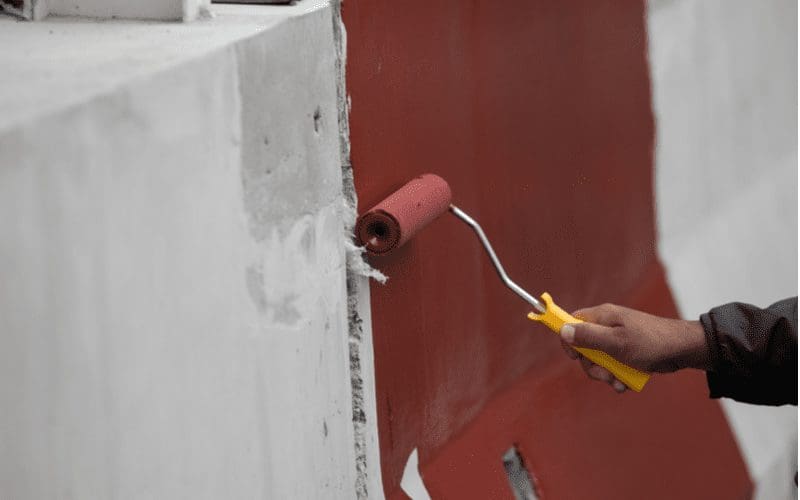
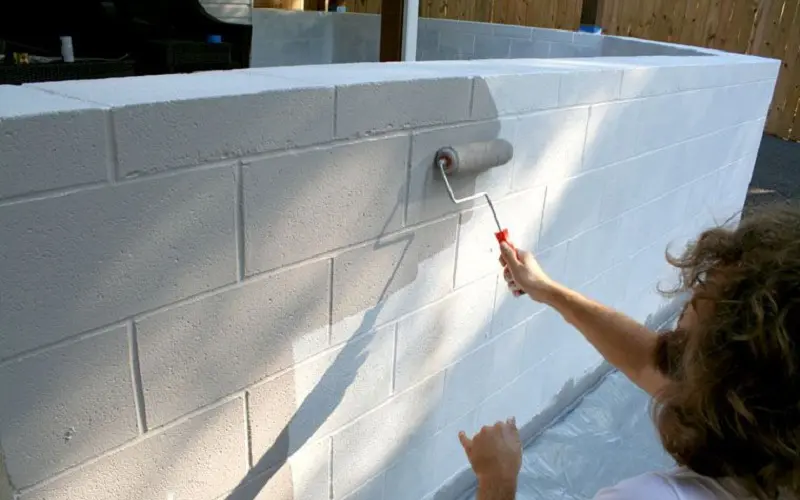
Step 5: Apply the First Coat
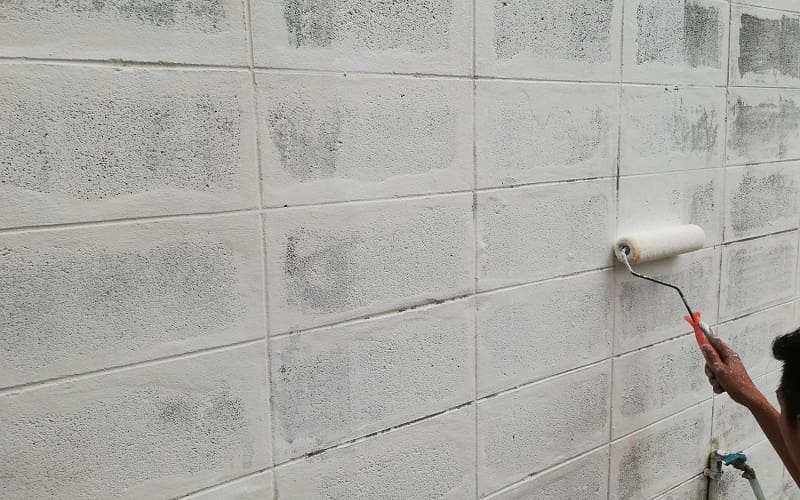
Image/Pinterest.com
Finally, it’s time to do the actual painting. Exterior acrylic house paint and exterior latex masonry paint will both work for this step.
Whichever paint you choose, ensure it has the durability necessary to withstand moisture and changing temperatures.
You can use the same paintbrush you used for the sealer or primer after cleaning it. However, for large and hard-to-reach areas, you may want to invest in a roller.
Once you apply a thin layer of paint, leave it to dry. Depending on the paint you used and how thickly you applied it, this will likely take anywhere between four and eight hours. You may want to leave it to dry overnight before moving on to the next step.
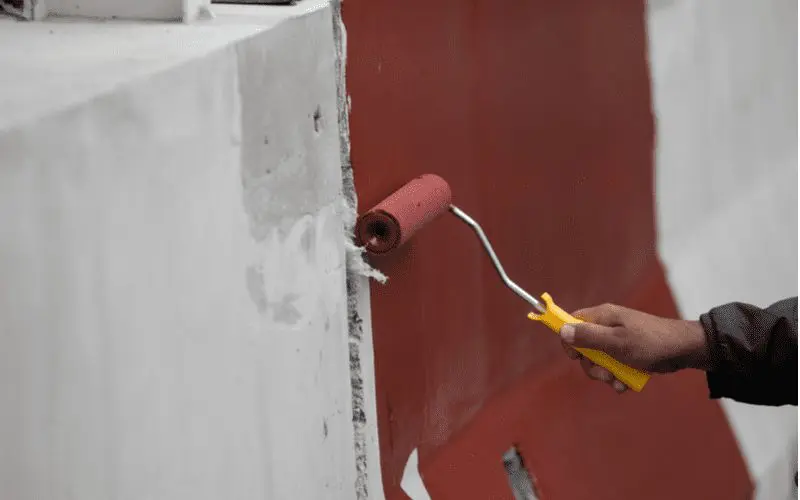
Step 6: Apply the Second Coat

Image/Pinterest.com
For the best coverage, you’re going to want to apply a second coat of paint. However, only do so after the first coat is completely dry.
If the first coat of paint is still a little wet, applying another coat over the top can cause streaking, peeling, and an uneven look.
When you finish applying the second coat of paint, leave it to dry before using the space again.
That way, you don’t risk bumping or scuffing the wet paint. Once the second coat dries, you’re all done! You have successfully painted a cinder block wall.
Things to Consider
While the steps for painting cinder blocks are broadly applicable, there are still a few things to consider:
- If you’re painting an outdoor wall, it’s a good idea to look at the weather forecast. Consider your physical well-being if it’s hot, and factor in the need for drying time after cleaning and between coats of paint. Several rain-free days in a row would be ideal.
- It’s essential to wait until the wall and coats of paint are completely dry before moving on to the next step.
- Applying concrete sealer or primer is critical to the longevity of your paint job. Don’t substitute regular primer, as it tends to flake off rapidly when applied to concrete.
So, How Do You Paint Cinder Block?
Mary Rice/Shutterstock
Painting cinder blocks isn’t hard, but it is time-consuming and requires specific materials. Because it takes multiple days, it’s not something you want to have to redo.
When you clean thoroughly, use paint and primer meant for concrete, and allow adequate time for drying, you increase the likelihood of an attractive, lasting paint job. Now you know the necessary steps to paint a cinder block successfully.
Did you find this guide useful? We hope so, and we hope that you get a nice stretch of weather if you’re looking to paint outside. Before you go, consider checking out more of our handy how-to improvement guides and other advice for homeowners.