Can you paint laminate cabinets? If so, what’s the process for doing it? Are there any special considerations of which I need to be aware?
If you’re asking any of these questions, you’re in the right place. Read on to learn more.
Can You Paint Laminate Cabinets?
You can paint laminate cabinets. However, you need to follow a few specific steps if you want the paint to last.
The cabinets require sanding and the right type of paint. We’ll show you exactly how to repaint laminate cabinets below.
How to Paint Laminate Cabinets
Laminate cabinets are created using an affordable MDF material (medium-density fiberboard).
The exterior is laminated with a layer of hard plastic that comes in a wide range of styles and colors. You can even find laminate cabinets with artificial wood grain.
The outer layer of the cabinets may eventually chip, especially around the edges and corners. Painting worn laminate saves money but involves a little bit of work.
Here’s how to paint worn laminate cabinets:
- Gather supplies
- Prepare the kitchen
- Prepare the cabinet surfaces
- Prime and re-sand the cabinets
- Paint laminate cabinets
Along with painting laminate cabinets, you can use these same steps to paint other types of furniture with laminate surfaces.
Many affordable furniture items are made with the same material. You may decide to repaint end tables, shelves, and TV stands.
1. Gather Supplies
Kobeza/Shutterstock
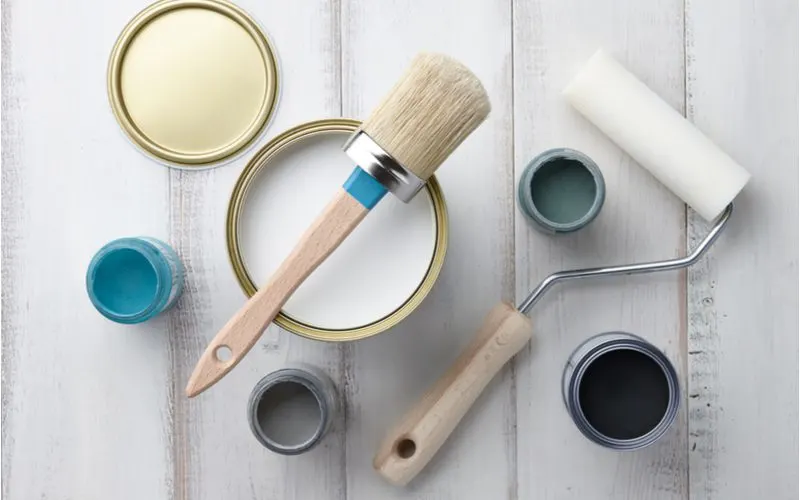
Prepare for your project by gathering the following items:
- Paint and primer
- Brushes and rollers
- Rags
- Paint tray
- Sandpaper
- Screwdriver
- Painter’s tape (masking tape)
- Plastic sheets or tarps
- Cleaning supplies (for cleaning surfaces)
The most expensive supplies are paint and primer. Use a white latex primer. You can find primers and paint designed specifically for painting kitchen cabinetry.
All-surface paints should also work well. Most cabinetry paints and all-surface paints are made with an enamel latex base.
Enamel latex paint is the preferred choice for painting laminate surfaces. The latex base is durable and provides a smooth finish.
The enamel increases the binding properties of the paint, helping it adhere to smooth surfaces, such as laminate plastic.
You can use paint brushes with synthetic bristles or natural hair bristles. Natural brushes help minimize brushstrokes but tend to cost a little more.
2. Prepare the Kitchen
Shine Caramia/Shutterstock
Painting can be a messy task. Clean up your kitchen, put away food, and clear out the cabinets. Put away anything that you want to protect from paint.
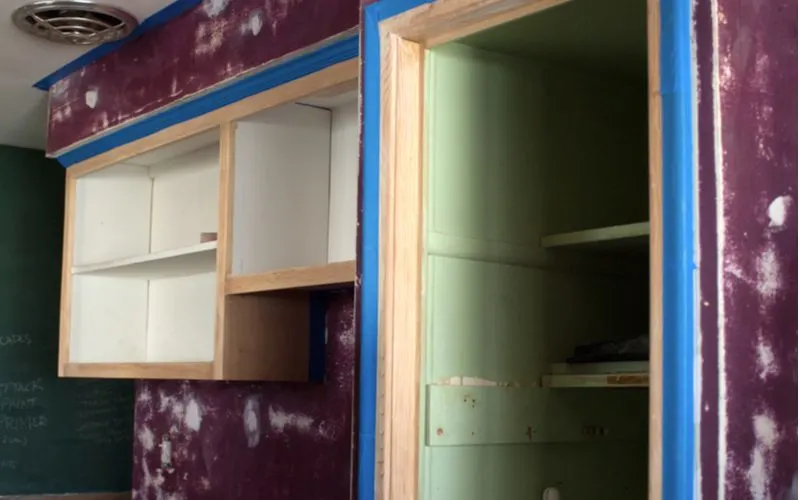
Use plastic painting tarps to cover the stove, fridge, and other kitchen appliances if you’re worried about paint getting everywhere.
Use painter’s tape to mask off the walls and areas adjacent to the cabinets. You should also lay plastic sheets across the counters and over the flooring below the cabinets.
Paint and primer are typically non-toxic but may give off powerful fumes. Increase the ventilation in your kitchen before painting. Turn on any fans, and keep pets and children out of the area.
3. Prepare the Cabinet Surfaces
Dragon Images/Shutterstock
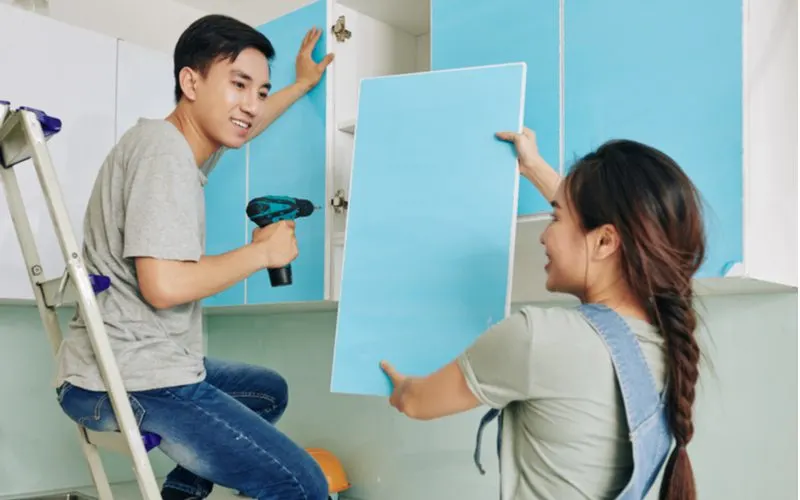
Remove all hardware from the cabinets, including handles and hinges. Set the doors off to the side. Inspect the doors and cabinets for signs of damage. You may notice cracked, chipped, or peeling laminate.
You may try smoothing out cracks and other imperfections using wood putty. Peeling laminate can be glued into place using wood adhesive. Thoroughly clean all surfaces. Make sure that the cabinets are free of food debris and stains.
Lightly sand all surfaces that you intend to paint. The laminate layer is made from plastic and has a smooth surface.
You need to rough up the surface to help the paint stick. Using a hand sander, such as a palm sander or orbital sander, saves time and helps you evenly sand the surface.
If you don’t have a sander, you can manually sand the cabinets using small squares of sandpaper. Before painting the cabinets, you can also modify the exterior look. Consider adding strips of composite molding to recreate the look of paneled cabinets.
Simply cut the composite strips to form a rectangular shape on the exterior of the doors. Use wood glue to adhere the moldings to the doors.
After cleaning, sanding, and potentially modifying the cabinets, wipe them with a rag. Wiping the surface with a rag helps remove any lingering dust and debris.
4. Prime and Re-Sand the Cabinets
Benjamin Clapp/Shutterstock
Use a primer to create a foundation for your paint job. The primer cuts down on the number of coats you need to apply, which reduces the risk of bubbling and other problems.
The primer also blends any areas that you need to repair, such as the wood putty used to fix cracks and chips.
You’re more likely to end up with a smooth, even finish if you take the time to prime first. Thoroughly mix the primer after opening the can.
The ingredients in the primer settle over time. Some hardware stores may shake the can before selling it. Yet, mixing the primer after opening the lid ensures that the ingredients are ready.
Dip the brush in the primer and apply a light coat with long, even brushstrokes along the sides and edges. Use a roller on flat surfaces. Allow the primer to fully dry, which may take up to 24 hours.
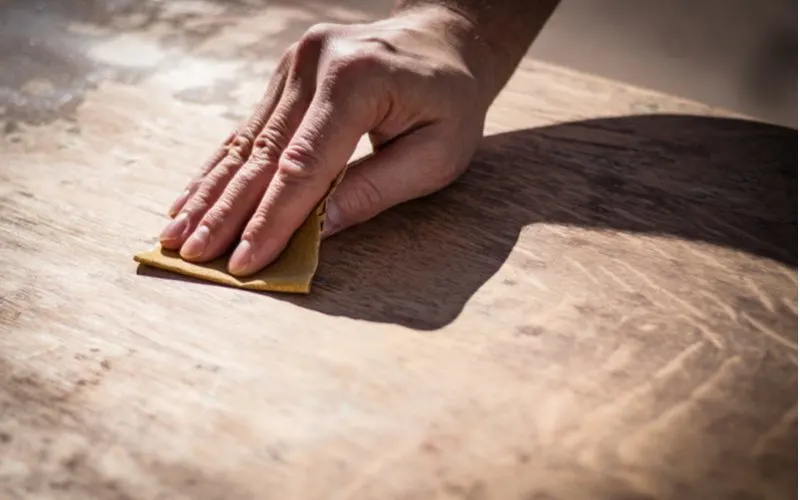
After the primer is dry, use fine-grit sandpaper to lightly sand the surface. Avoid sanding too hard. You don’t want to remove the primer. You just want to make the surface slightly rougher before painting.
5. Paint Laminate Cabinets
Benoit Daoust/Shutterstock
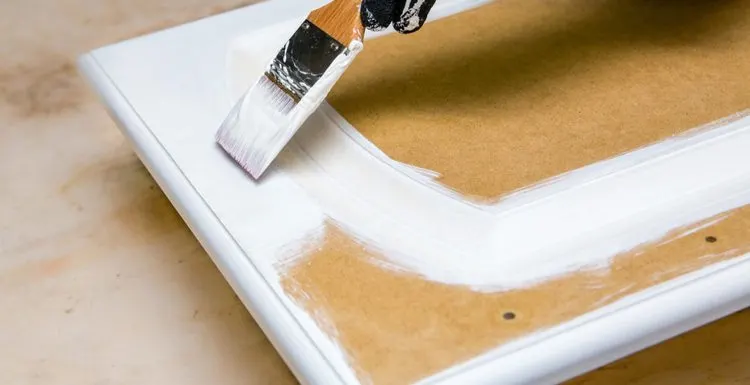
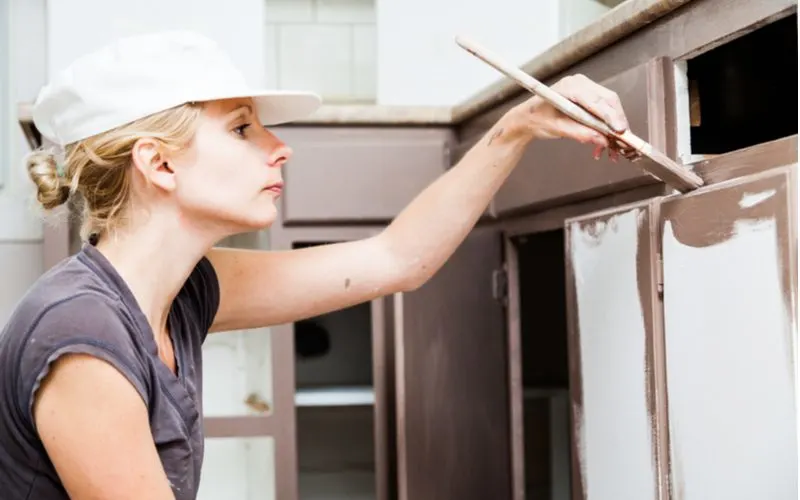
After sanding, priming, and sanding again, you can start painting the cabinets. Use a brush to paint the corners and edges and a roller to cover the flat surfaces, such as the doors and sides.
The roller helps smooth out the brushstrokes near the edges, creating a smoother finish. Apply layers lightly. Adding thick layers of paint leads to bubbling and drip marks. You may need to use three to four layers to achieve full coverage.
Allow each layer to fully dry. Latex paint is typically dry to the touch within an hour and safe for recoating in about four hours. However, you should wait at least 24 hours before reattaching the hardware and hanging the doors.
Frequently Asked Questions
Do You Need to Remove Hardware Before Painting Laminate Cabinets?
You can attempt to cover hinges and handles with painter’s tape. However, the tiny bristles on the paintbrush may still reach under the tape and coat parts of the hardware with paint.
If you decide to leave the hardware in place, you can remove excess paint using acetone and Q-tips. Wait for the paint to fully dry. Dip a Q-tip in the acetone and gently wipe the paint from the hinge or knob.
Do You Need to Sand Before Painting Laminate Cabinets?
Sanding is the most important step when painting laminate cabinets. Paint has trouble sticking to smooth surfaces, such as the pressed hard plastic used for laminate surfaces.
Using fine-grit sandpaper lightly scratches the surface without leaving noticeable marks. Fine grit sandpaper ranges from 120-grit to 220-grit. The higher the number, the finer the texture.
Avoid using 600-grit sandpaper, as the superfine sheets may leave the surface too smooth. Always wipe surfaces clean after sanding.
The sanding process leaves behind small debris and dust that will leave your paint job looking tacky. Wipe the surface with a slightly damp cloth.
So, can You Paint Laminate Cabinets?
To repaint laminate cabinets, you first need to inspect the laminate surfaces for signs of damage.
Repair the damage and sand the laminate surface to prepare for painting. Apply a primer first, then several thin layers of paint.

