Wall texture is a great way to add depth, character, and uniqueness to your home. But there are things to consider.
Read on to learn everything you need to know.
What Is Wall Texture?
Upgrades, renovations, and home improvements can give a home an entirely new personality.
Many renovations and upgrades are expensive and time-consuming, but one stands out as budget-friendly, quick, and visually striking: Adding wall texture.
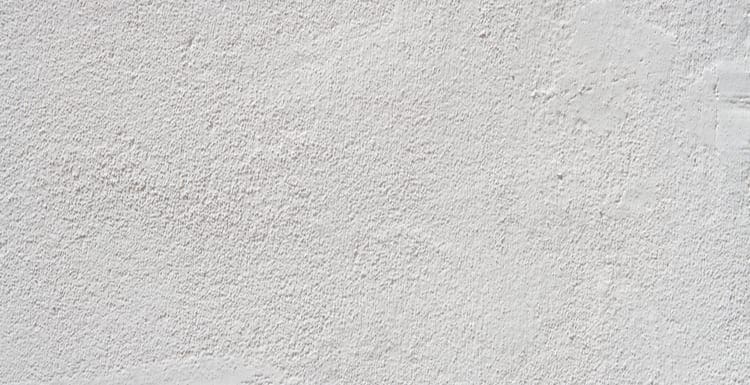
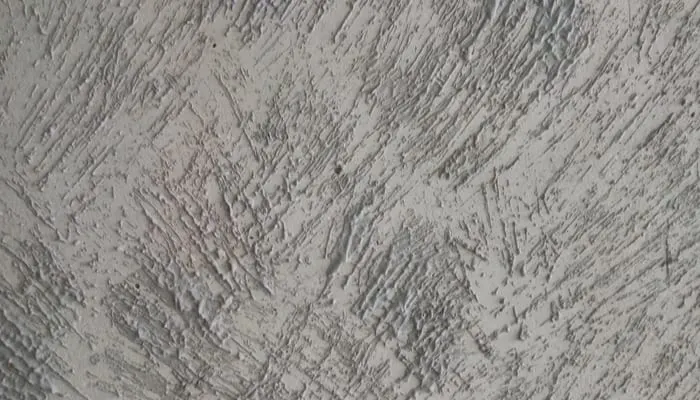
Wall texture is the presence of a raised, sunken, or rough consistency on the surface of a wall. Interior and exterior walls can be textured. Stucco is an example of a common and well-known wall texture type.
Kpad/Shutterstock
Textured walls are steadily becoming more popular but haven’t yet made their way into most American homes. A textured wall creates a sophisticated, unique zone that attracts the eye and makes a room look bigger.
Wall texture doesn’t just look nice. It also serves an important purpose: Hiding flaws, drywall repairs and patching, and imperfections in sheetrock. There’s no need to hire a professional to texture your interior walls for you.
It’s an extremely simple DIY project that has a huge visual impact and a very low cost of materials. We’ll walk you through the process of creating stucco finish, skip trowel finish, and cross-hatched textures in your home with tips and considerations for each step!
Wall Texture Supplies
Before you get started, make sure to buy your supplies. After all, there’s nothing more frustrating than getting halfway through a project only to find out you need to make a trip to the store.
Here’s what you’ll need:
- Large car wash sponges
- Drywall mud
- Notched trowel
- Wide compound knife
- Large drop cloth
After adding texture to the walls, you’ll need to paint over your work to complete the project.
- Interior paint
- Paint rollers and paint tray
- Painter’s tape
- Various paintbrushes
How to Texture a Wall: A Step-By-Step Guide
With your materials and supplies gathered, you can begin the process of texturing a wall or multiple walls in your home!
Keep in mind that it’s better to start with less and add more texture later if it’s not pronounced enough.
A moderate amount of texture will be the most aesthetically pleasing and attractive to potential buyers.
1. Clean and Dry the Walls
Before you begin adding texture, lay down a drop cloth and make sure the walls you’re working on are completely clean.
A mild solution of soap and warm water applied and scrubbed with a large sponge is sufficient. Allow the walls to dry completely before the next step.
2. Mix Your Compound
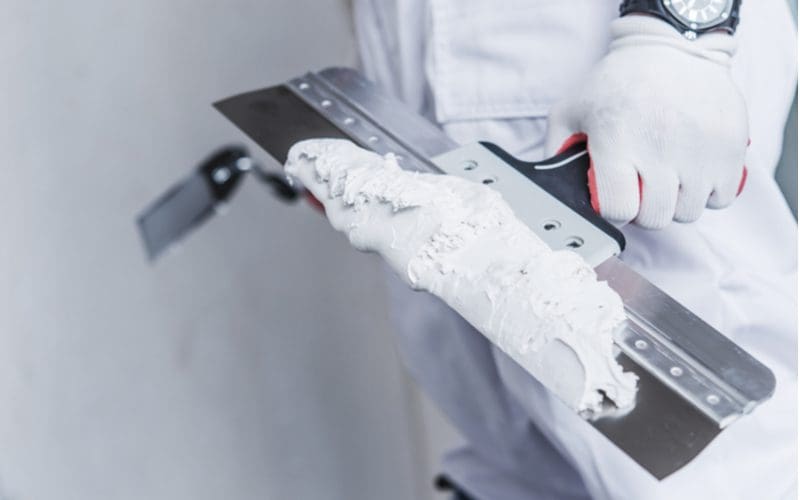
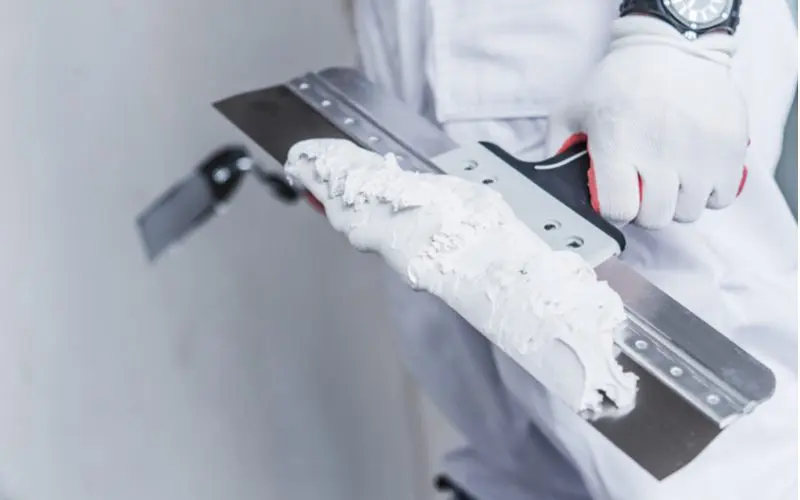
Virrage Images/Shutterstock
Drywall mud is a little too thick to be an effective texturing compound, but adding a little water will fix that. Add just enough water to make the mud into a thick pancake-batter consistency.
We recommend adding water in very small amounts to prevent making the compound too thin. Consistency is very important. If it is too thick, it will take a long time to dry.
And may not show as much texture in the final result. If it’s too thin, it won’t settle and firm into the dips and ridges you want in the finished look.
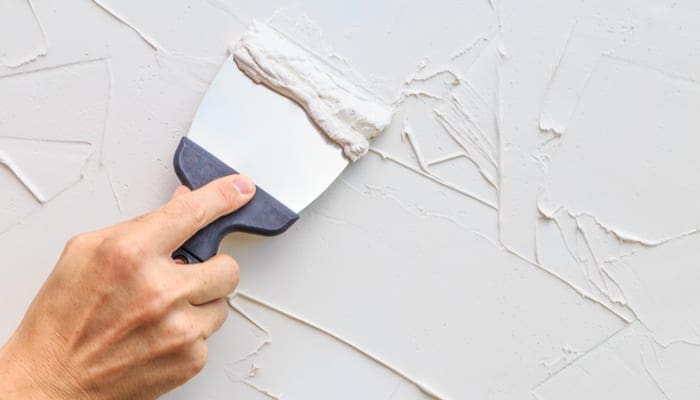
3. Spread the Compound
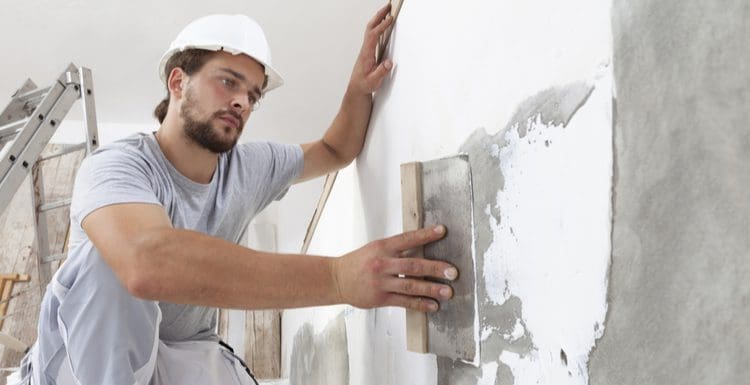

Vivivastudio/Shutterstock
Using your notched trowel or a wide compound knife, spread or skim-coat the compound onto the wall. You’ll want to do this one section at a time. It’s best to start at the top, go across, and work your way down to avoid damaging this initial layer as you continue working.
Handy Andy says: Don’t skim coat the wall if you are choosing to do the skip trowel texture. This will ensure you have the perfect roughed-up surface on which to work.
4. Create the Texture
First, you need to determine what type of drywall texture type you’re seeking. We’ve included the 3 most popular ones below, and created instructions on how to accomplish your goal.
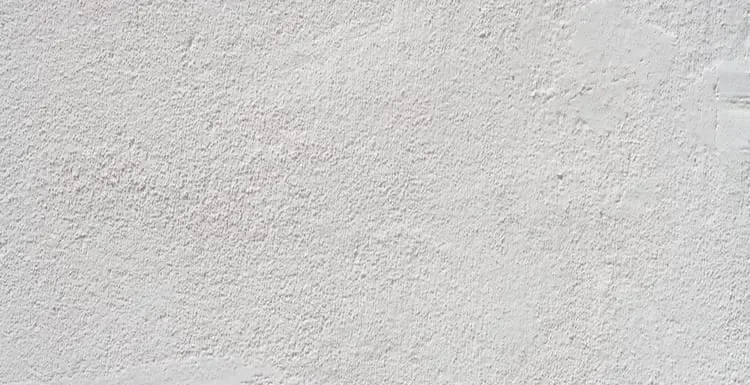
Stucco Finish
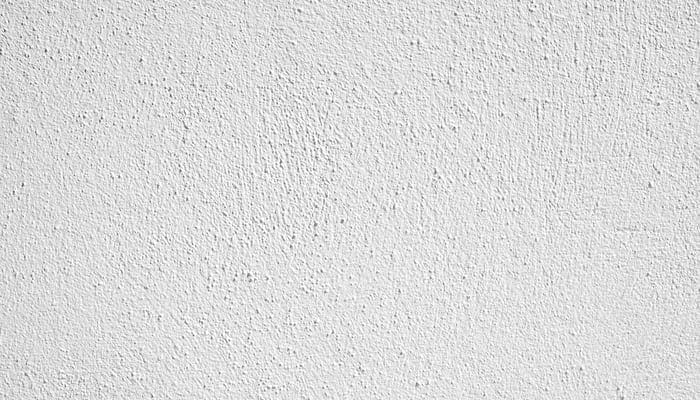
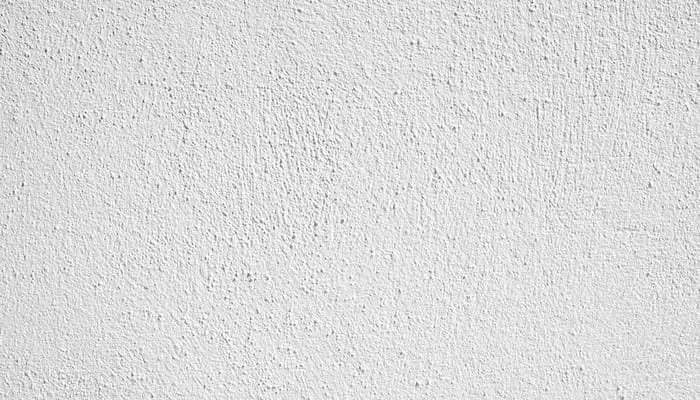
Dip one of the large car wash sponges into the compound so it’s lightly coated but not saturated with it. Dab the sponge onto the wall, overlapping sections as you go to make sure there are no obvious gaps in the texture.
Again, it’s best to start at the top, go across, and work your way down the wall in horizontal lines to avoid marring the texture you’ve created so far. This method results in a toned-down texture.
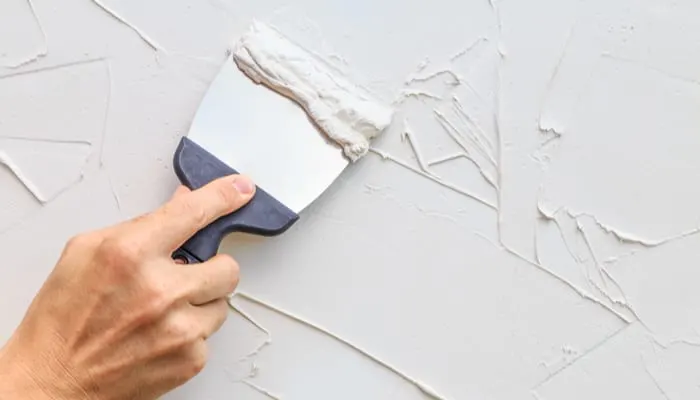
Skip Trowel Finish
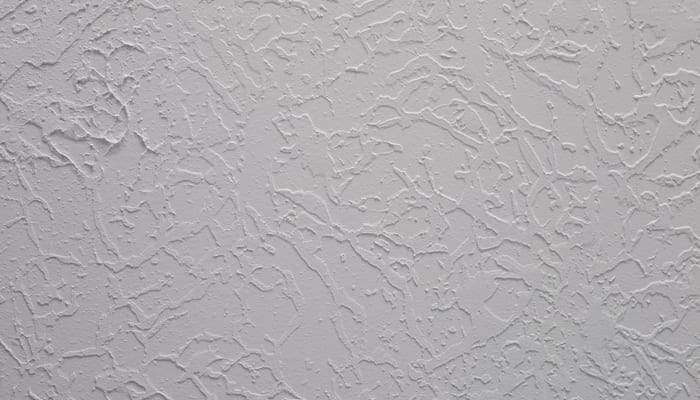
Doyne and Margaret Loyd/Shutterstock
If you want an orange-peel-style texture, go this route. Use the notched trowel to smoothly and lightly apply a small amount of joint compound to the wall surface in wide, short strokes. Add more compound to the trowel after each pass.
Do not use a heavy hand or a lot of pressure. The key to creating this texture is barely holding the compound against the surface so that it leaves behind a slightly uneven, textured look.
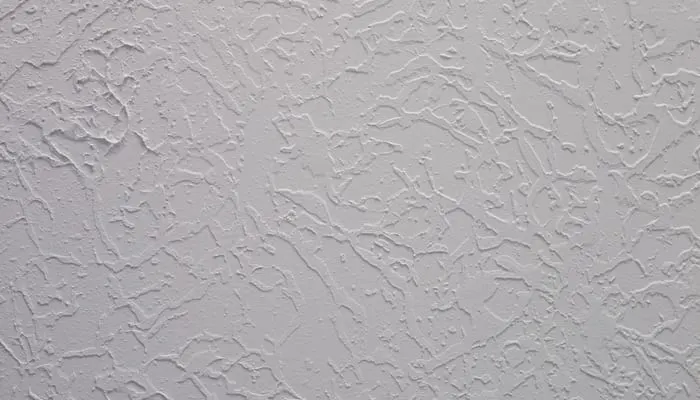
Lawrence Oliver, designer, and decorative artist, recommends that beginners use an alternative method to get the skip trowel finish. Use a sea sponge paint roller dipped into the joint compound.
Then roll it onto the wall to cover about 3/4 of the wall surface. While the compound is still a bit damp, smooth over the highest raised areas with a putty knife to make them lie flat and get the correct texture.
Crosshatched or Woven Finish
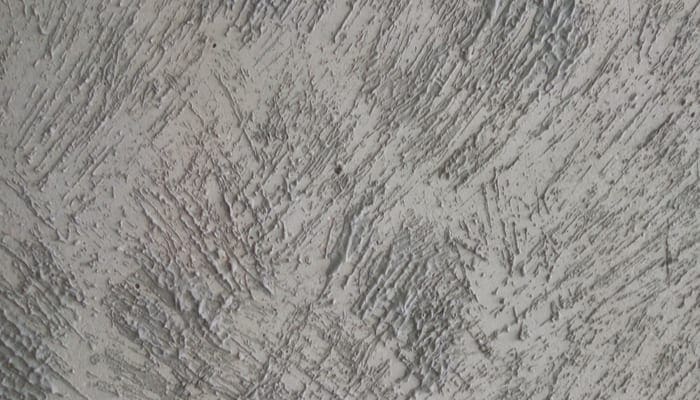
Nuttavut Chakthranont/Shutterstock
Skip the sponge and drag the notched trowel across the surface of the wall, leaving evenly spaced lines behind. You can alternate the direction of the lines to make the texture pattern look like crosshatching or to appear woven.
5. Fill in the Gaps
No matter how thoroughly you applied the texture, there will be areas that need more compound and sponging to look their best. Add more compound to your sponge and go back over areas that look sparsely textured or that may have gotten damaged as you worked.
6. Dry the Walls
Set up a fan in the room to help dry the walls. You want to let the walls dry completely to make sure the texture stays put and doesn’t get flattened out during the next step: Painting.
7. Paint the Walls
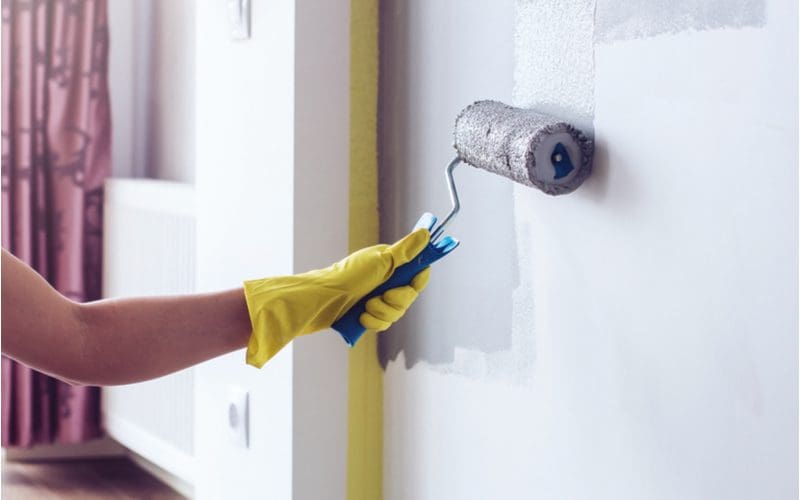
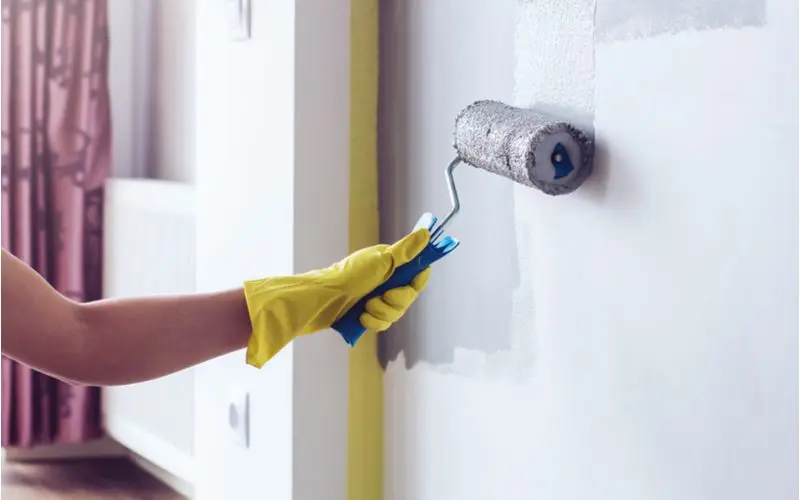
Oleksandr Berezko/Shutterstock
Apply painter’s tape to any feature you don’t want paint on—trim, crown molding, window frames, door frames, wainscoting, etc.
Using your paint roller and the paint color of your choice, cover the textured compound by painting the walls.
Use brushes to finish and reach areas the roller can’t access. When you’re done, set up the fan again to aid the drying process.
This process will take a while, as it’s a little harder to paint a textured wall. Be patient, and make sure to brush from multiple angles to avoid drips.
The Result: Uniquely Textured Walls
When the paint is completely dry, you’ll be left with the finished product: Evenly textured walls that add a new dimension to the room and create visual interest. Be creative in the way you add texture to your walls!
Consider doing all the walls in a room, one accent wall in a focal point area like the living room, or half of an exposed wall to create different looks that will appeal to buyers and guests alike.